Backpacking & Thru-Hiking Camera Gear: Lightweight Camera Gear for the Pacific Crest Trail, Arizona Trail, Continental Divide Trail, and John Muir Trail
Are you a current or aspiring thru-hiker and photography lover looking for the best lightweight camera gear for thru-hiking? In this post, I'll share all the camera gear I’ve taken on my thru-hikes of the Pacific Crest Trail (PCT), Arizona Trail (AZT), Continental Divide Trail (CDT), and John Muir Trail (JMT).
I love photography and it’s as important to me as thru-hiking, so I always take my mirrorless camera with me on my thru-hikes. The camera gear I’ve used on these trails achieves a balance between capturing high-resolution images and being lightweight. While it's not as ultralight as using my iPhone 14 Pro, which takes excellent photos and videos, this setup offers a great compromise between quality and weight.
My core thru-hiking camera gear weighs around 2.3 lbs total and includes a mirrorless camera, a mini tripod, a prime lens, an extra battery, and an SD card reader. As a photographer, a full camera setup is essential to me, even if it adds extra weight. To counterbalance this, I ensure the rest of my backpacking gear is ultralight. Without my camera gear, my base weight would be under 10 lbs.
My camera is my “luxury item” in my backpacking gear setup, but I never regret bringing it. Having tested this camera gear over thousands of miles on the Pacific Crest Trail, Arizona Trail, and Continental Divide Trail, I know it will be my go-to for any future thru-hikes.
Disclaimer: This blog post contains affiliate links, meaning if you click on a link and purchase something, I receive a small percentage of the purchase at no additional cost to you. Read more about my affiliate policy here.
Pacific Crest Trail (near Thousand Island Lake)
Pacific Crest Trail (The Aqueduct)
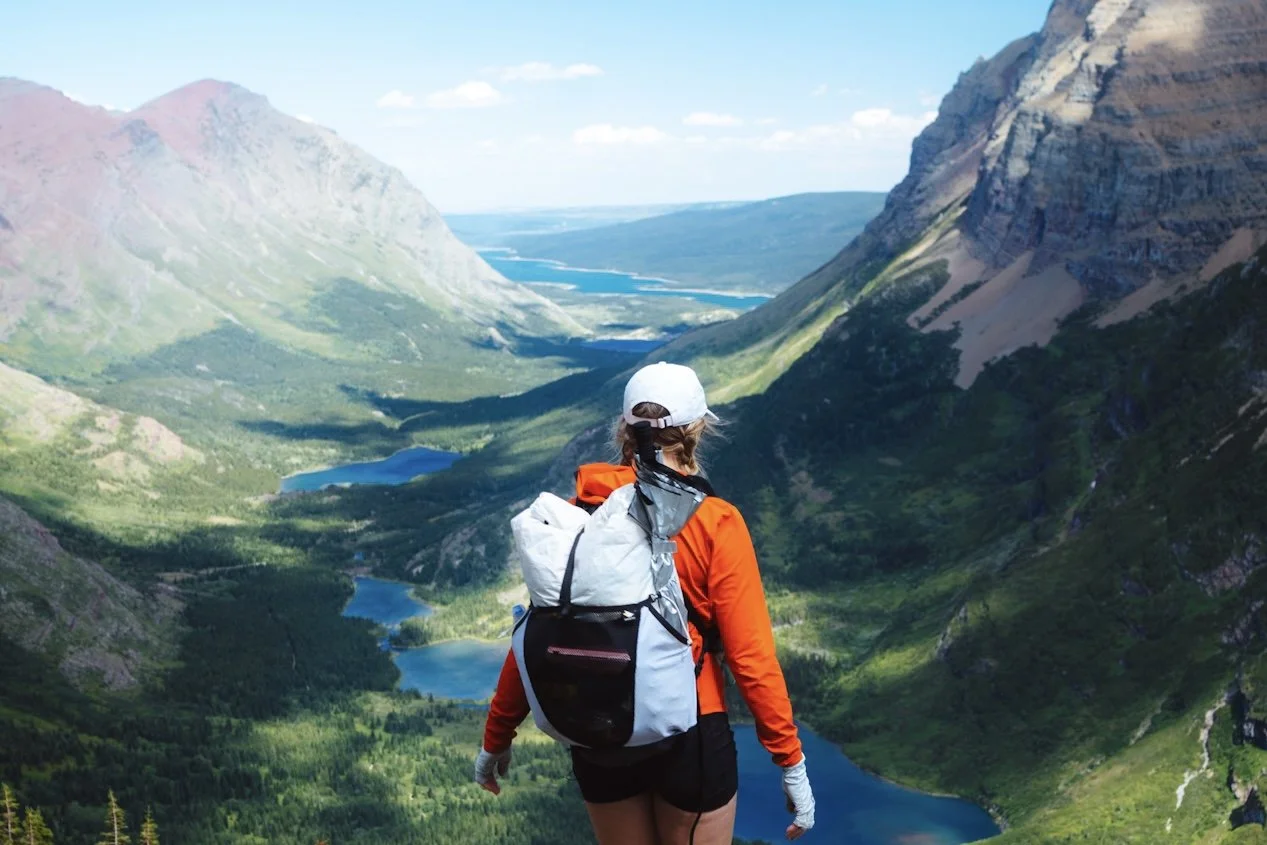
Continental Divide Trail (Glacier National Park)
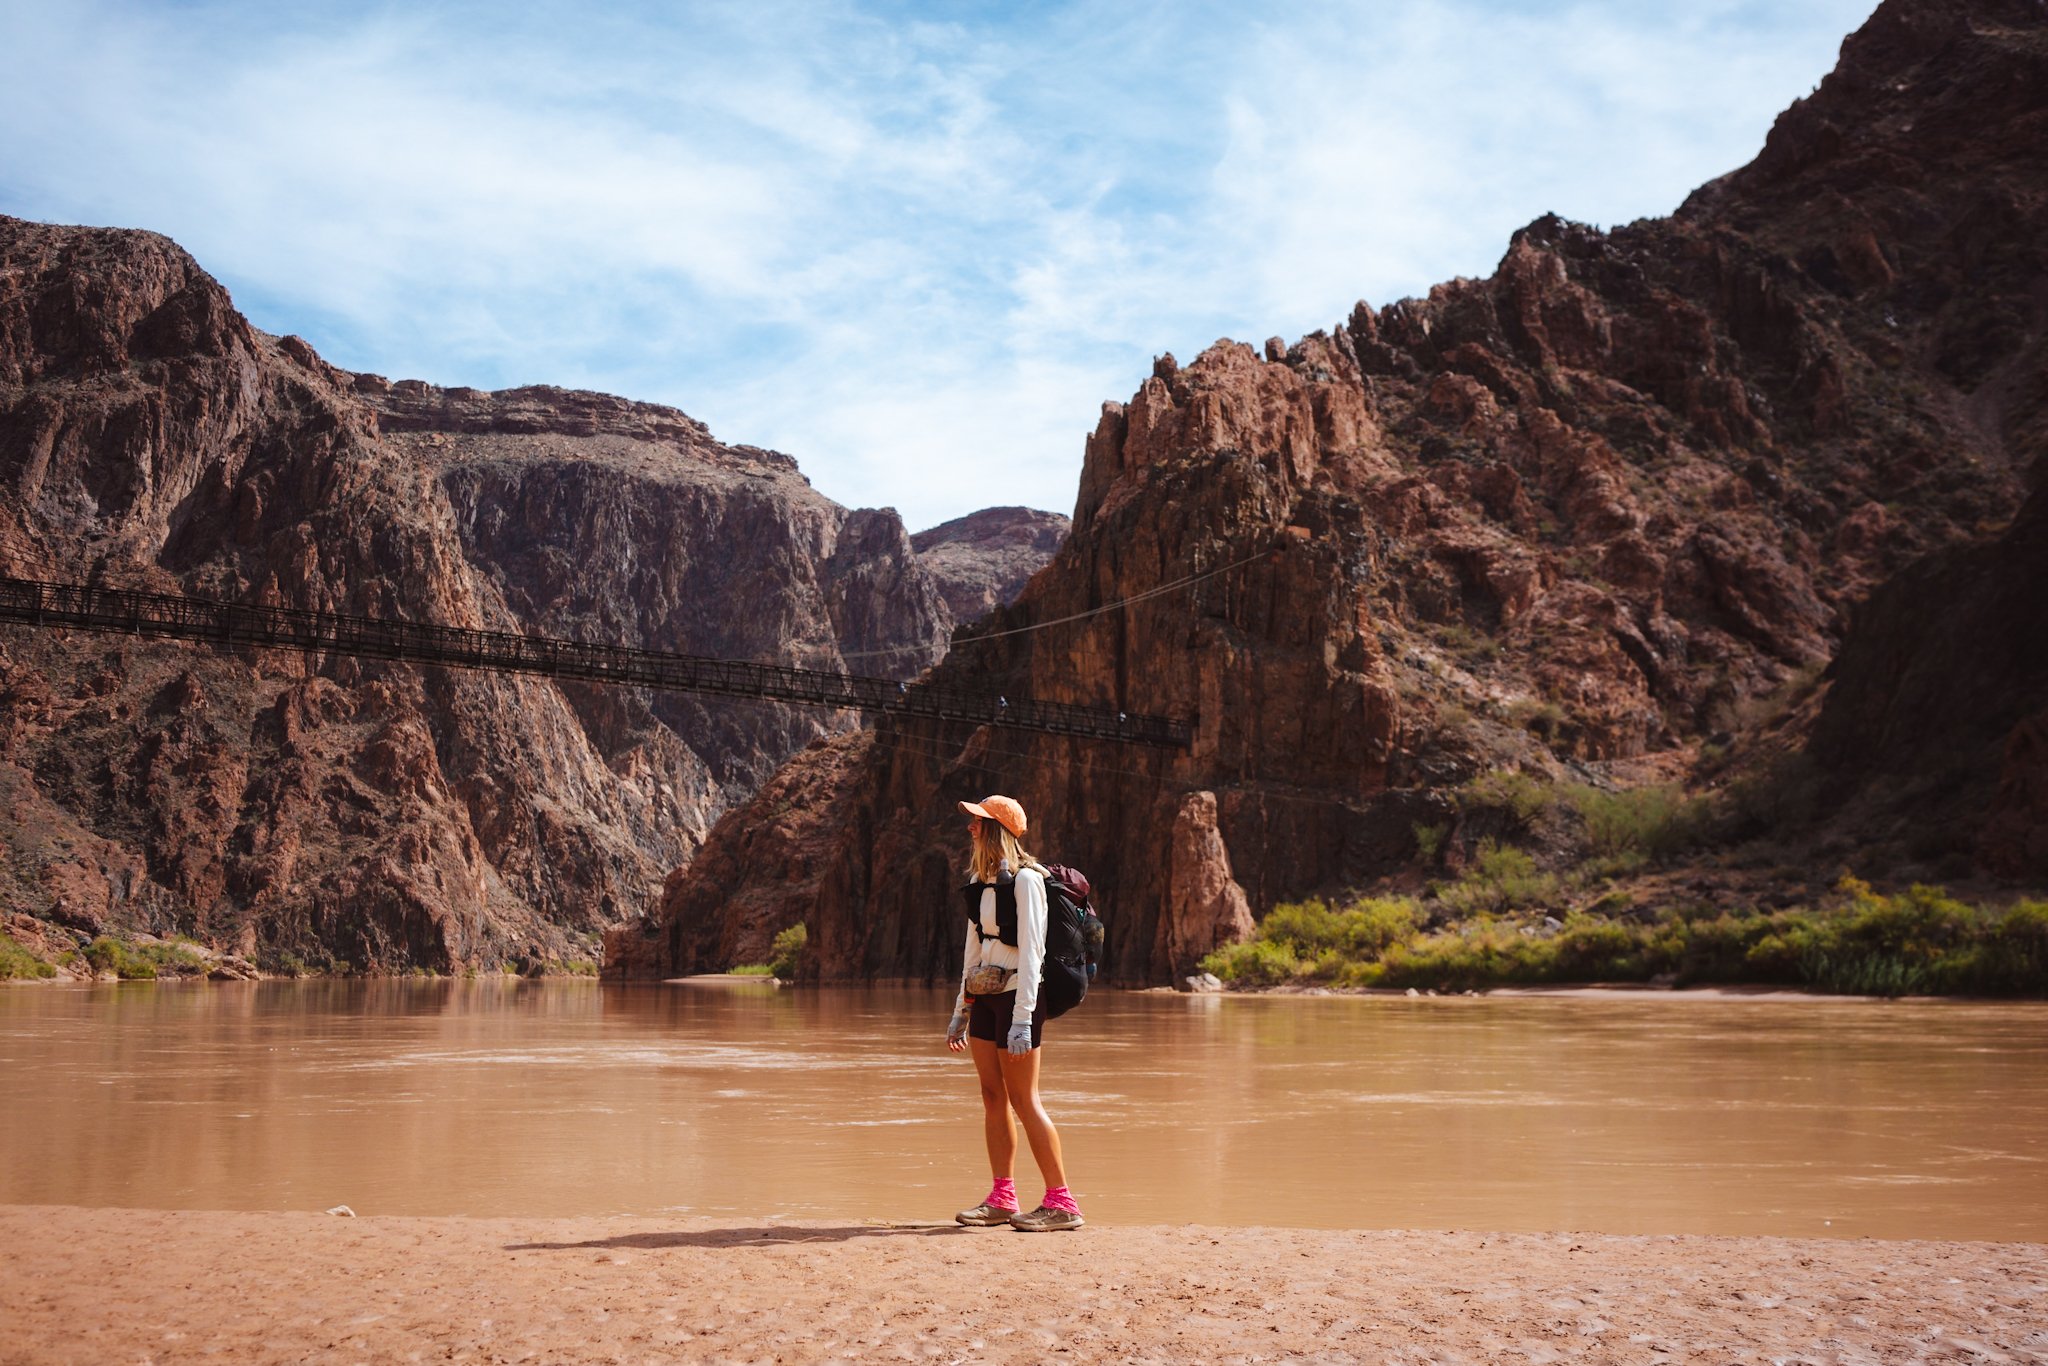
Arizona Trail
Mile 2500 on the PCT, Sony A7RIII, 35mm Lens, Capture Clip
Continental Divide Trail (Colorado)
My Thru-Hiking Camera Gear for the Pacific Crest Trail (PCT), Arizona Trail (AZT), and Continental Divide Trail (CDT)
Mirrorless Camera Body
Sony A7RIII (24.59 oz, including battery and 2 SD cards)
I’ve had this camera body since 2020 and it has accompanied me on all my thru-hikes. The Sony A7RIII is a mirrorless digital camera and a powerhouse with a 42mp sensor, perfect for large prints or zoomed-in crops. I love how powerful yet lightweight it is. It has held up really well over the years and over 6,400 miles of thru-hiking, including the John Muir Trail, Pacific Crest Trail, Arizona Trail, and Continental Divide Trail.
Lens - The Best Ultralight Lens for Thru-Hiking
Sony Sonnar T* FE 35mm f/2.8 ZA Lens (4.16 oz)
I only bring one lens with me on my thru-hikes to help keep my pack weight down. Initially, I was nervous about this, but the simplicity of using only one lens is amazing. It forces me to be more creative and thoughtful about my composition. On my first thru-hike (the John Muir Trail), I used the Tamron 17-28mm f/2.8 for Sony E, which was slightly heavy, weighing in at 14.8 oz. I knew I wanted something lighter for future thru-hikes, and I was recommended the Sony Sonnar T* FE 35mm f/2.8 ZA Lens, which I have since used on the Pacific Crest Trail, Arizona Trail, and Continental Divide Trail. Since switching to that lens, I haven’t looked back. I absolutely love how lightweight this lens is; it feels like a feather.
A 35mm prime lens captures scenes with a perspective that is slightly wider than how our eyes perceive them. Human vision is often compared to a focal length of around 40-50mm on a full-frame camera, so 35mm offers a broad yet relatively natural perspective. This is exactly how I want to remember my thru-hikes. Not having zoom was intimidating at first, but the beauty of thru-hiking is that you’re always moving forward, getting closer to what you see in the distance. It’s a romantic experience that’s hard to explain, but I truly love this lens for thru-hiking.
Lens Cap
Sony 49mm Lens Cap + Lens Cap Keeper (0.3 oz combined)
I didn’t love the lens cap that came with the Sony Sonnar T* FE 35mm f/2.8 ZA Lens because it didn’t allow me to use a lens filter, so I switched it out for a 49mm lens cap. Also, I highly recommend that you use a lens cap keeper! I learned that the hard way on the PCT. A lens cap keeper is a small string or strap that attaches your lens cap to your camera, preventing the cap from being lost when removed.
Pacific Crest Trail (Mount Shasta)
My Top Ultralight Tripod for Thru-Hiking
Ulanzi MT-08 Extendable Mini Tripod + Desmond DAC-25 25mm Mini Clamp (4.6 oz combined)
I’ve done extensive research to find the perfect ultralight thru-hiking tripod. I typically hike alone and take all of my self-portrait photography, so having a tripod is crucial. While I haven’t found the perfect ultralight tripod, the Ulanzi MT-08 Extendable Mini Tripod is close. It extends, providing more height for my camera when needed. I attach the mini clamp to the tripod, making it easy to attach my camera, which has the Peak Design Dual Plate as part of the Peak Design Capture Camera Clip system. Additionally, I bring the Peak Design Phone Mount (0.42 oz) for attaching my phone to the tripod.
Other Ultralight Tripods I Have Tried for Thru-Hiking:
Apexel Extendable Tripod for DSLR Camera and Smartphone (7.4 oz) - Used on the John Muir Trail. I liked it for its extendable height and built-in phone mount, but it was heavier than I wanted.
Gorillapod (5.1 oz) - Not my favorite style of tripod, but it might work for you.
PEDCO Ultrapod (4 oz) - One of the lightest tripods available. It’s a bit short and doesn’t extend, but it’s a great option for thru-hiking if height isn’t an issue.
Camera Batteries
Sony NPFZ100 Z-series Rechargeable Battery Pack (x1) and Watson NP-FZ100 Lithium-Ion Battery Pack (2.6 oz) (x1)
I always take two batteries on my thru-hikes but often find that one would suffice. Typically, one battery lasts me about two weeks, depending on how often I take photos. In colder conditions, like in the Sierra on the Pacific Crest Trail or the San Juan Mountains on the Continental Divide Trail, the battery drains faster, so I’m glad to have a backup. The Sony battery is more reliable, but the Watson battery is cheaper. I always charge my batteries to 100% in town during resupply.
Lens Cloth
Generic Lens Cloth (0.18 oz)
A lens cloth is essential for keeping your lens clean from dirt and moisture during a thru-hike.
Memory Cards
These are my favorite memory cards for thru-hiking. I should probably start using the 256GB version, but I already have many 128GB cards. I don’t know the exact number I’ve brought on each thru-hike, but it’s a lot (7+). You can always buy more along the way or have them sent to a resupply town.
Polarizing Lens Filter
Sony 49mm Circular Polarizer Filter with Zeiss T* Coating (0.38 oz)
A polarizer is essential for capturing the beautiful alpine lakes on the Pacific Crest Trail and the Continental Divide Trail. It helps cut the glare and reflections on the water.
Continental Divide Trail (Wind River Range)
SD Card Reader
Apple Lightning to SD Card Camera Reader (0.6 oz)
This SD Card reader connects to my phone, allowing me to upload photos directly from my memory cards. This is essential when I’m thru-hiking, as I love uploading and editing photos in my tent when I get the chance.
How I Charge My Camera on a Thru-Hike:
In town, I charge my camera battery with an Anker 511 Charger (Nano) wall charger (1.02 oz) and a USB-C to USB-C cord (0.28 oz) plugged directly into my camera body. On the trail, if my camera battery needs extra charge, I use a Nitecore NB10000 battery (5.29 oz) with the USB-C to USB-C cable plugged directly into my camera body.
Other Camera Gear I've Taken on Thru-Hikes:
Camera Clip Shoulder Strap Attachment - Peak Design Capture Camera Clip (2.6 oz)
This nifty device lets me carry my camera on my backpack shoulder strap. I used it on the PCT and the JMT, but it wasn’t compatible with the backpacks I used on the AZT and the CDT, which had more shoulder pockets and were running-vest styled. While I love this clip, it leaves your camera exposed to the elements, which wasn’t a problem on the PCT since it only rained a couple of days. I just put my camera inside the pack liner in my backpack during those times.
Gimbal Camera - DJI Pocket 2 (4 oz)
I brought this on the PCT and the AZT. I liked that it took stable videos, especially when I had an iPhone 12 mini that didn’t. Now, with my iPhone 14 Pro, which takes very stable videos, I no longer bring the gimbal camera. The DJI Pocket 2 was a nifty camera, but having three cameras (phone, Sony camera, and gimbal camera) was overwhelming at times.
Camera Gear I Would Like to Try on Future Thru-Hikes:
This year, I plan to try the Hyperlite Mountain Gear Camera Pod (2.8-3.7 oz) to keep my camera better protected from the elements while still being accessible. I’ll update on how it works for me, but I’ve met other thru-hikers who love it!
Update: I bought the HMG Camera Pod and used it on my Wonderland Trail thru-hike in 2024. Spoiler: I absolutely love it. Here is my full review of it: Hyperlite Mountain Gear Camera Pod Review.
Conclusion
Choosing the right camera gear for thru-hiking can be tricky, but it's definitely possible to find a balance between quality and weight. Based on my experiences hiking the Pacific Crest Trail, Arizona Trail, Continental Divide Trail, and John Muir Trail, I've found that this lightweight camera setup lets me capture stunning high-resolution images without adding too much to my pack. Happy hiking!


