My 6-Day Wonderland Trail Itinerary: A Day-by-Day Breakdown of my Thru-Hike
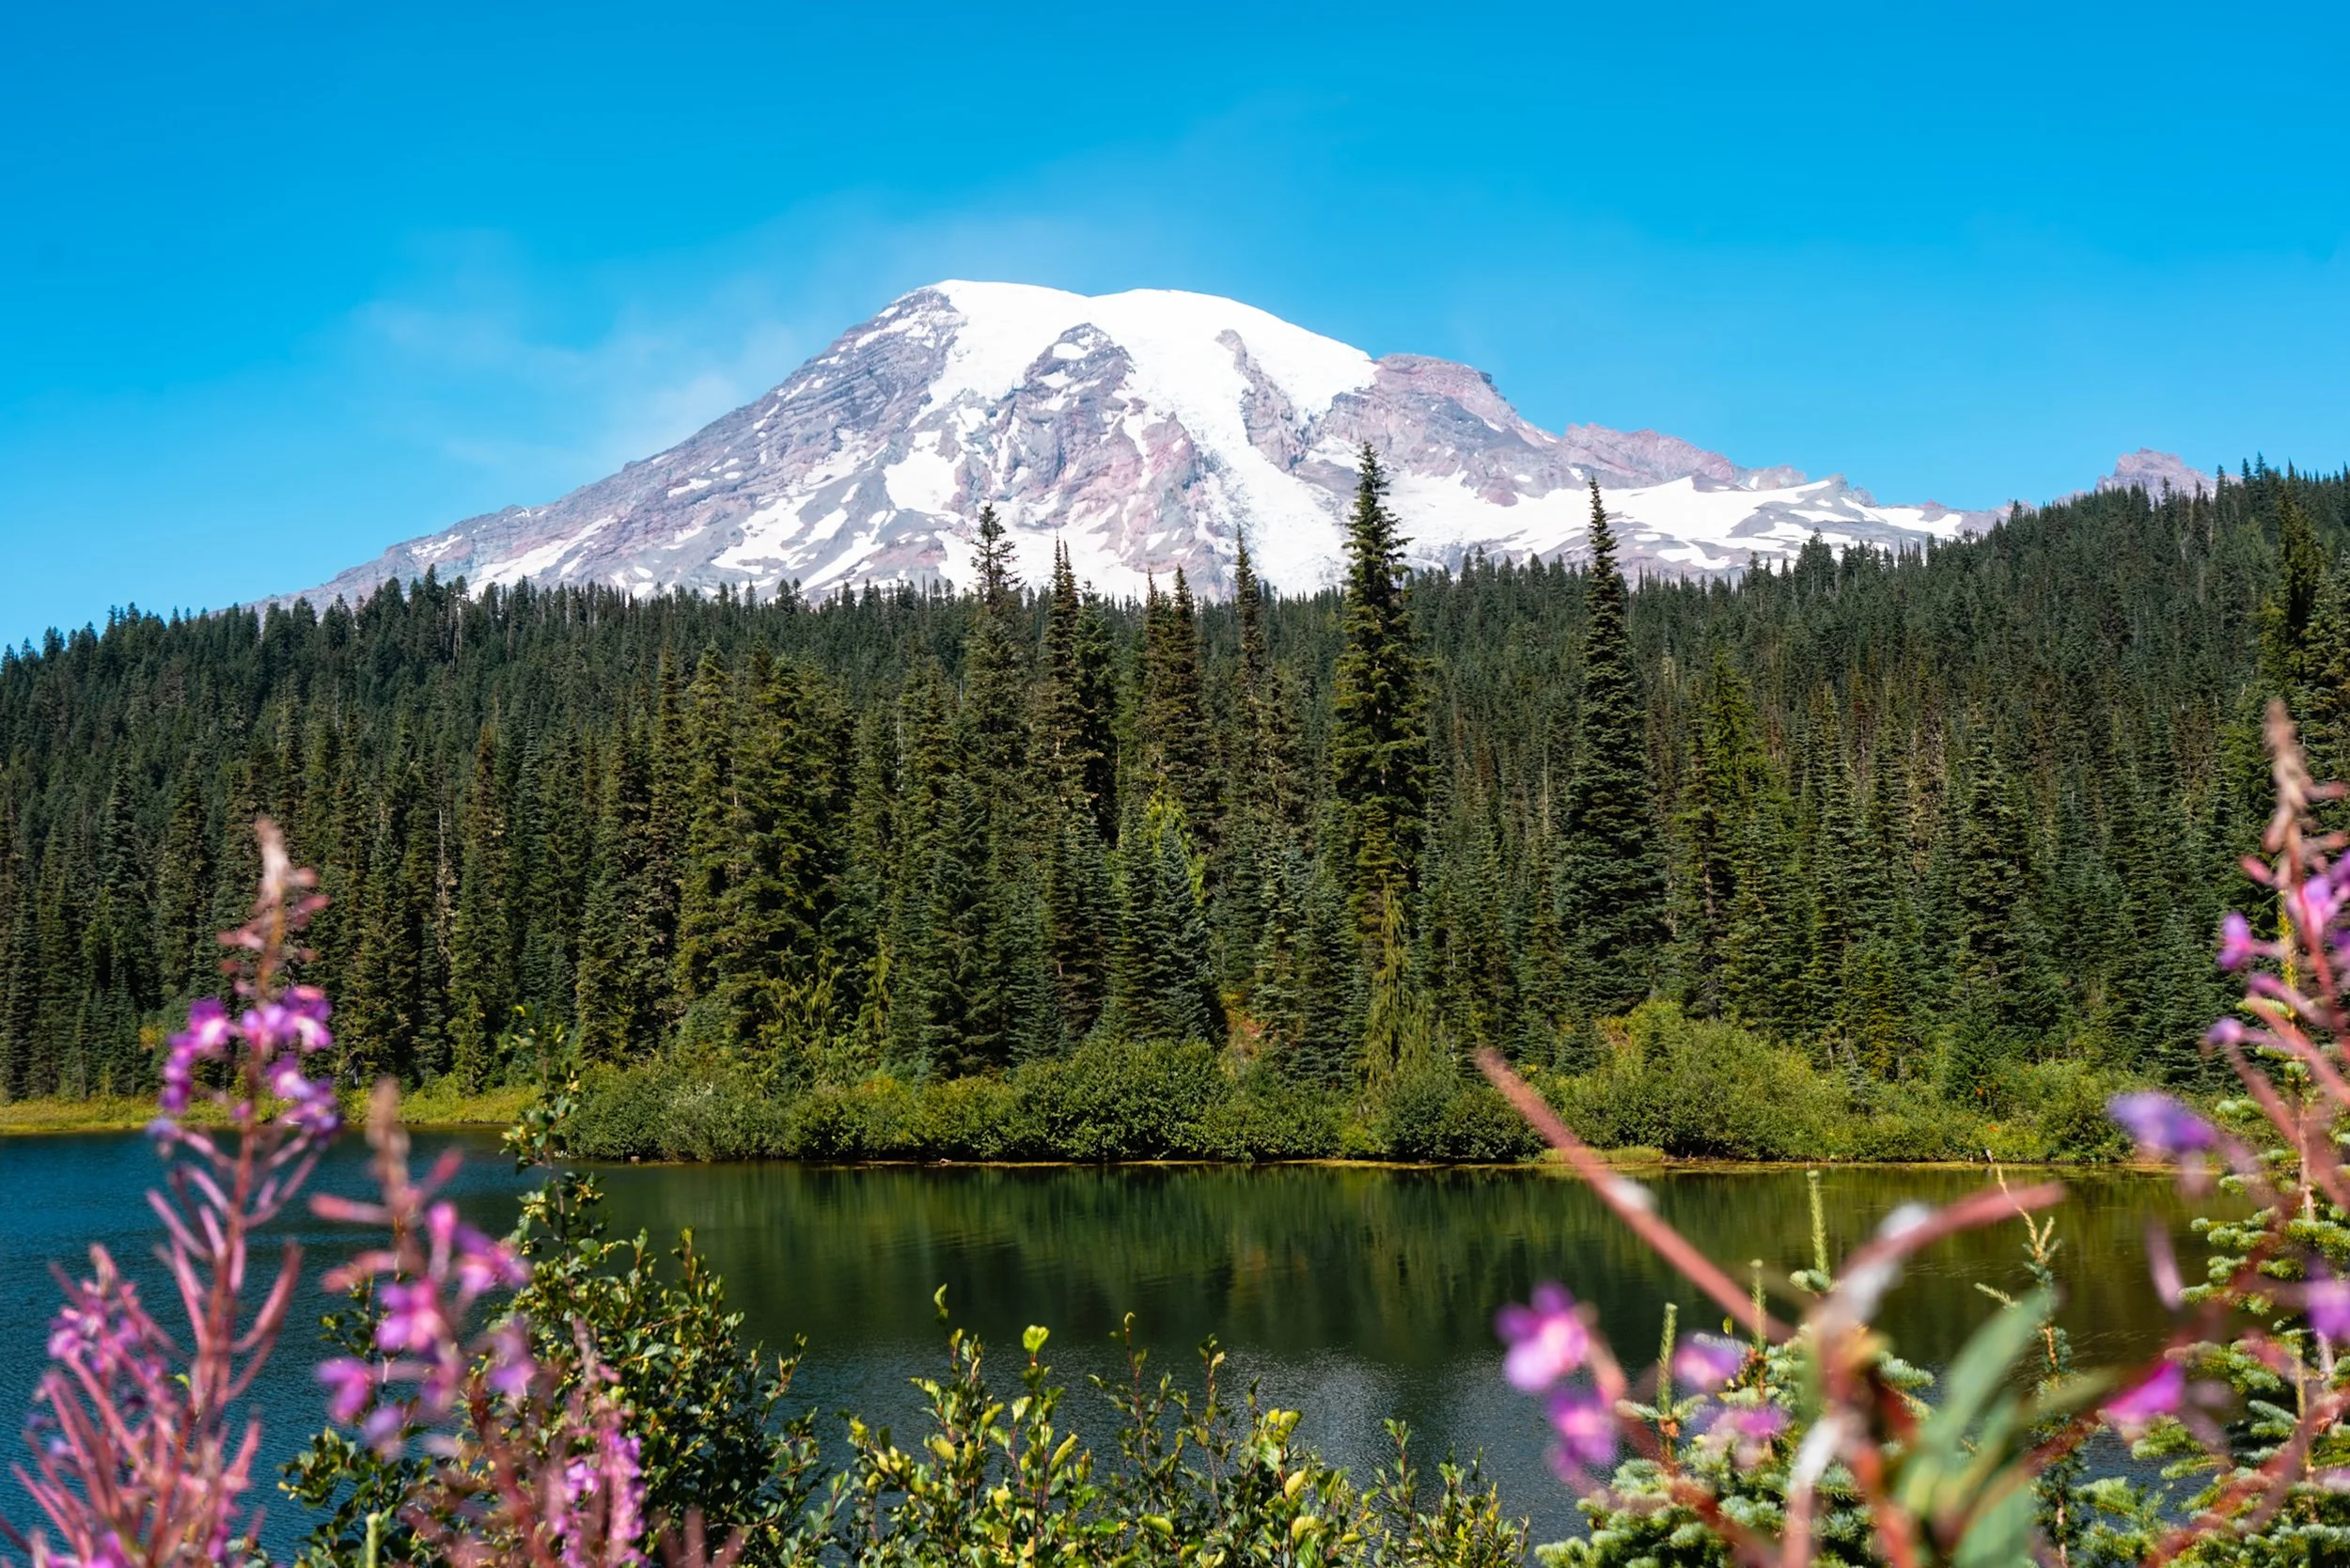
View of Mount Rainier from Reflection Lakes on the Wonderland Trail
The Wonderland Trail is a 93-mile loop that goes around Mount Rainier, also known as Tahoma, the name given by the native Puyallup Tribe, meaning “the mother of waters” or “snowy peak.”
Hiking the Wonderland Trail was the highlight of my 2024. This trail is stunning and I would gladly hike it again (and again) because it’s so beautiful. With so many great campsites to choose from, I could create a different itinerary every time.
In this post, I’m sharing my 6-day itinerary, including details about each day’s mileage, elevation gain, campsites, and highlights. Whether you’re planning your own Wonderland Trail hike or just curious about my experience, I hope this post gives some insight and inspiration.
Table of Contents:
Affiliate Disclosure: This blog post contains affiliate links, which means that if you click on a link and make a purchase, I receive a small percentage at no additional cost to you. This helps me continue to provide free resources for you! Thank you so much for supporting my work and helping me keep these resources available. You can read more about my affiliate policy here.
View of Mount Rainier from Emerald Ridge on the Wonderland Trail
Let’s Connect: Instagram • TikTok • YouTube • Join My Newsletter | Enjoy This Post? Ways to Support this Blog
Overview & Stats of My Wonderland Trail Thru-Hike:
Total Distance Hiked: 93 miles
Total Elevation Gain/Loss: +27,800 ft / -27,800 ft
Number of Days Hiked: 6
Number of Nights Camped: 5
Average Mileage Per Day: 15.5 miles/day
Average Elevation Gain/Loss Per Day: +4,633 ft / -4,633 ft
Number of Food Resupplies: 1
Starting & Ending Trailhead: White River
Direction Hiked: Counterclockwise (“CCW”)
Did I Take the Spray Park Alternate? Yes
Dates Hiked: August 25–30, 2024
Solo or Group? Solo hike
Permits Required? Yes
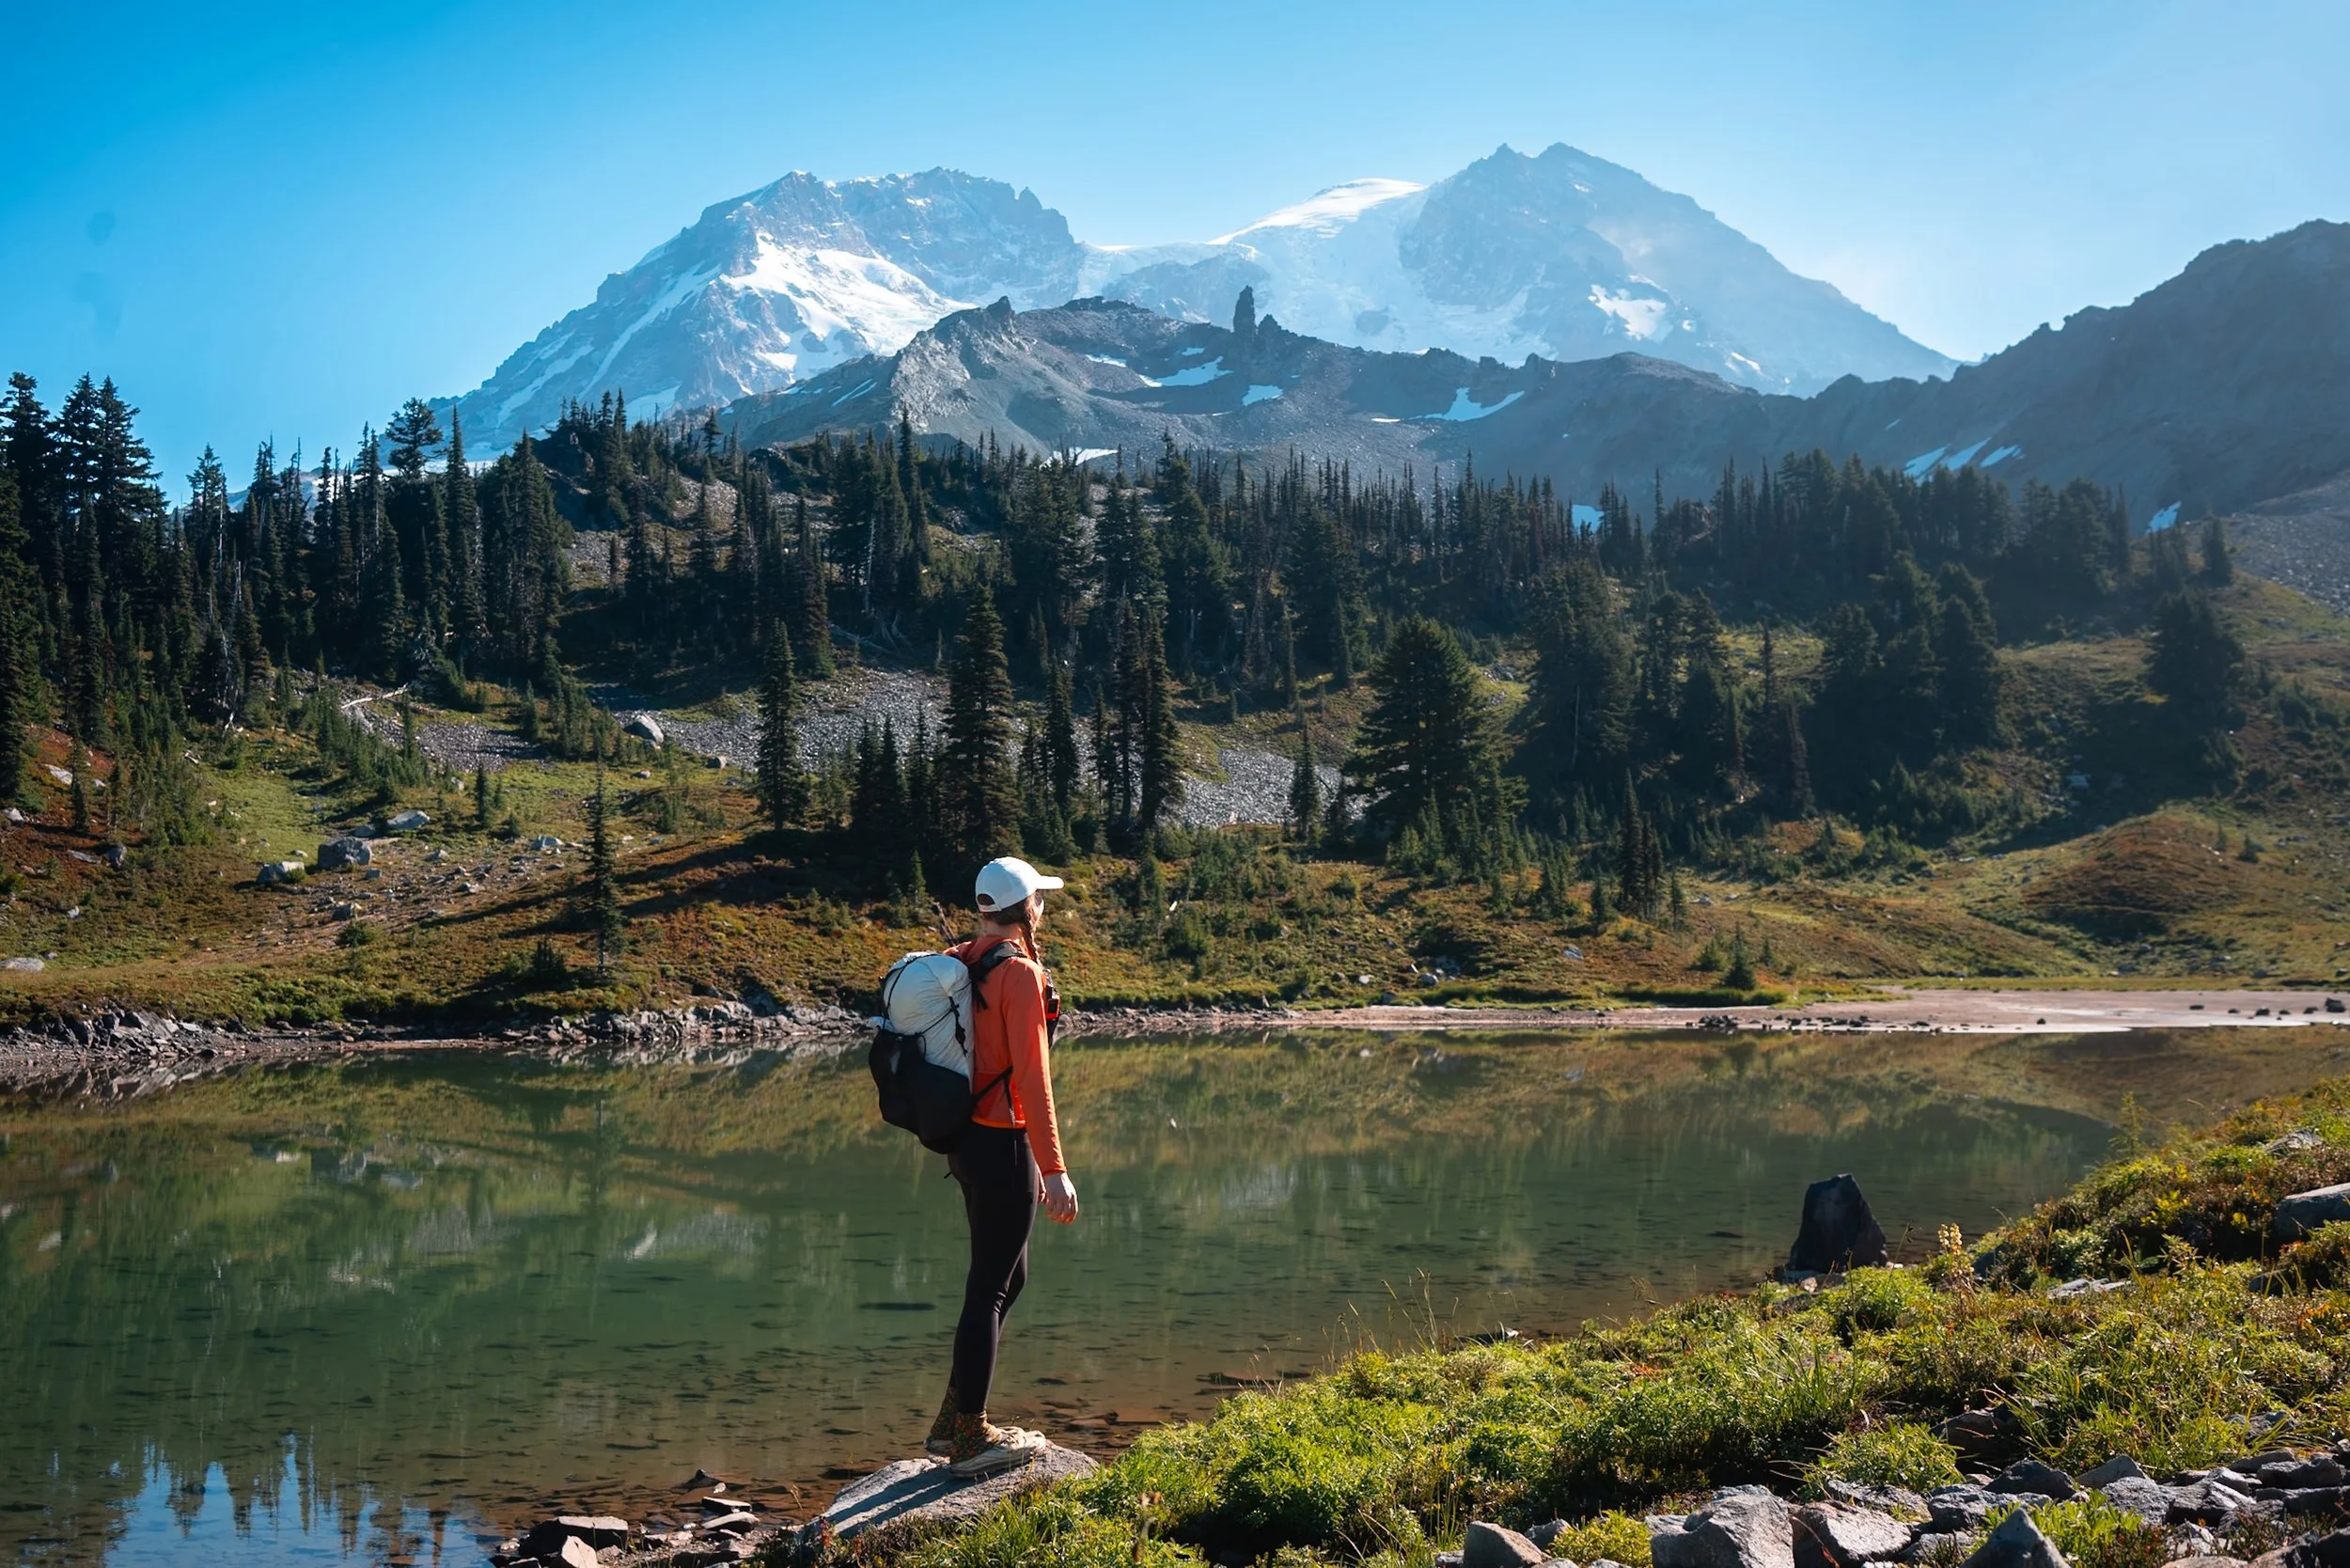
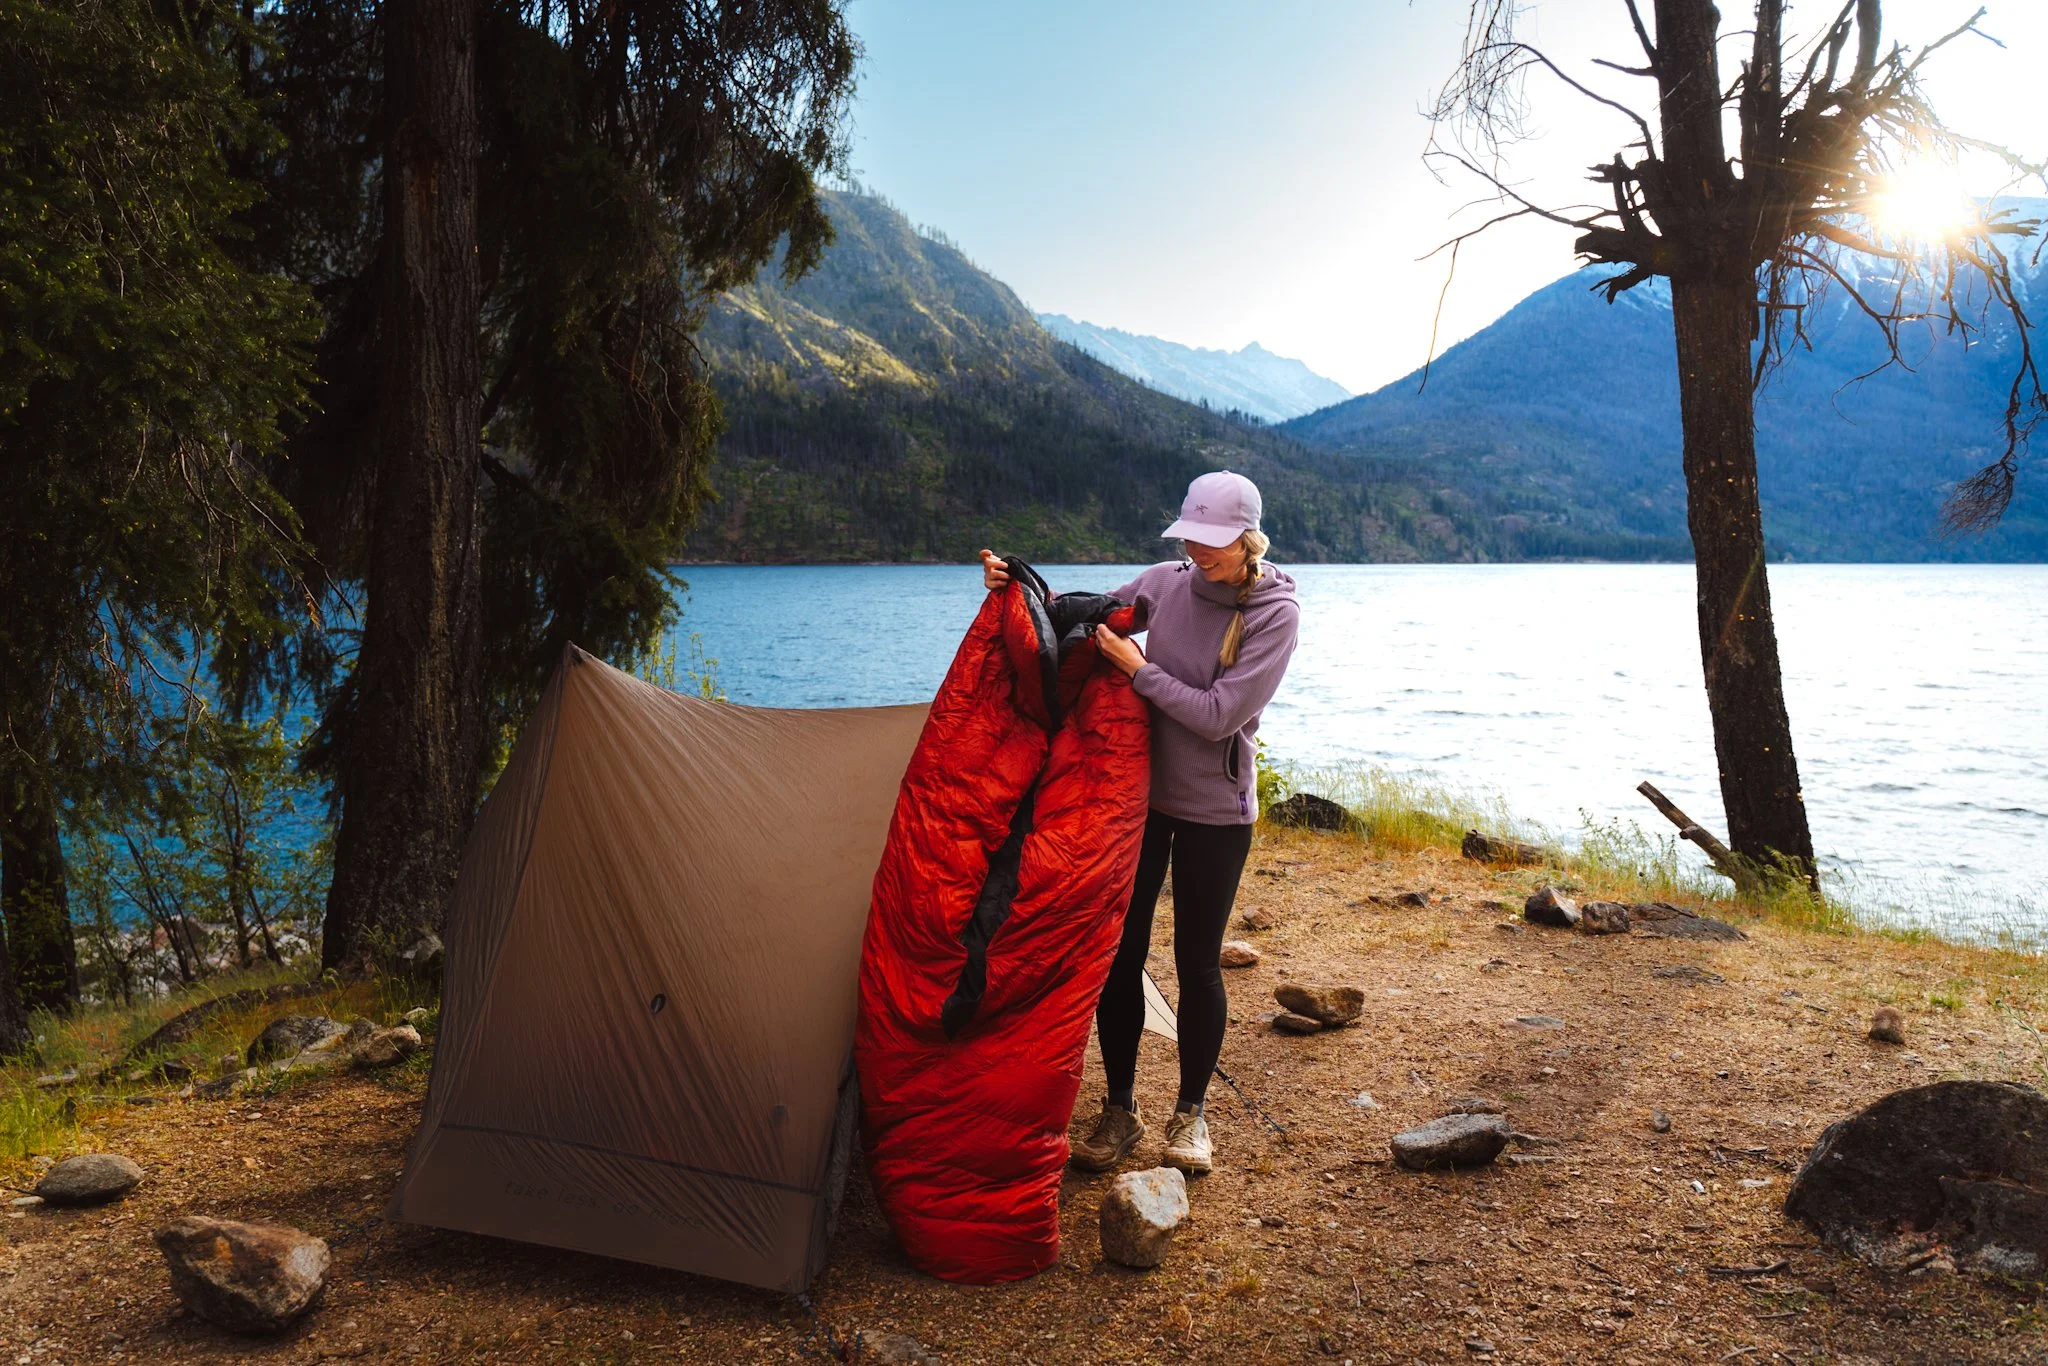
St. Andrews Lake on the Wonderland Trail, Gear in photo: backpack, leggings, sun hoodie, hat, hiking shoes
Why I Chose a 6-Day Itinerary for the Wonderland Trail:
I Wanted to Challenge Myself
My 6-day itinerary is not an easy one, with an average of 15.5 miles per day and an elevation gain of +4,633 feet per day.
For context on my hiking experience, I thru-hiked the 2,650-mile Pacific Crest Trail in 93 days, averaging 28.5 miles per day. I love challenging myself, so I wanted an ambitious Wonderland Trail itinerary. Initially, I planned a 5-day itinerary, averaging 18.6 miles per day, but ultimately decided to slow down and enjoy a more relaxed pace (for me) on this hike.
Time Constraints
I had only a 6-day window to hike the trail because I had another commitment (a good friend’s wedding) a couple of days after I finished.
Permit Constraints
For a full deep-dive on how to get a Wonderland Trail permit, check out my Wonderland Trail Permit Guide. When it comes to your itinerary, a lot of it comes down to what backcountry permits are available. I didn’t win the Mount Rainier National Park Backcountry Lottery, so I relied on cancellations of other people’s permits to create a last minute itinerary online about a week before hiking the trail. Otherwise, I would have needed to get walk-up permits.
If you don’t win the lottery, you can try for walk-up permits at a ranger station in Mount Rainier National Park the day before or the day of your start. However, this requires significant flexibility in terms of campsites, mileage, and start dates. This might mean hiking the trail faster or slower than you’d like.
My main goal for hiking the Wonderland Trail was simply to be able to hike it in 2024, so I knew I had to be flexible with campsites and dates because I didn’t win the lottery.
Campsite Priorities
I really wanted to camp at Klapatche Park because it has a spectacular view of Mount Rainier and a lake with a stunning reflection of the mountain. Luckily, Klapatche Park was one of the first campsites I secured through a permit cancellation online, so I built my itinerary around it and other available sites.
Takeaways
If you want to challenge yourself, a 6-day Wonderland Trail itinerary is achievable, but it’s hard, with long days and significant elevation gain. Most Wonderland Trail hikers complete the trail in 7–14 days, which allows for shorter hiking days, averaging 6.6–13.3 miles per day.
Sunrise at Aurora Lake in Klapatche Park on the Wonderland Trail, Gear in photo: down jacket, beanie, leggings, hiking shoes, gloves
Day-by-Day Breakdown of My 6-Day Wonderland Trail Thru-Hike:
Day 1: White River to Mystic Camp
Mileage: 12.2 miles
Elevation Gain: +4,300 ft
Elevation Loss: -3,000 ft
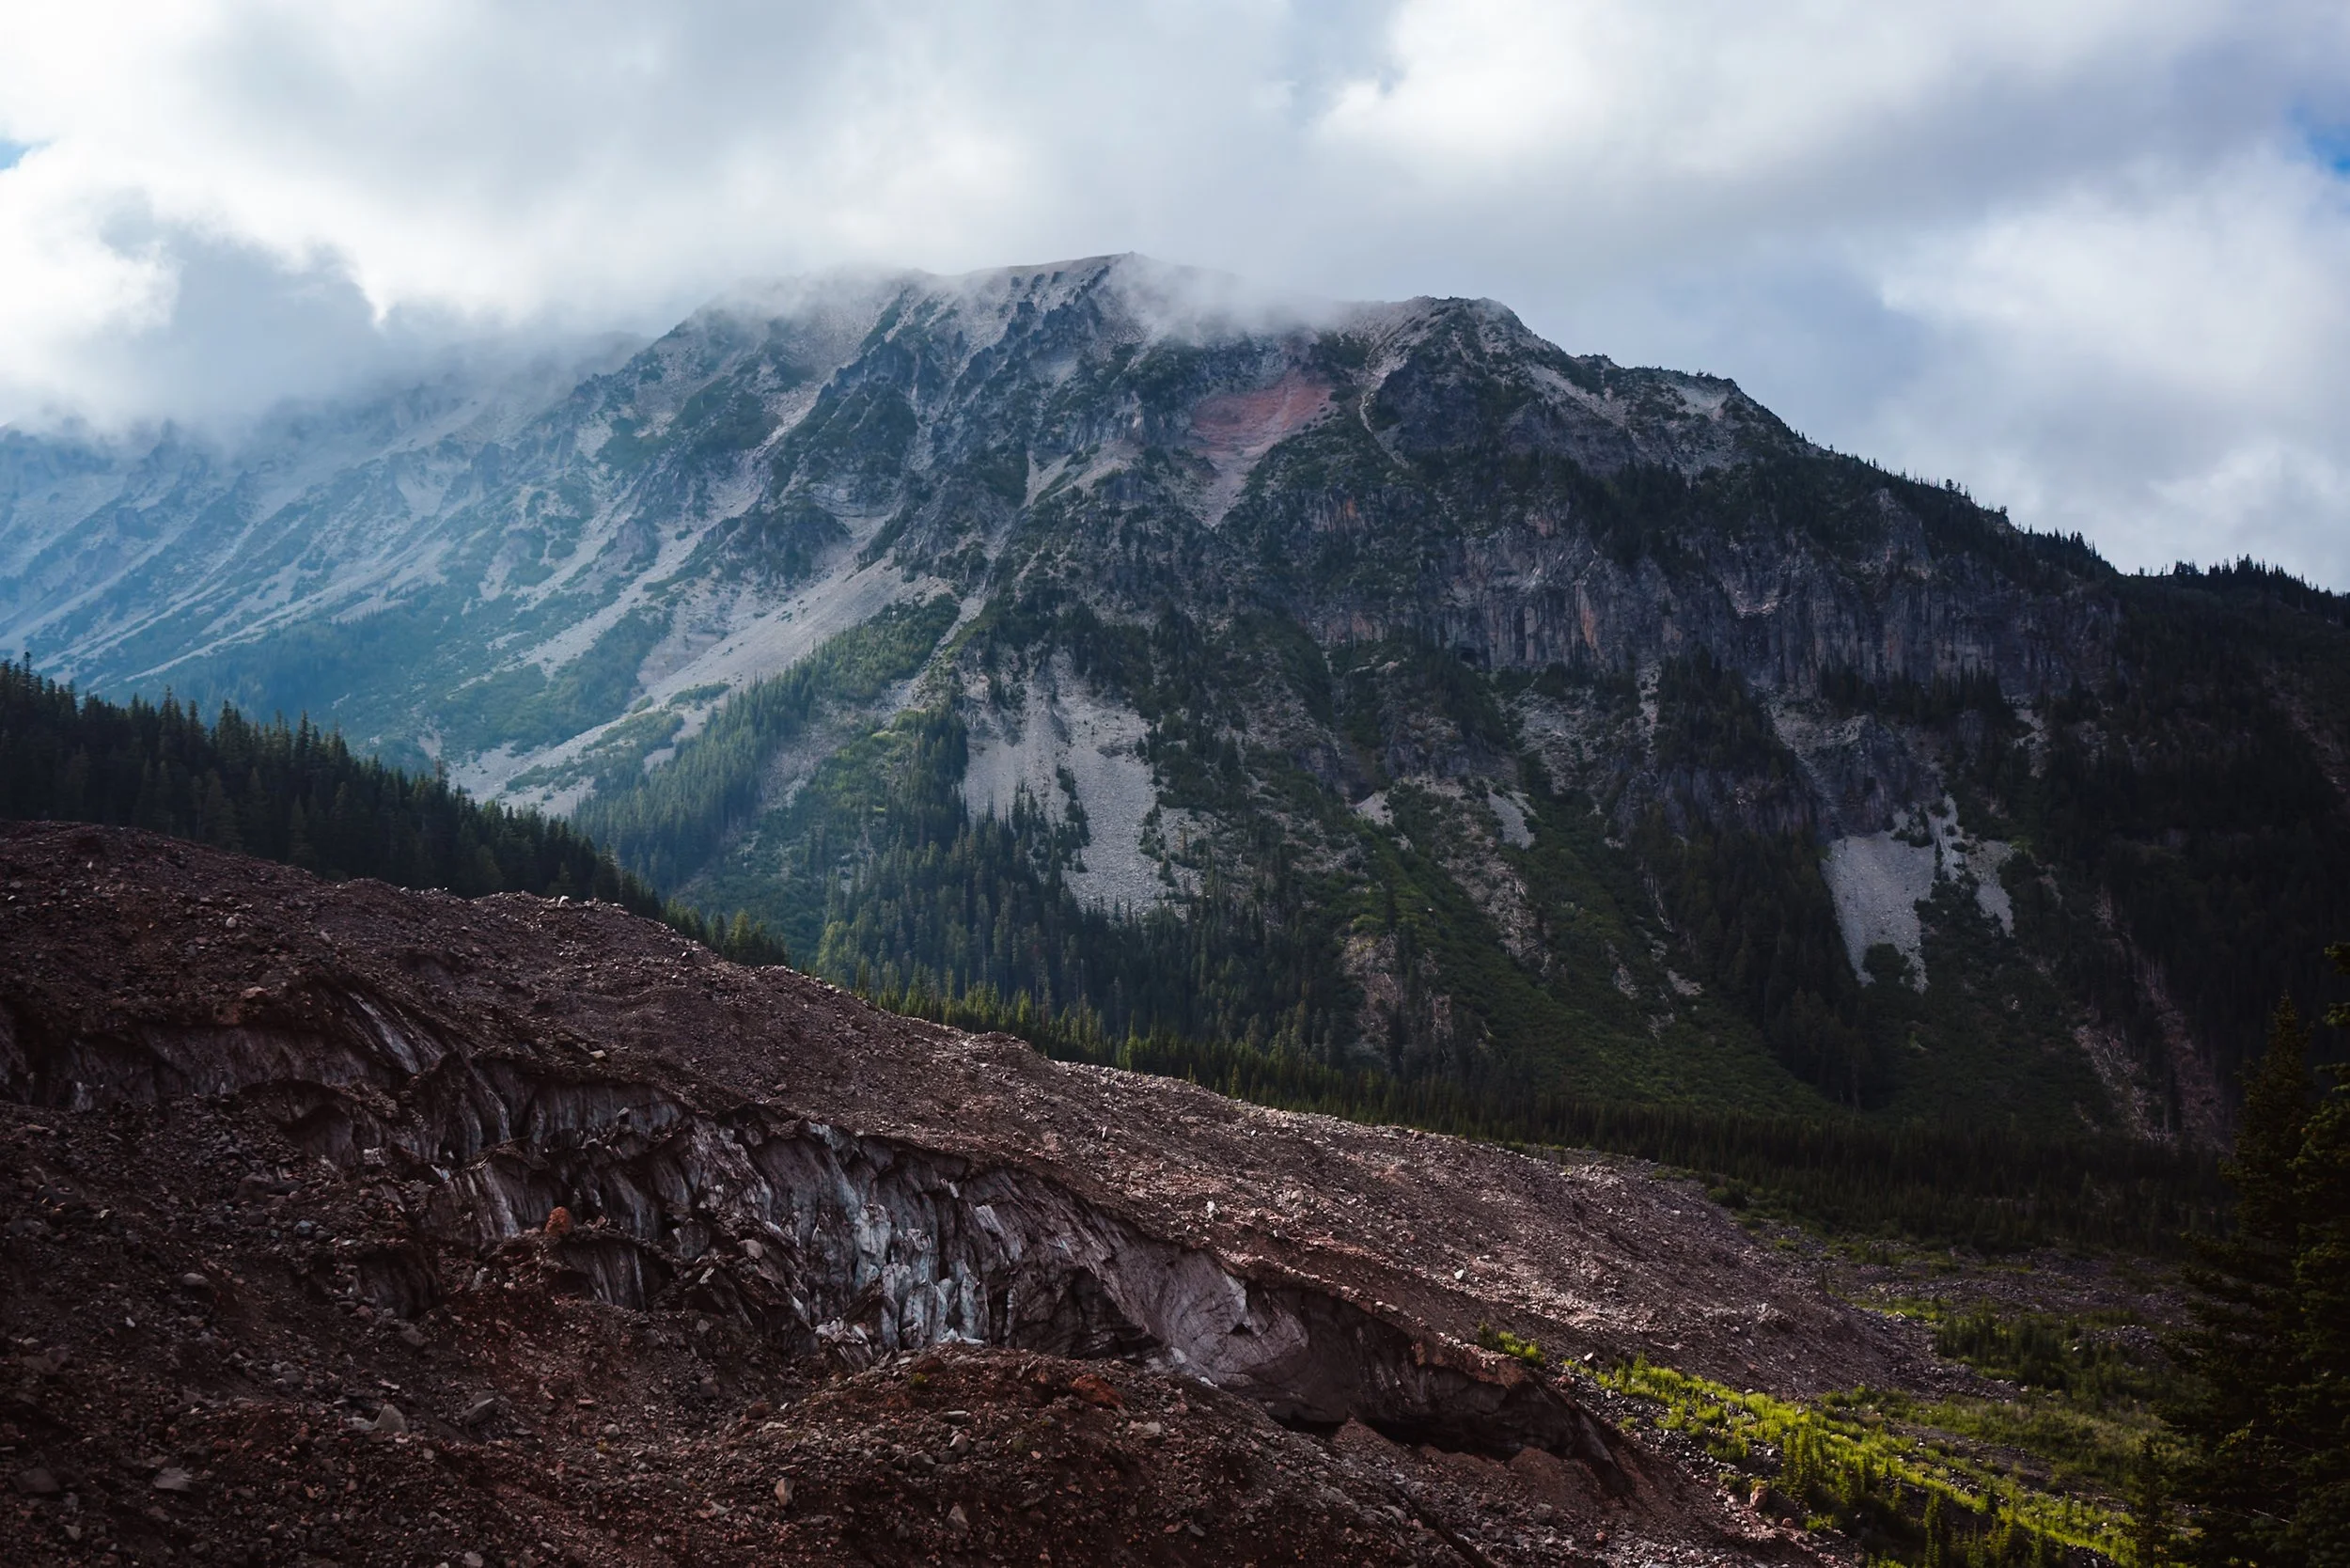

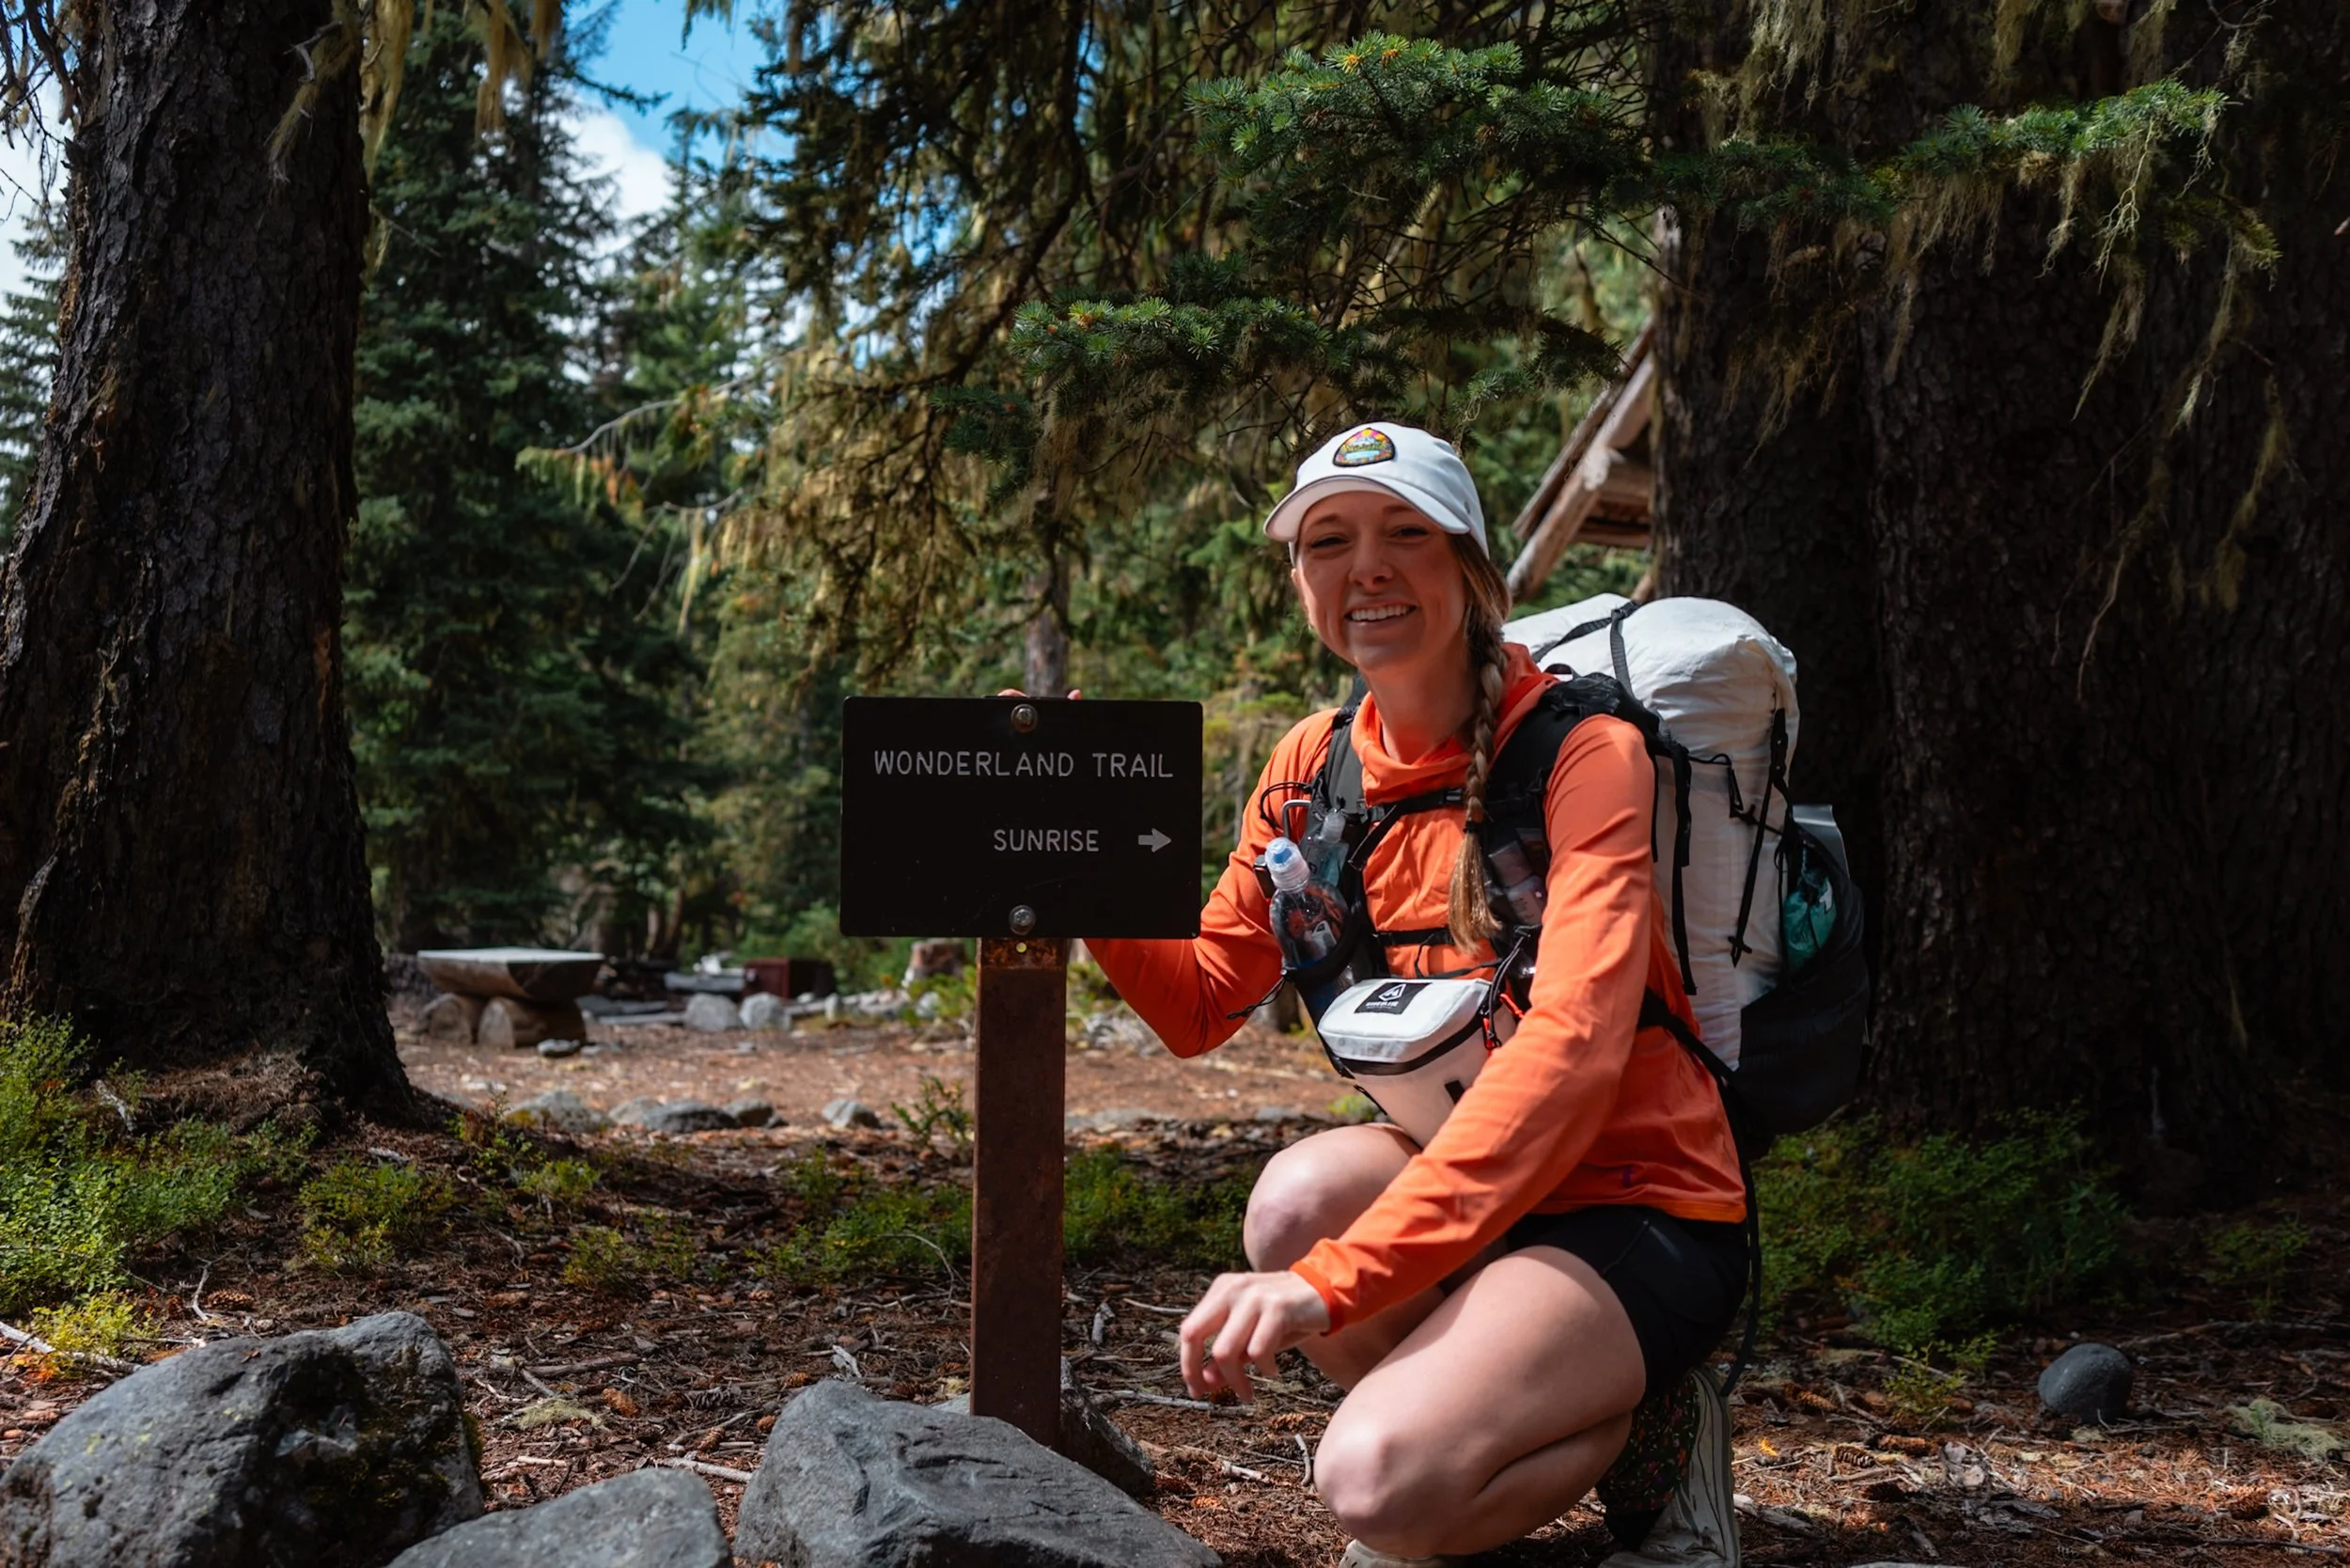
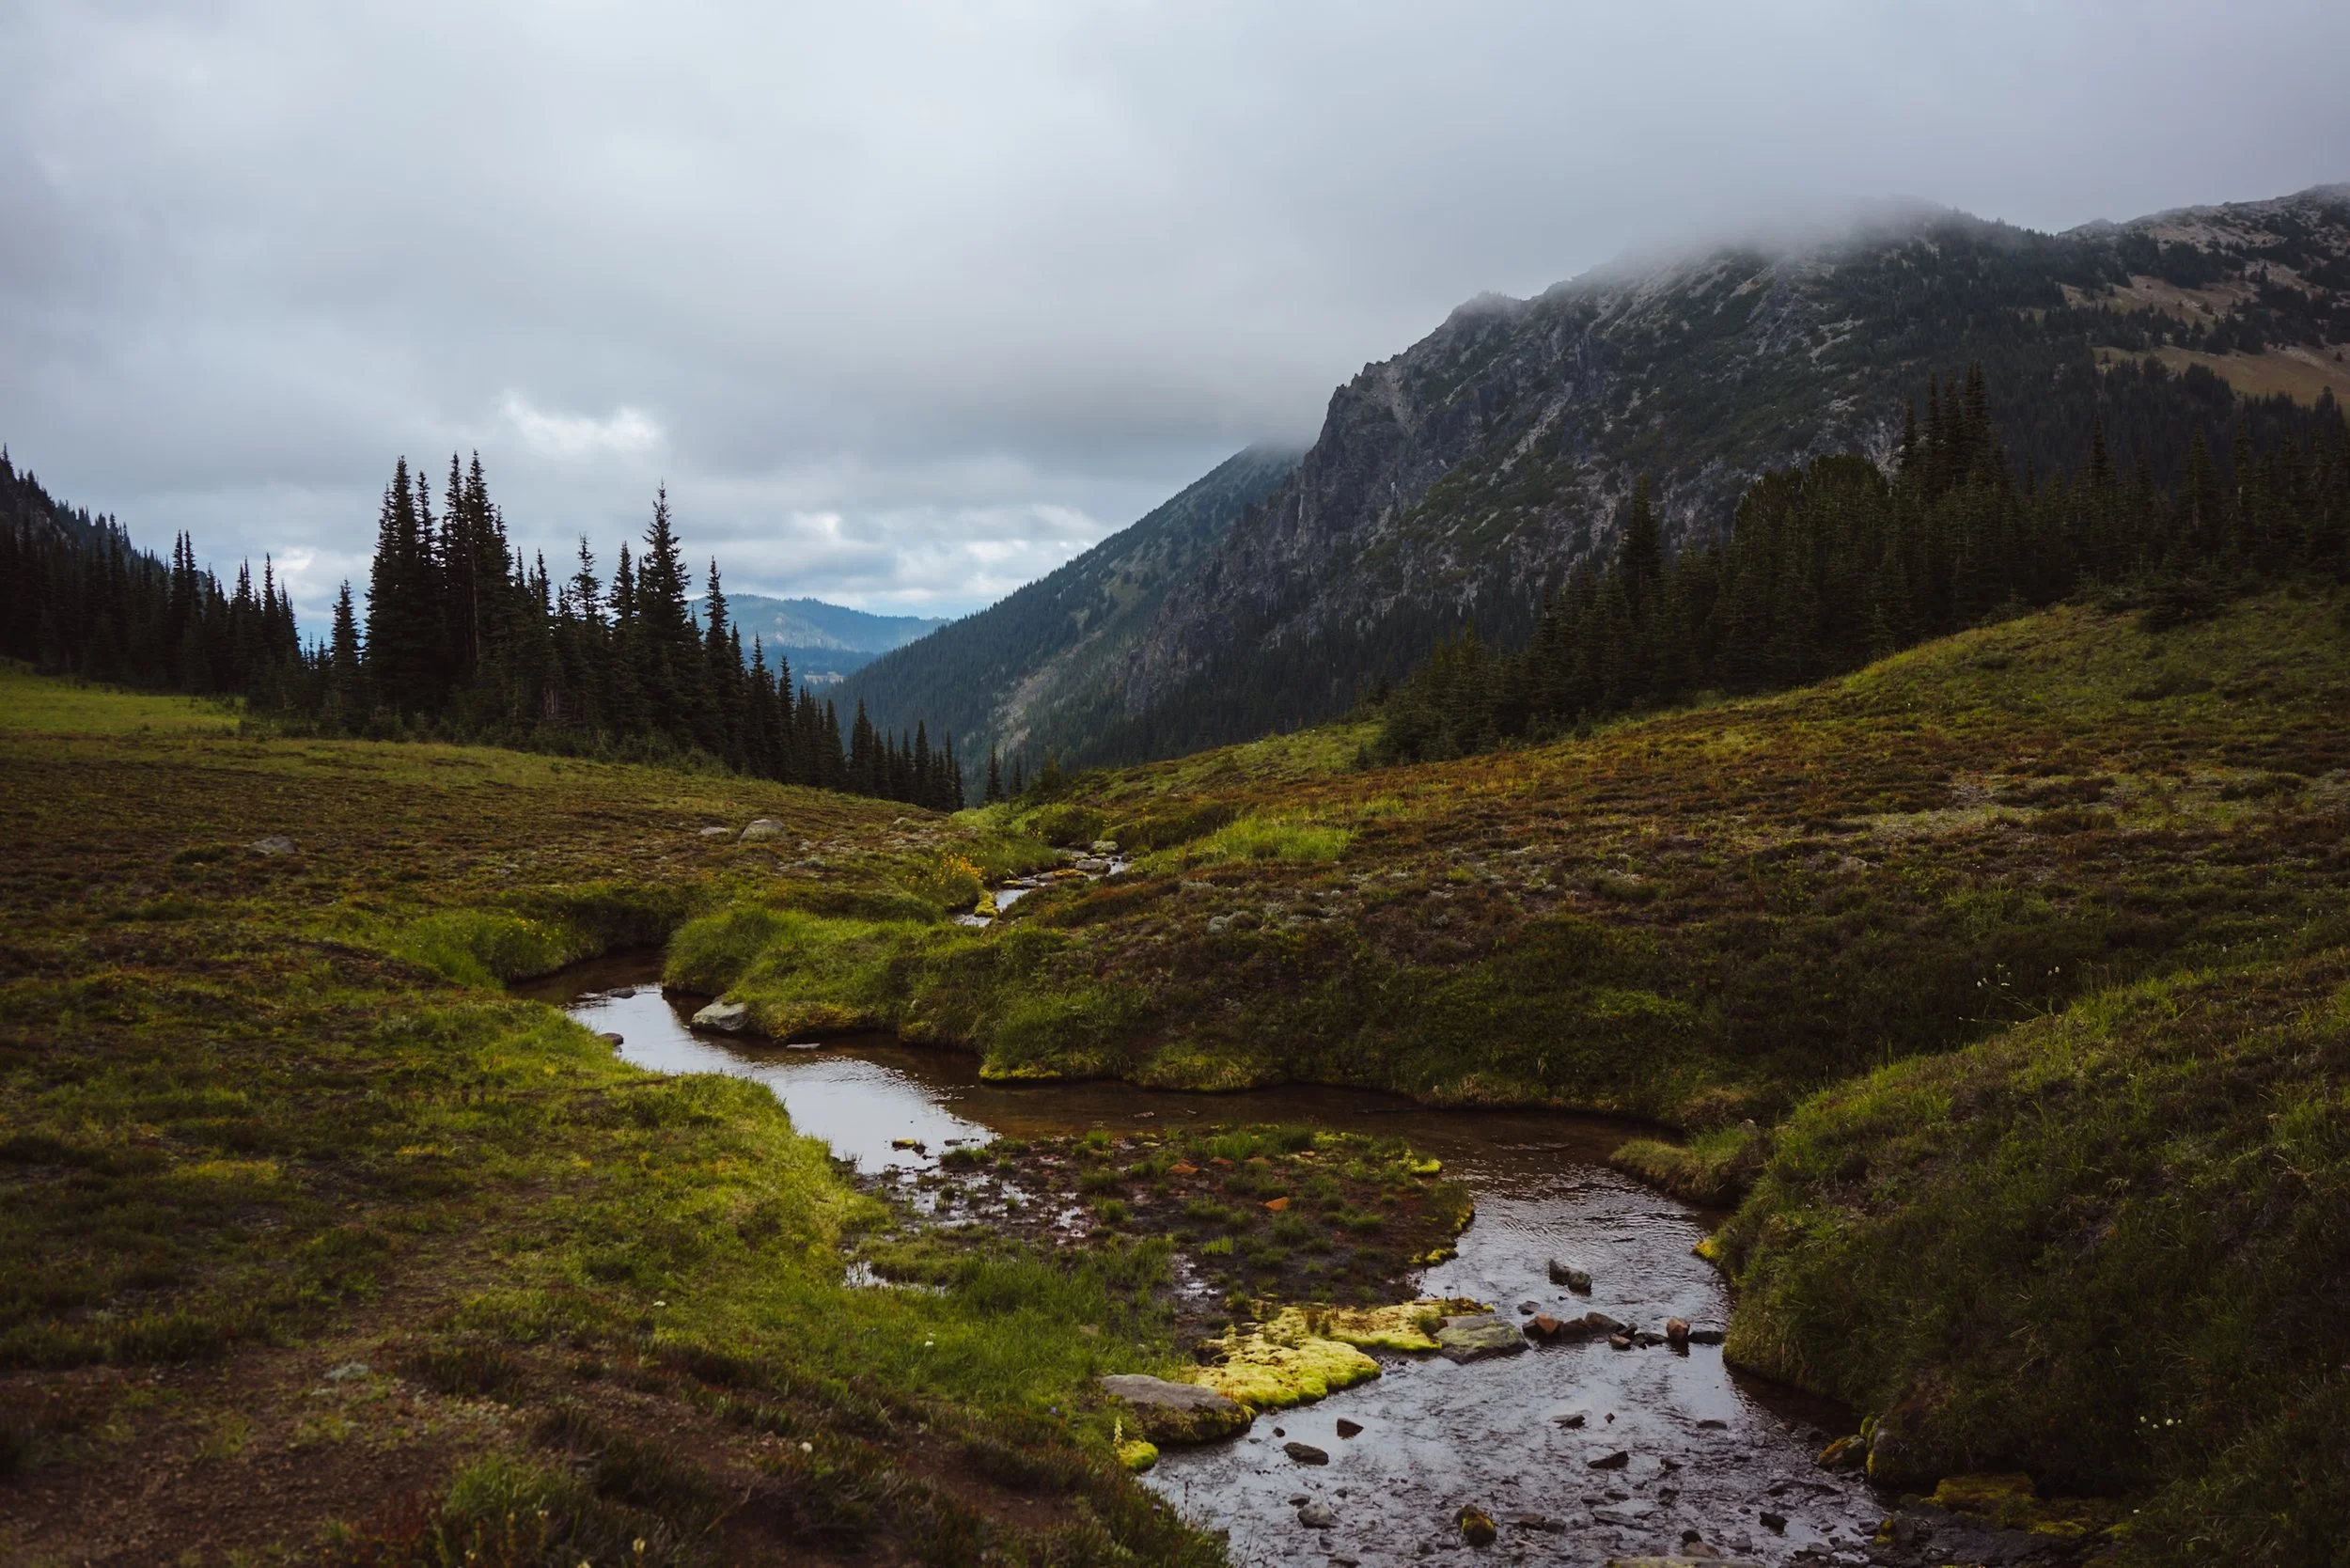


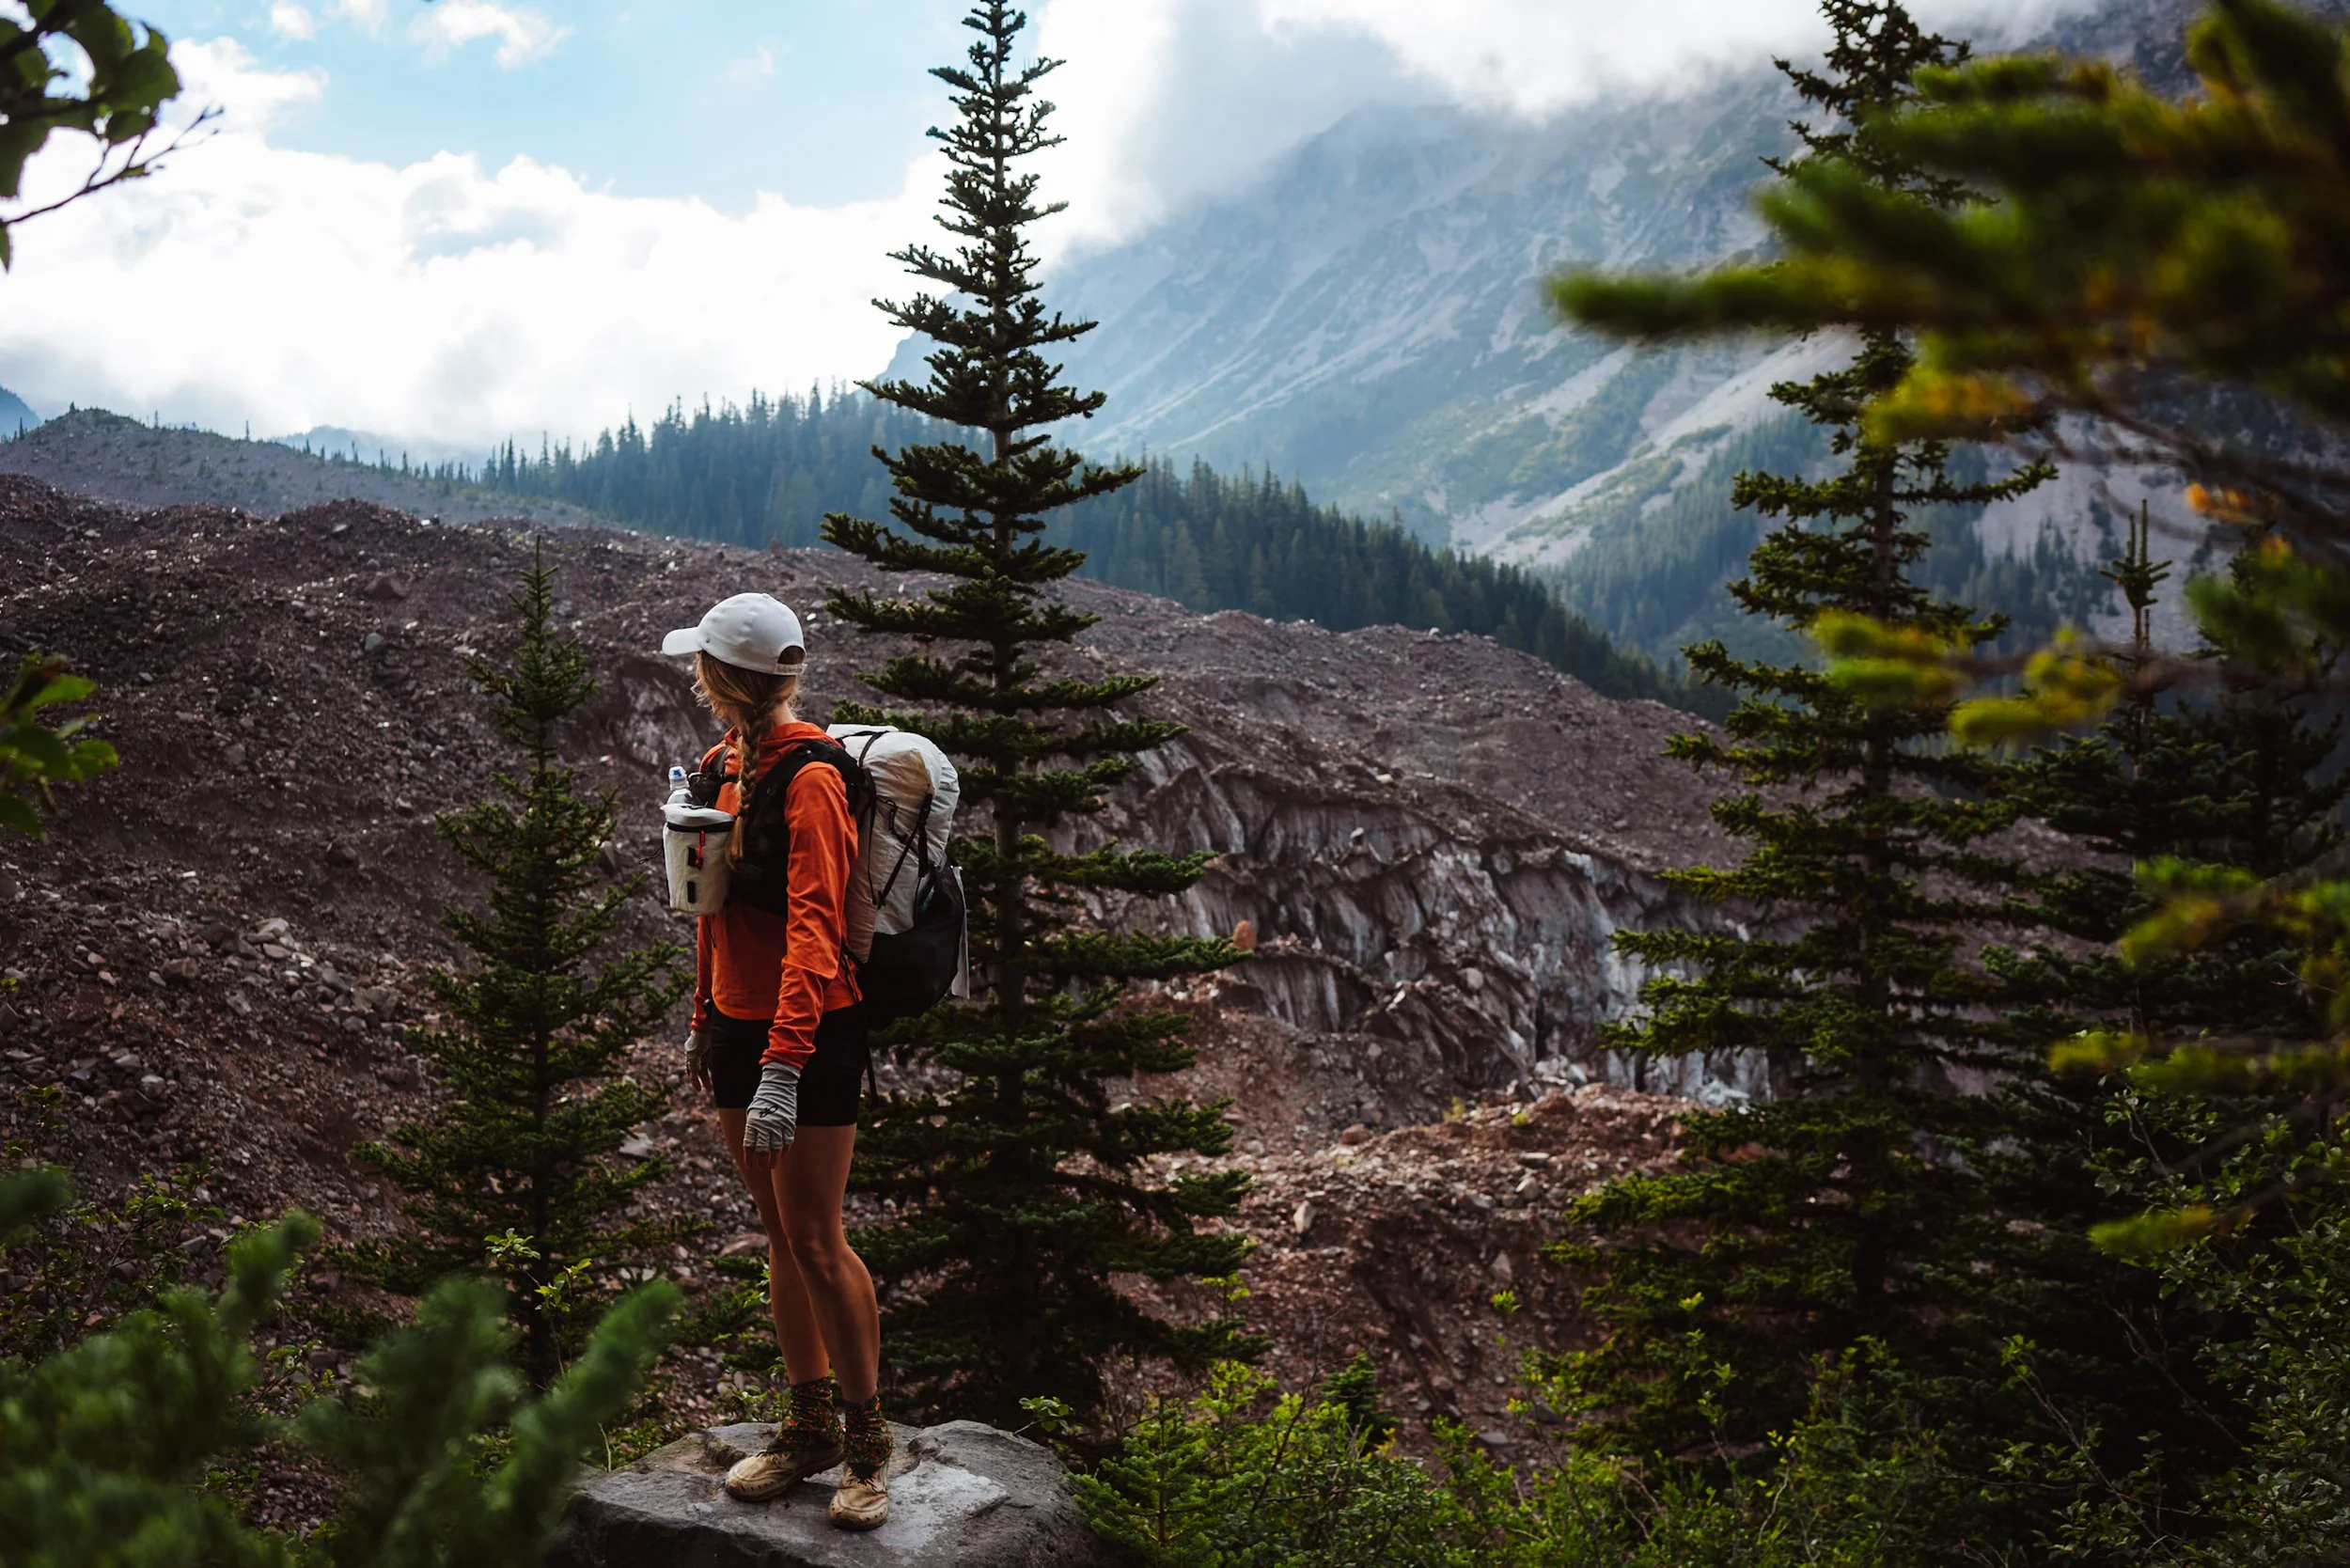

On Day 1 of my Wonderland Trail hike, I first drove to Longmire to pick up my backpacking permit and drop off my food cache. I then drove to the White River Trailhead to start my hike. I began with 4 days of food and planned to pick up my last 2 days of food on the morning of Day 5 at Longmire.
A significant portion of the elevation gain for the day occurred within the first few miles as I hiked up from White River to the Sunrise area from White River of Mount Rainier National Park – roughly +2,000 ft of elevation gain. While this may sound tough with a full pack, this part of the trail was incredibly quiet and I enjoyed taking my time. I didn’t see anyone else for at least an hour, which was a pleasant surprise.
Sunrise Visitor Center Area:
The Wonderland Trail by the Sunrise area of Mount Rainier National Park
The Wonderland Trail passes through the Sunrise area, which is located near the Sunrise Visitor Center – the highest point that can be reached by vehicle in the park, at 6,500 ft.
I began my Wonderland Trail hike on a Sunday in August, so the Sunrise area was very busy with a lot of people out doing day hikes, such as Mount Fremont or the Burroughs. These could be great side hikes if you have time in your Wonderland Trail schedule. Once I got a couple of miles west of the area, it was much quieter.
This section is known for its spectacular views of Mount Rainier, and although it was cloudy on the day I hiked, the views of the surrounding mountains were still stunning. I was simply happy to be on the trail and grateful for the opportunity to hike the Wonderland Trail.
Mystic Camp:
Mystic Camp is cozy, nestled in a forest, with Mystic Lake nearby and a creek in camp for water. I stayed at Site 2 (there are 7 total), which was relatively private compared to the others. Mystic Camp has a pole with hooks for hanging your food (with another pole to lift your food bag up), and Mystic Lake is just a short walk away. There’s also a ranger cabin nearby.
Day 2: Mystic Camp to South Mowich River via Spray Park Alternate
Mileage: 17.9 miles
Elevation Gain: +4,900 ft
Elevation Loss: -7,700 ft
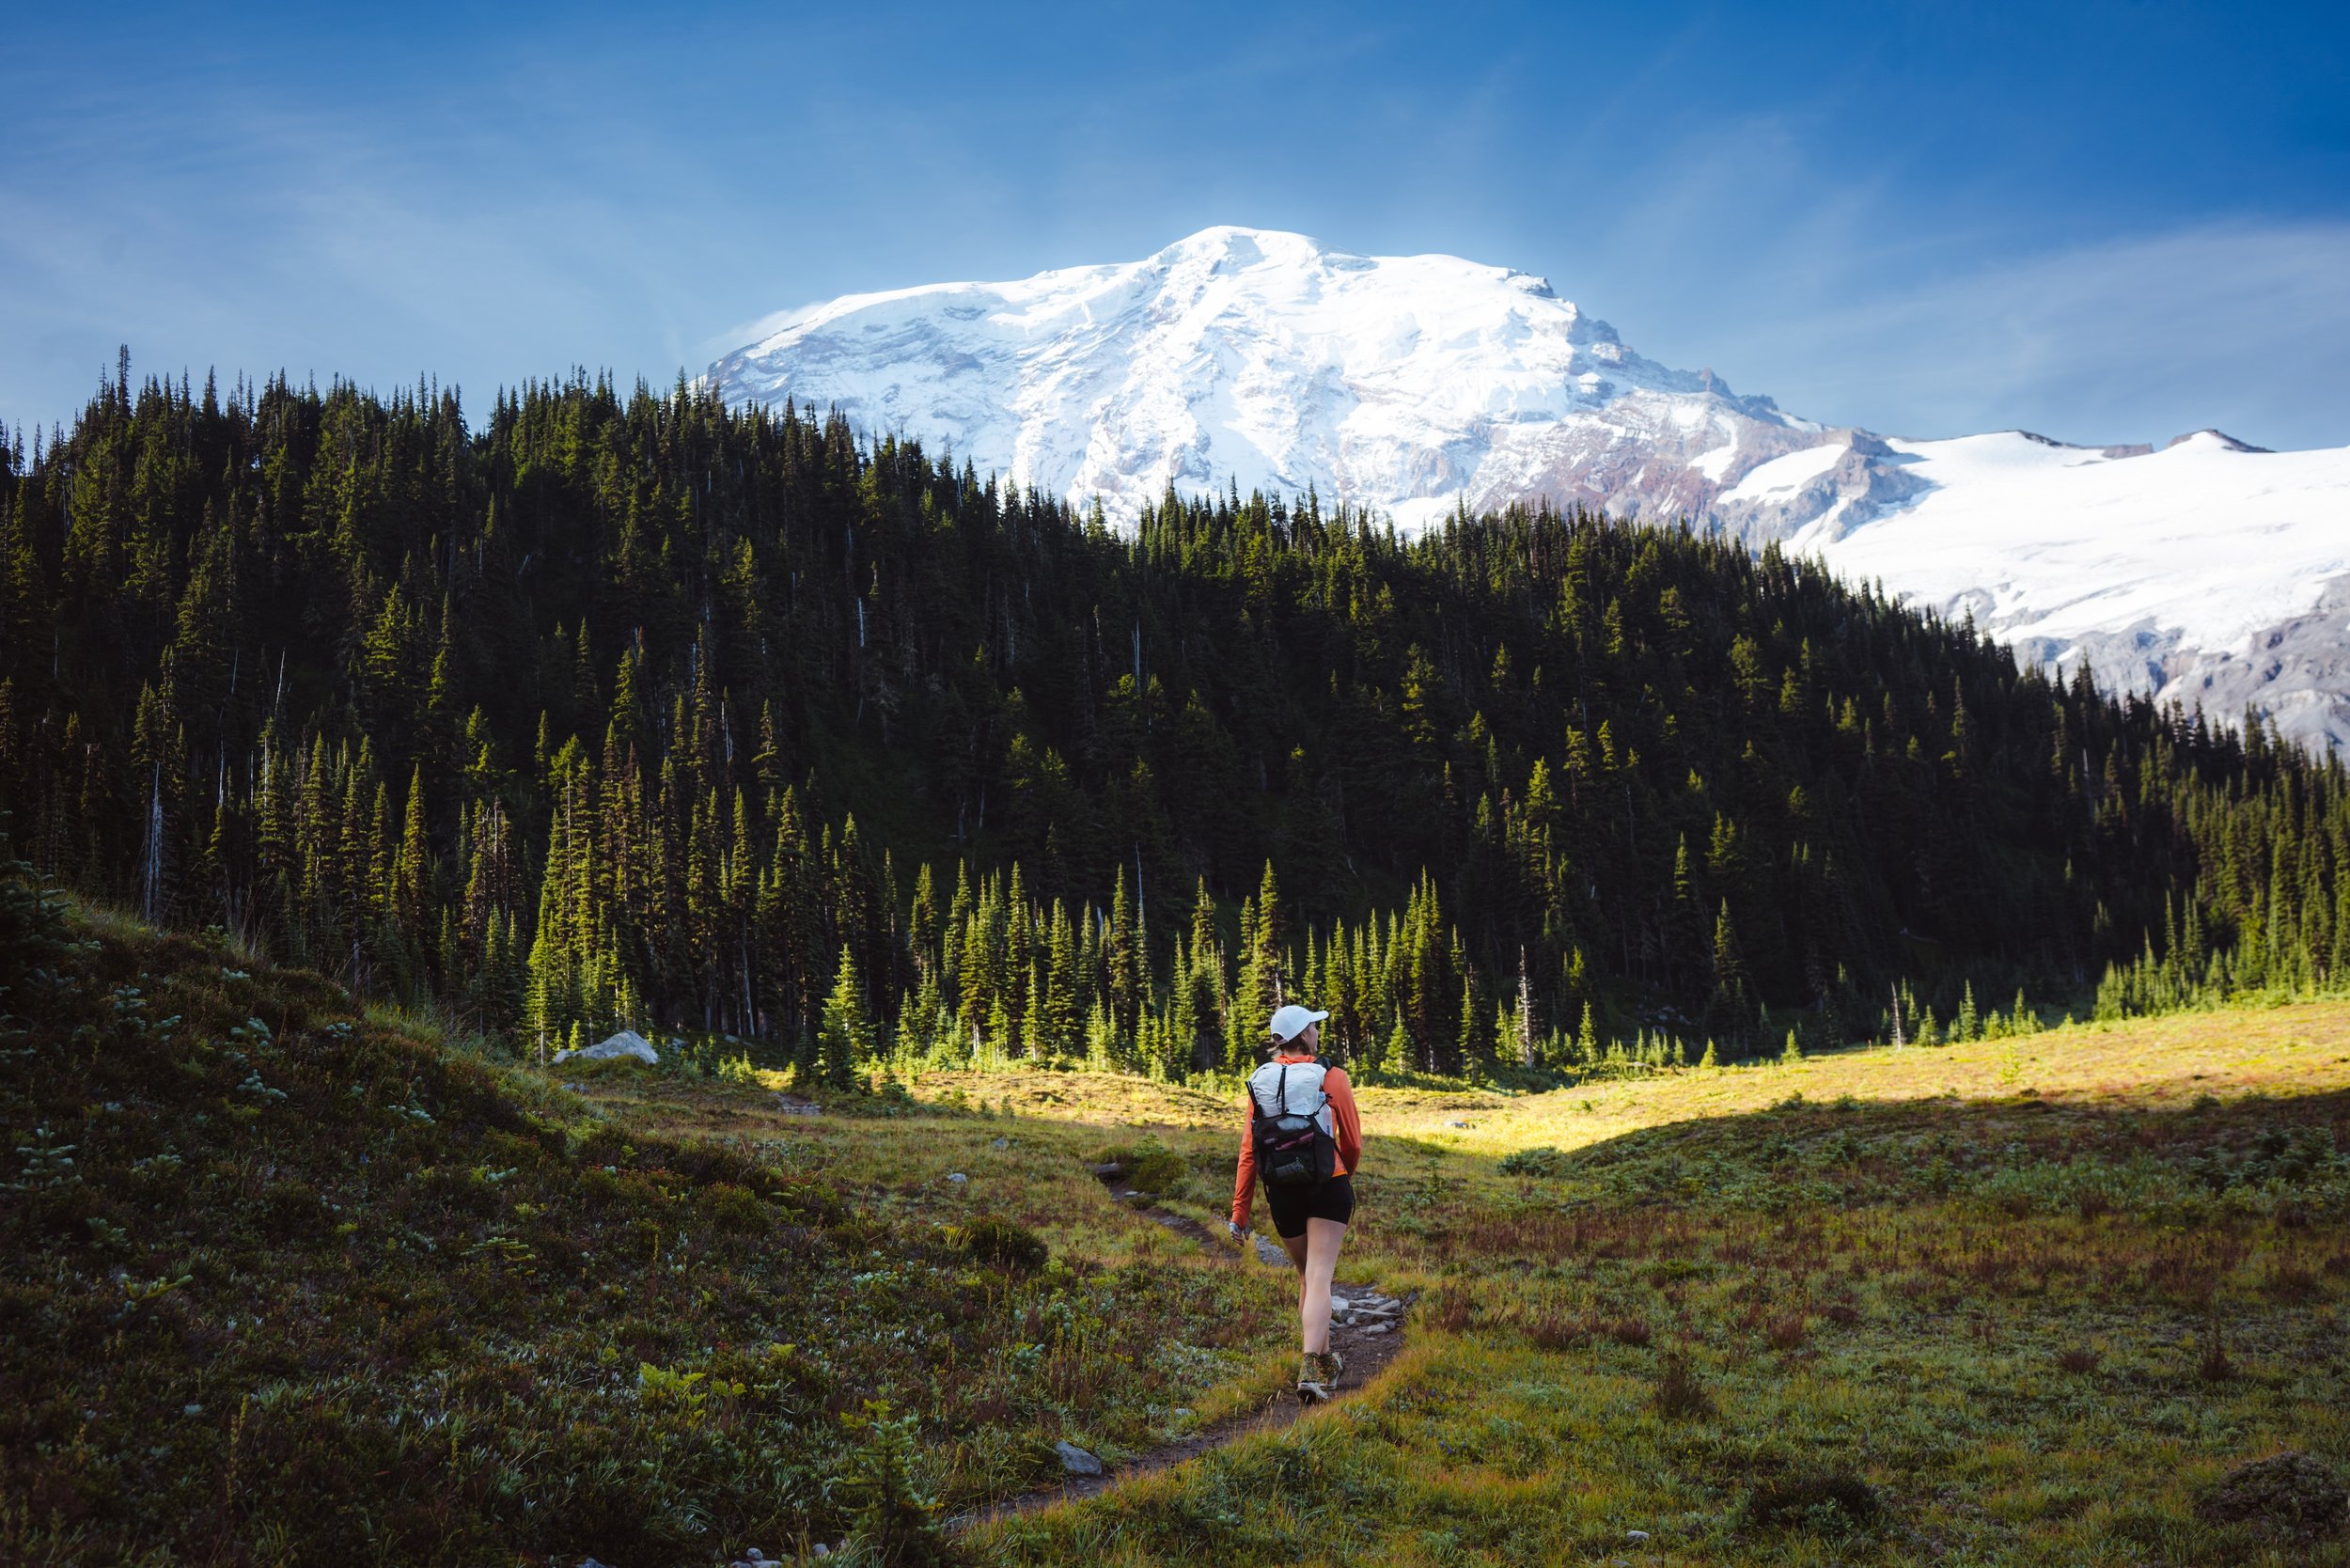
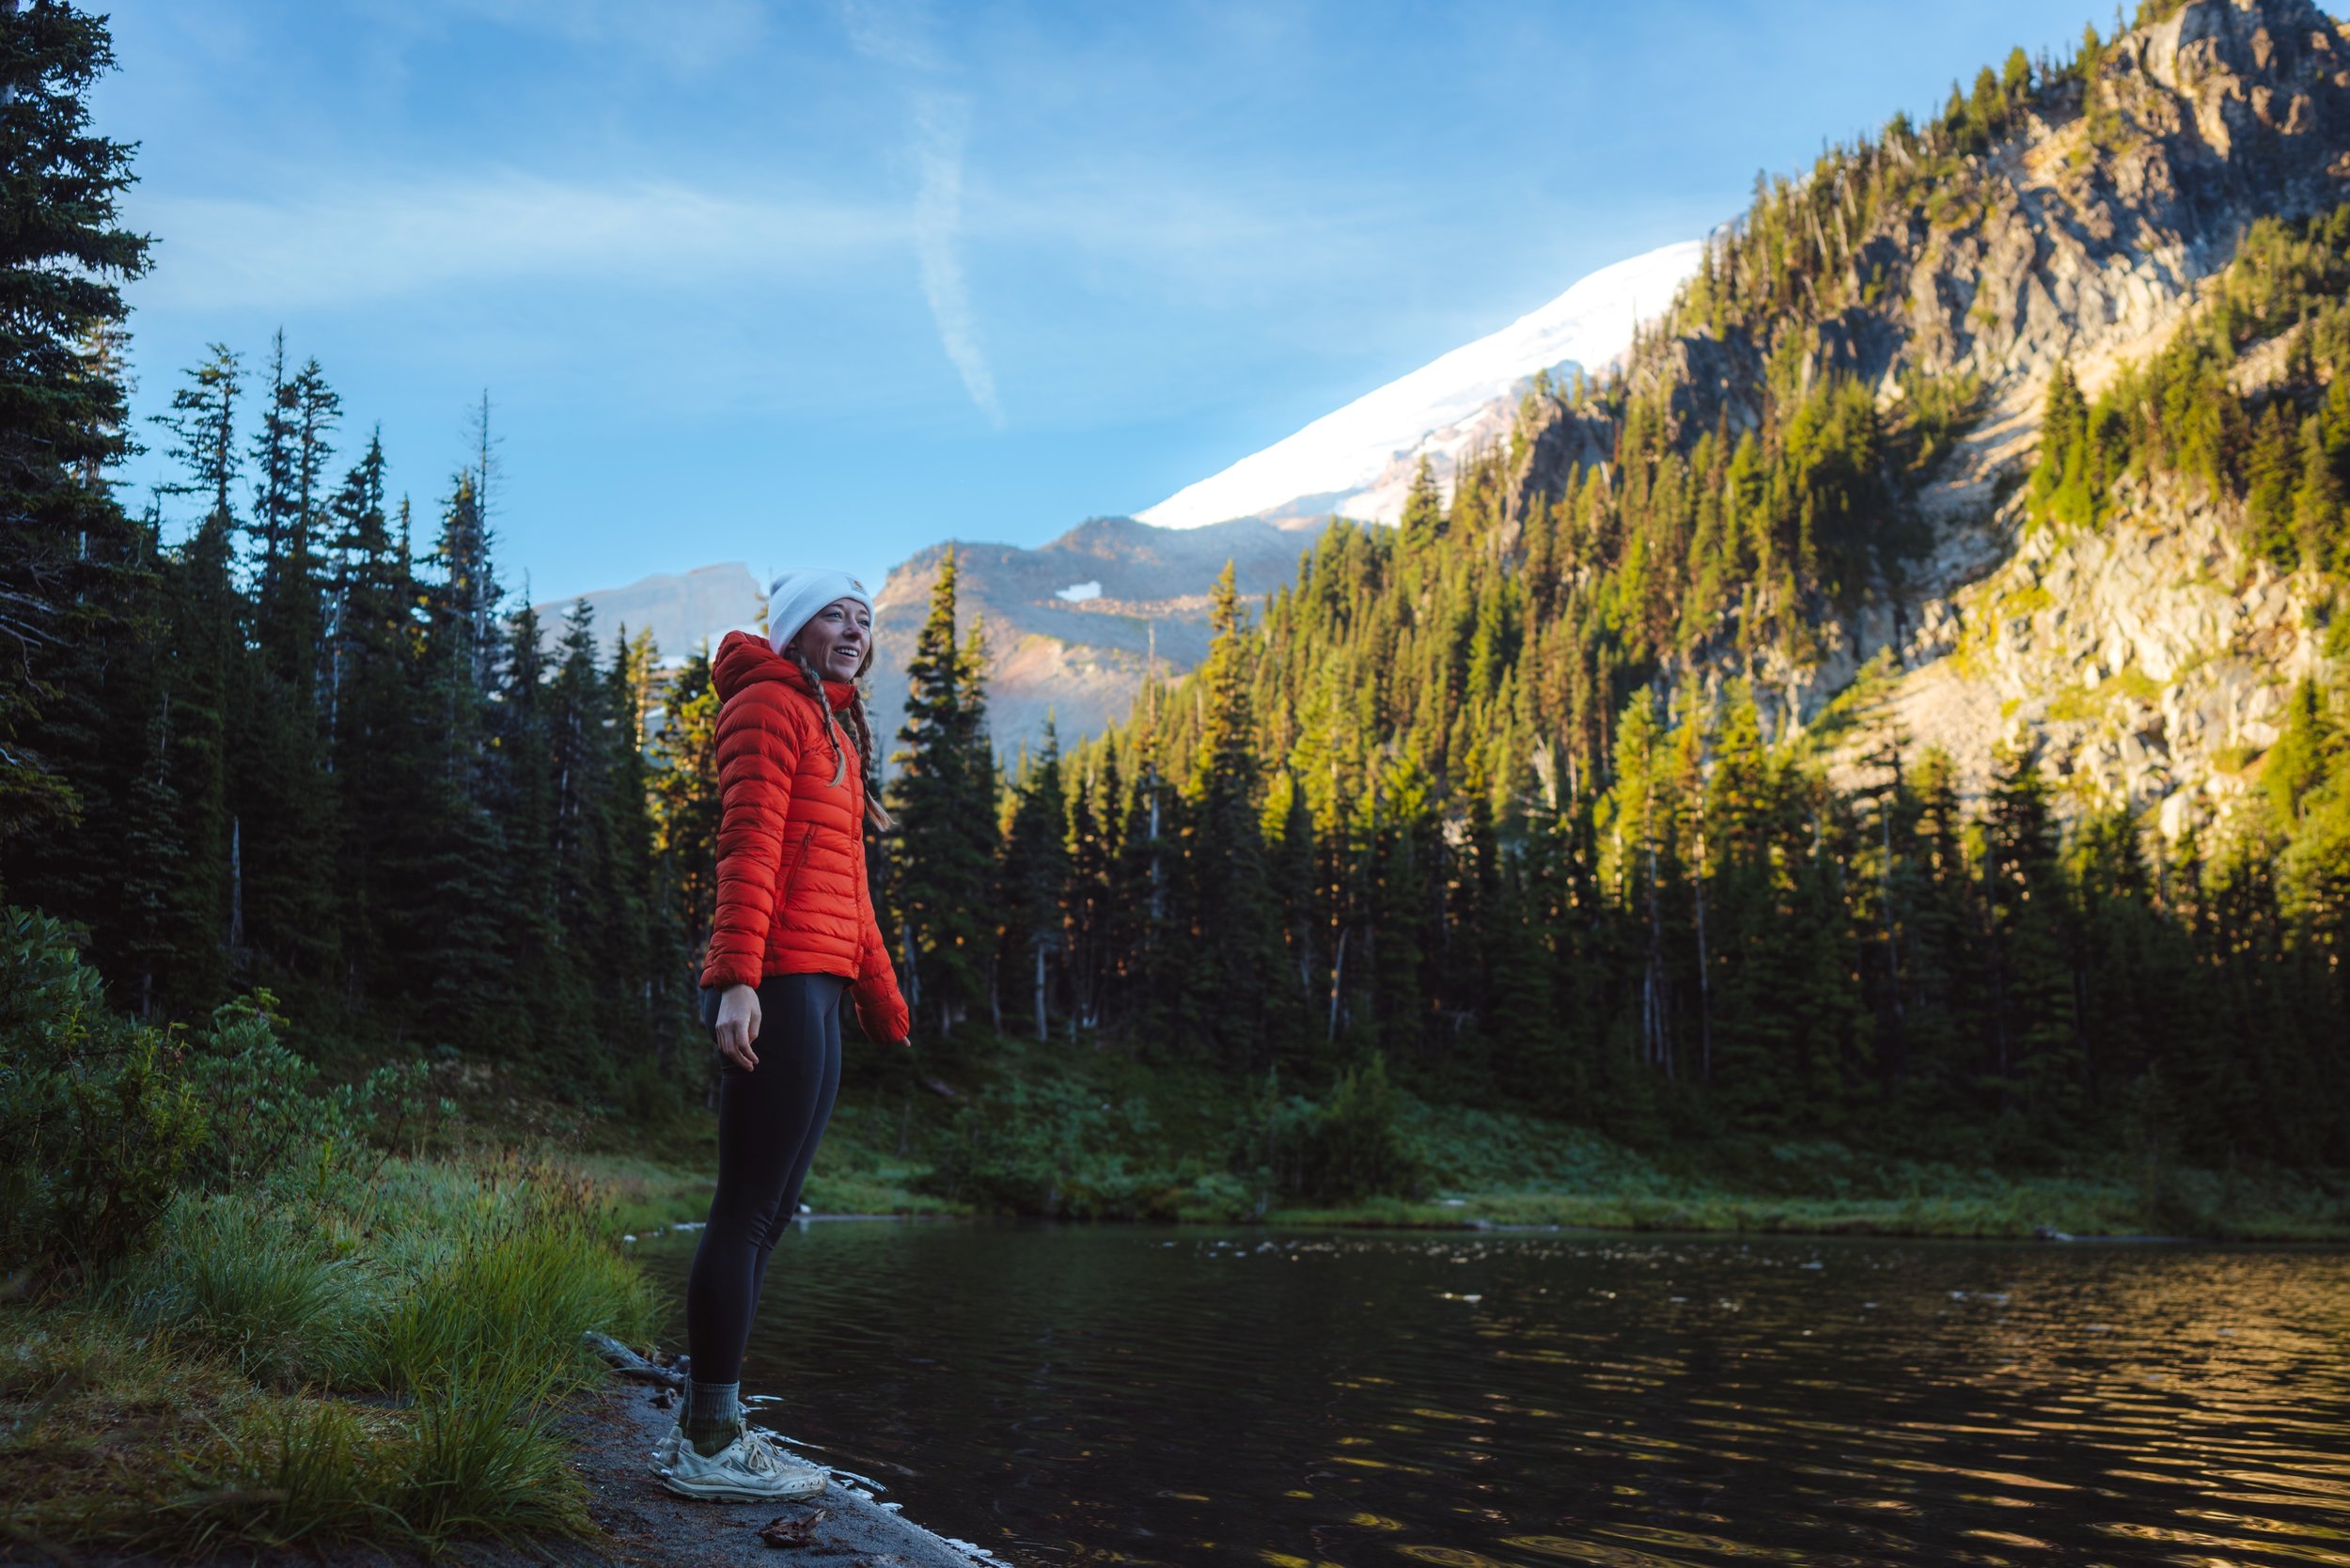
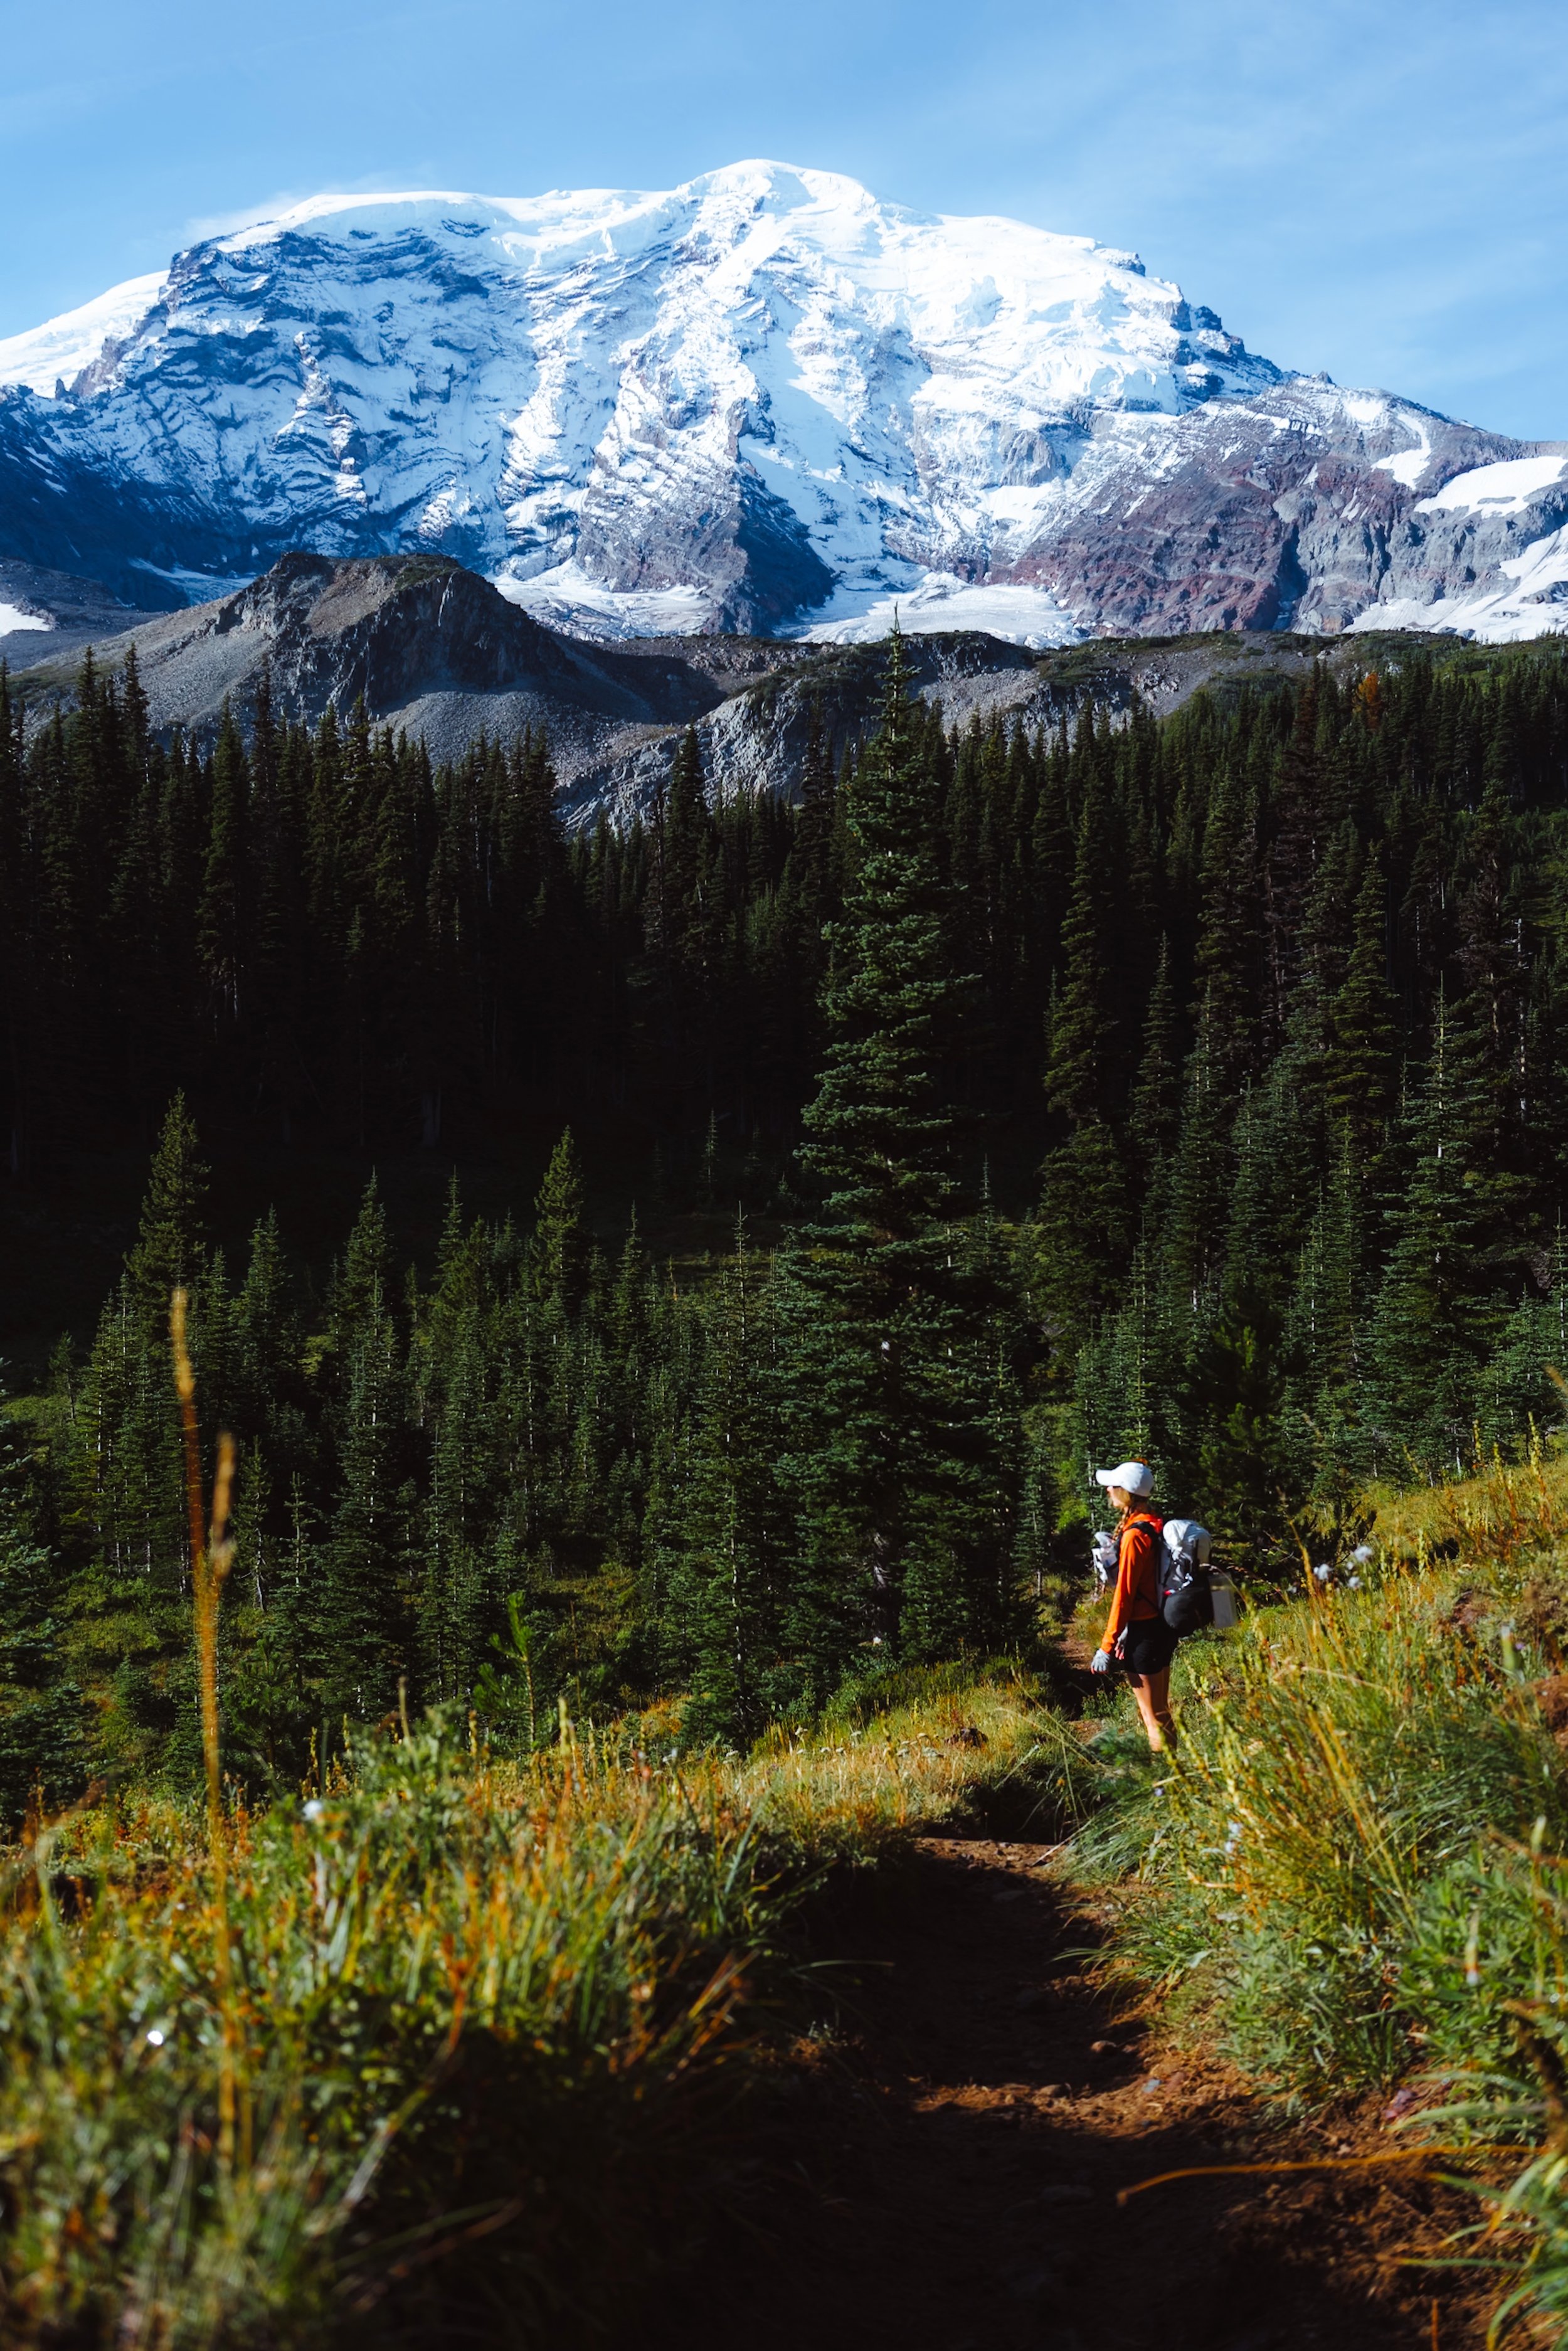
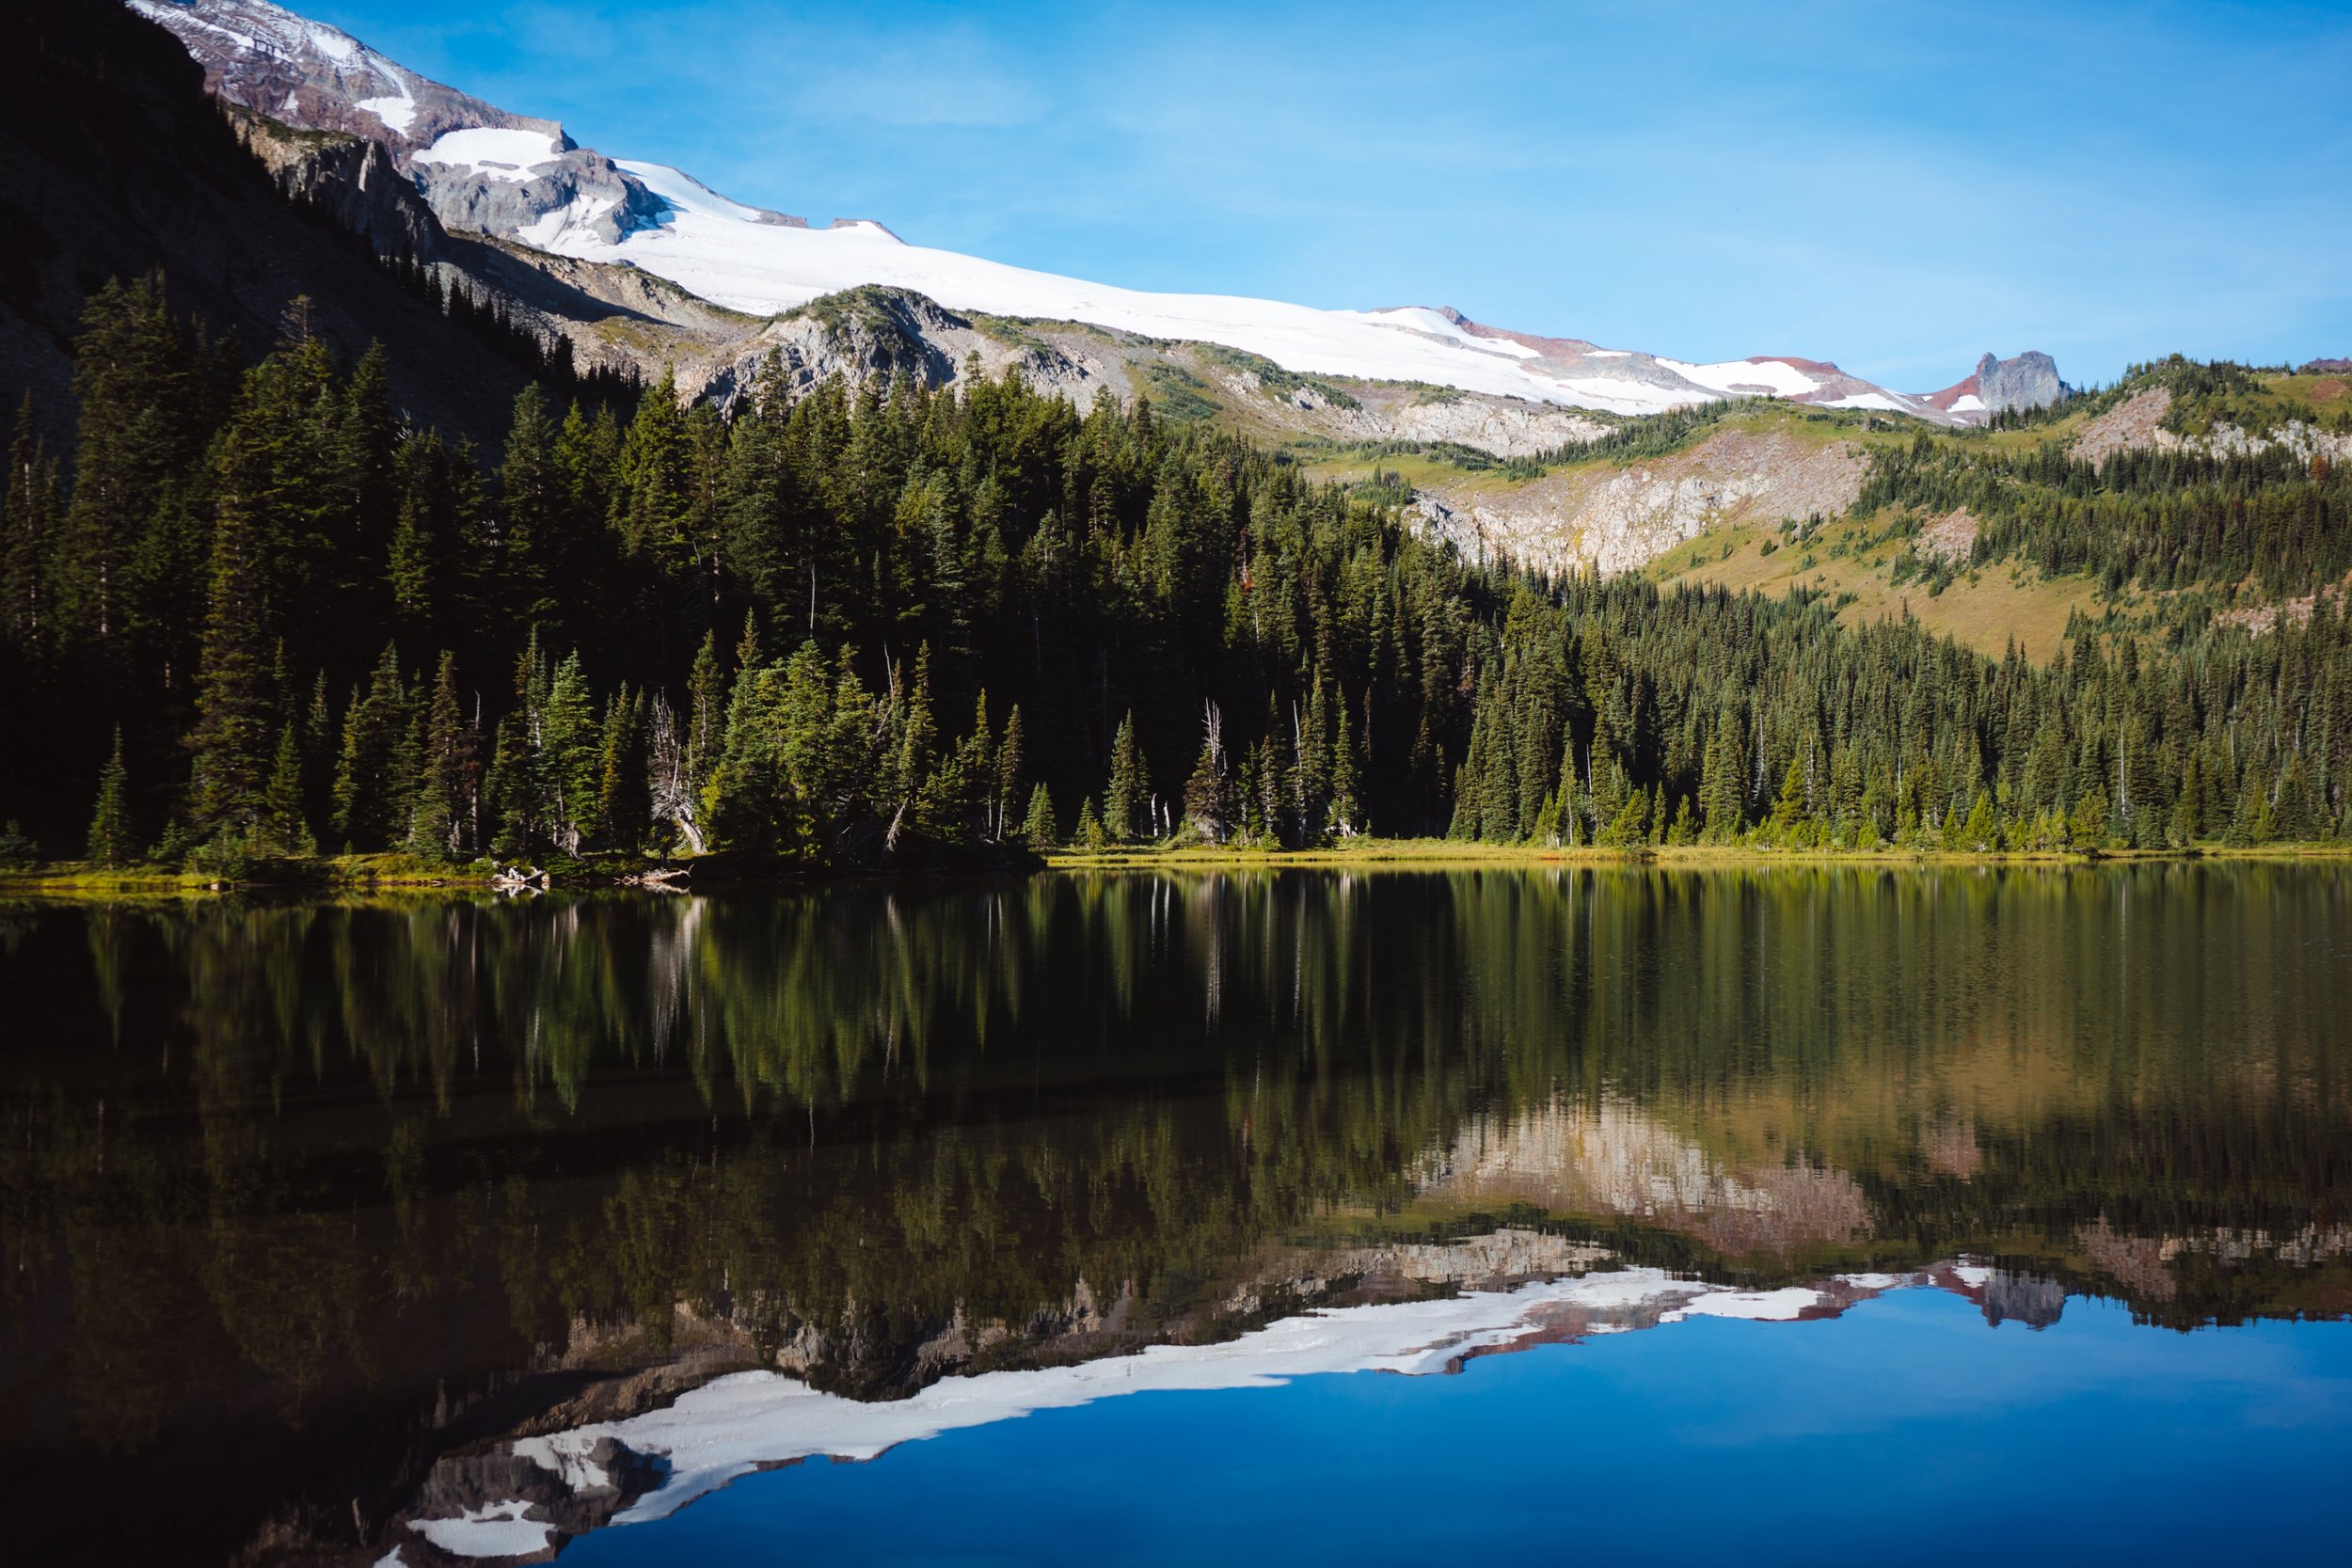
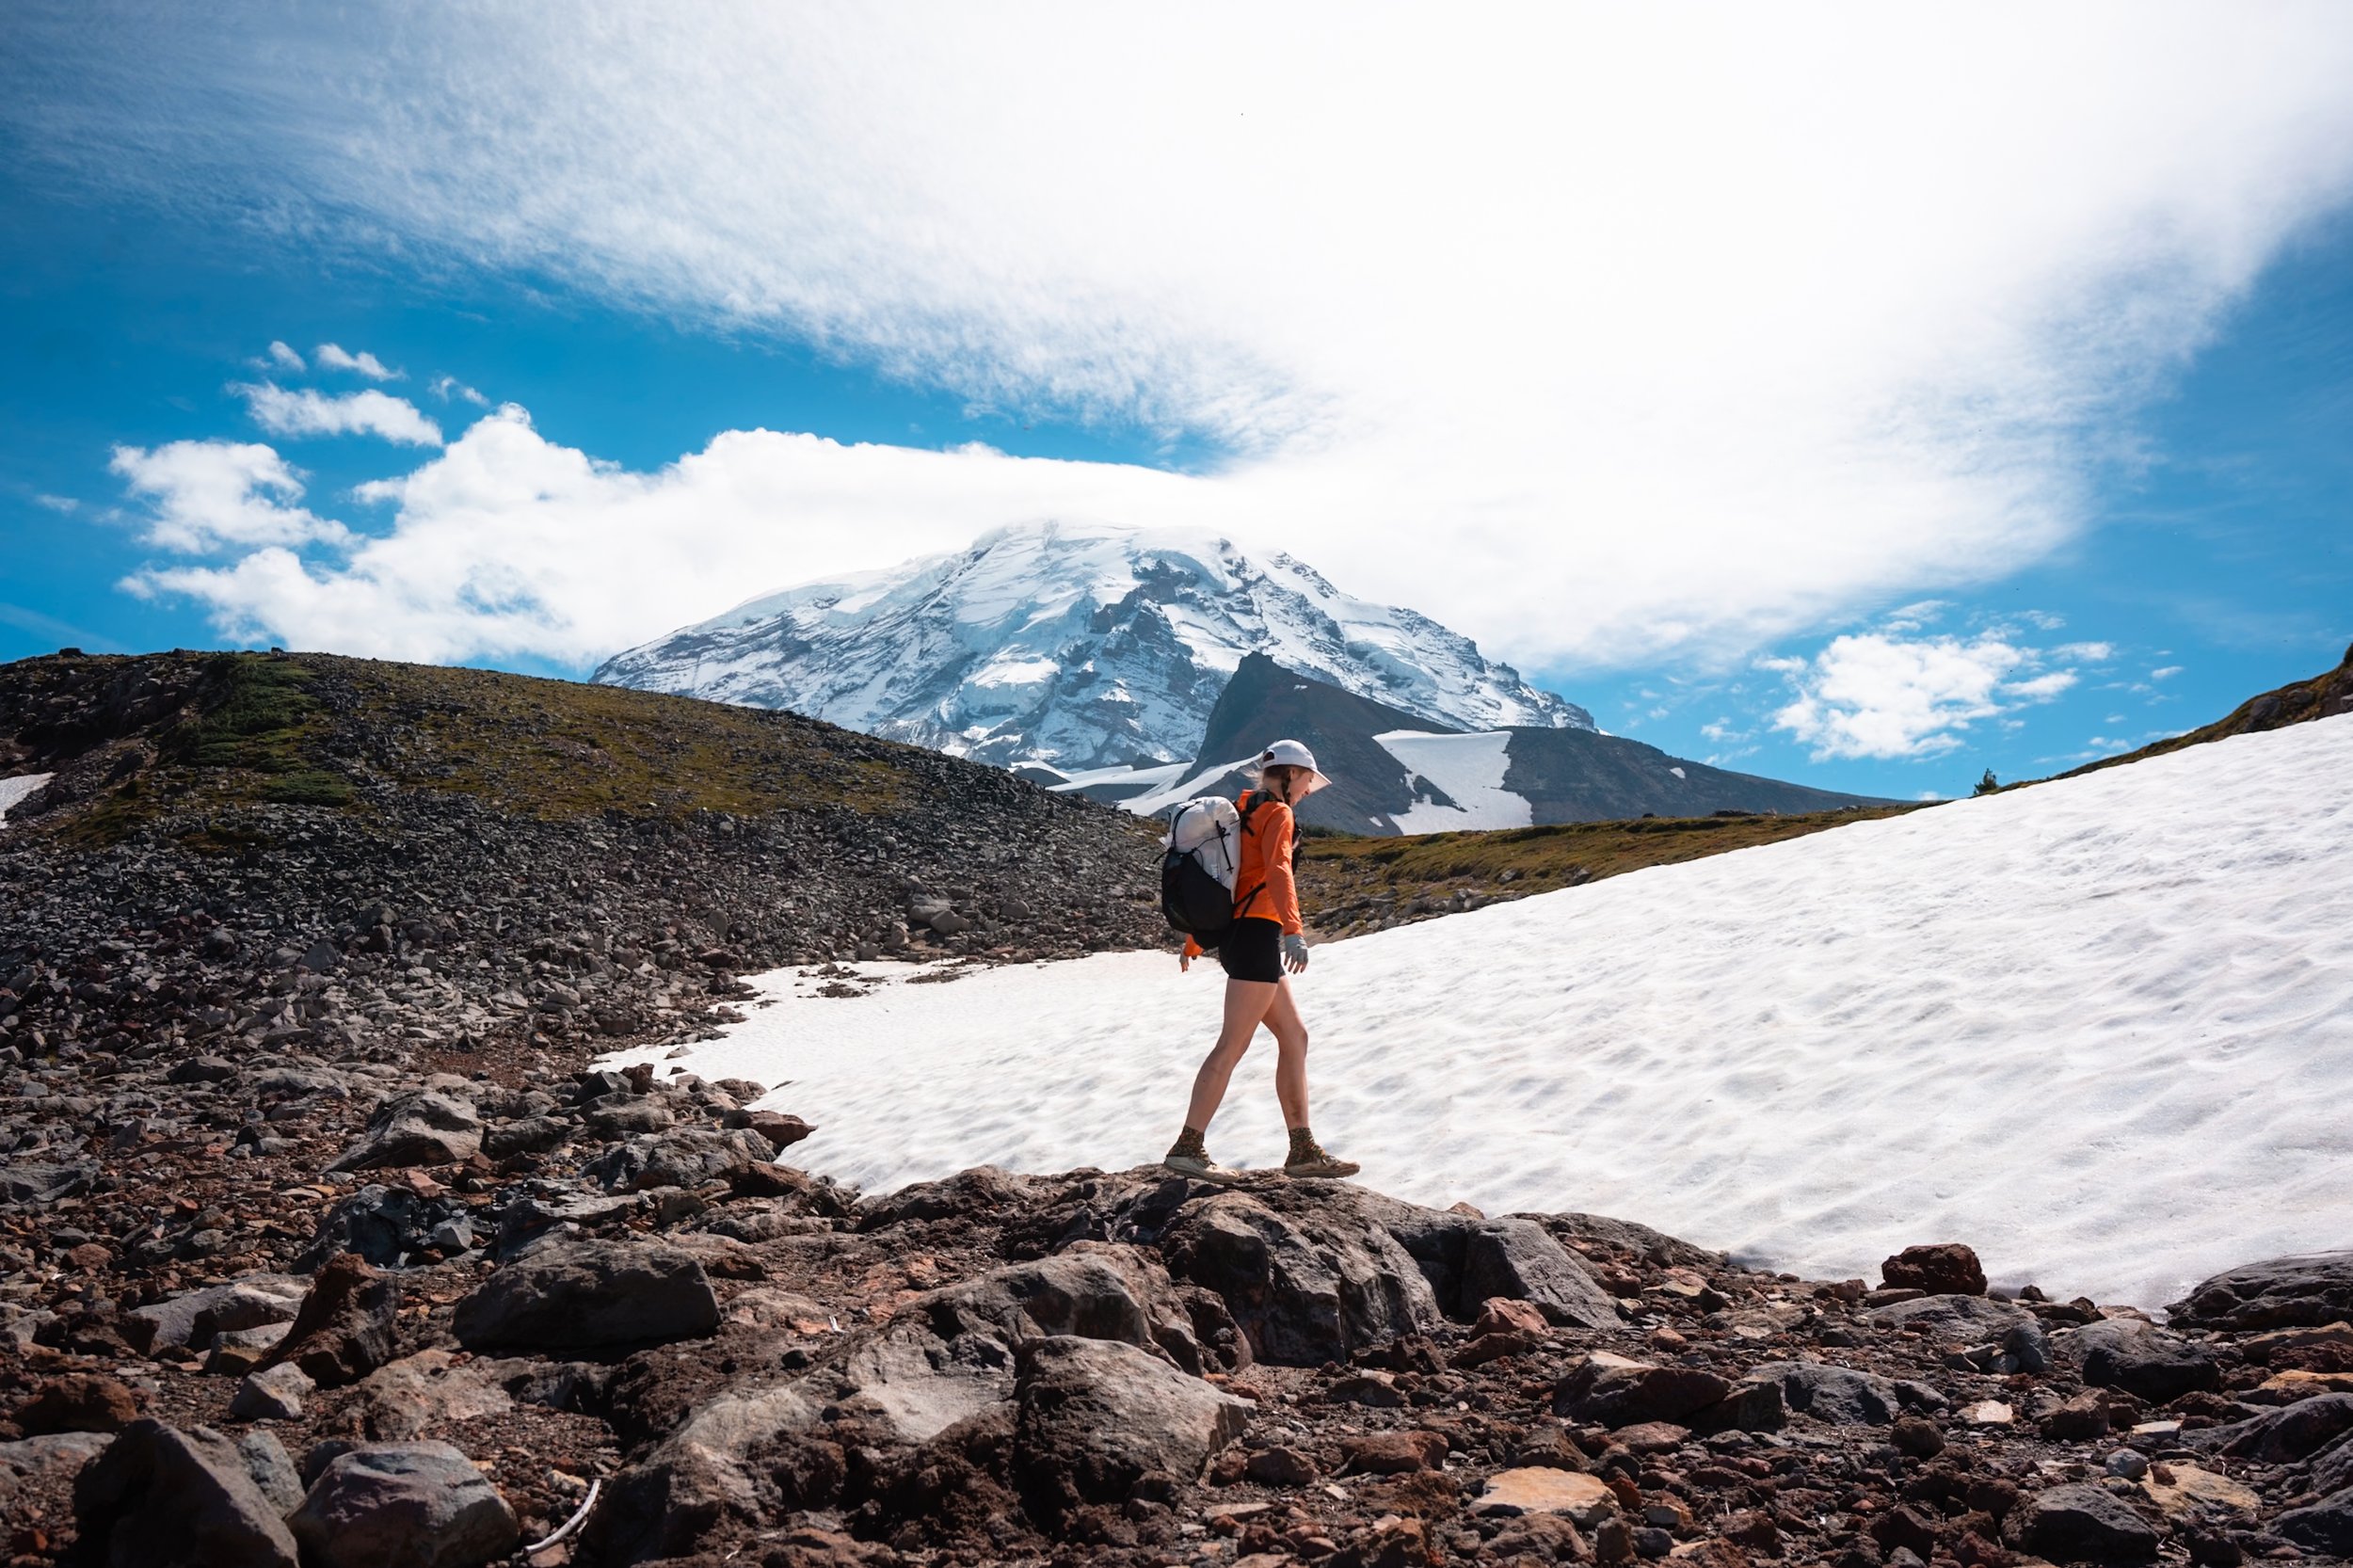
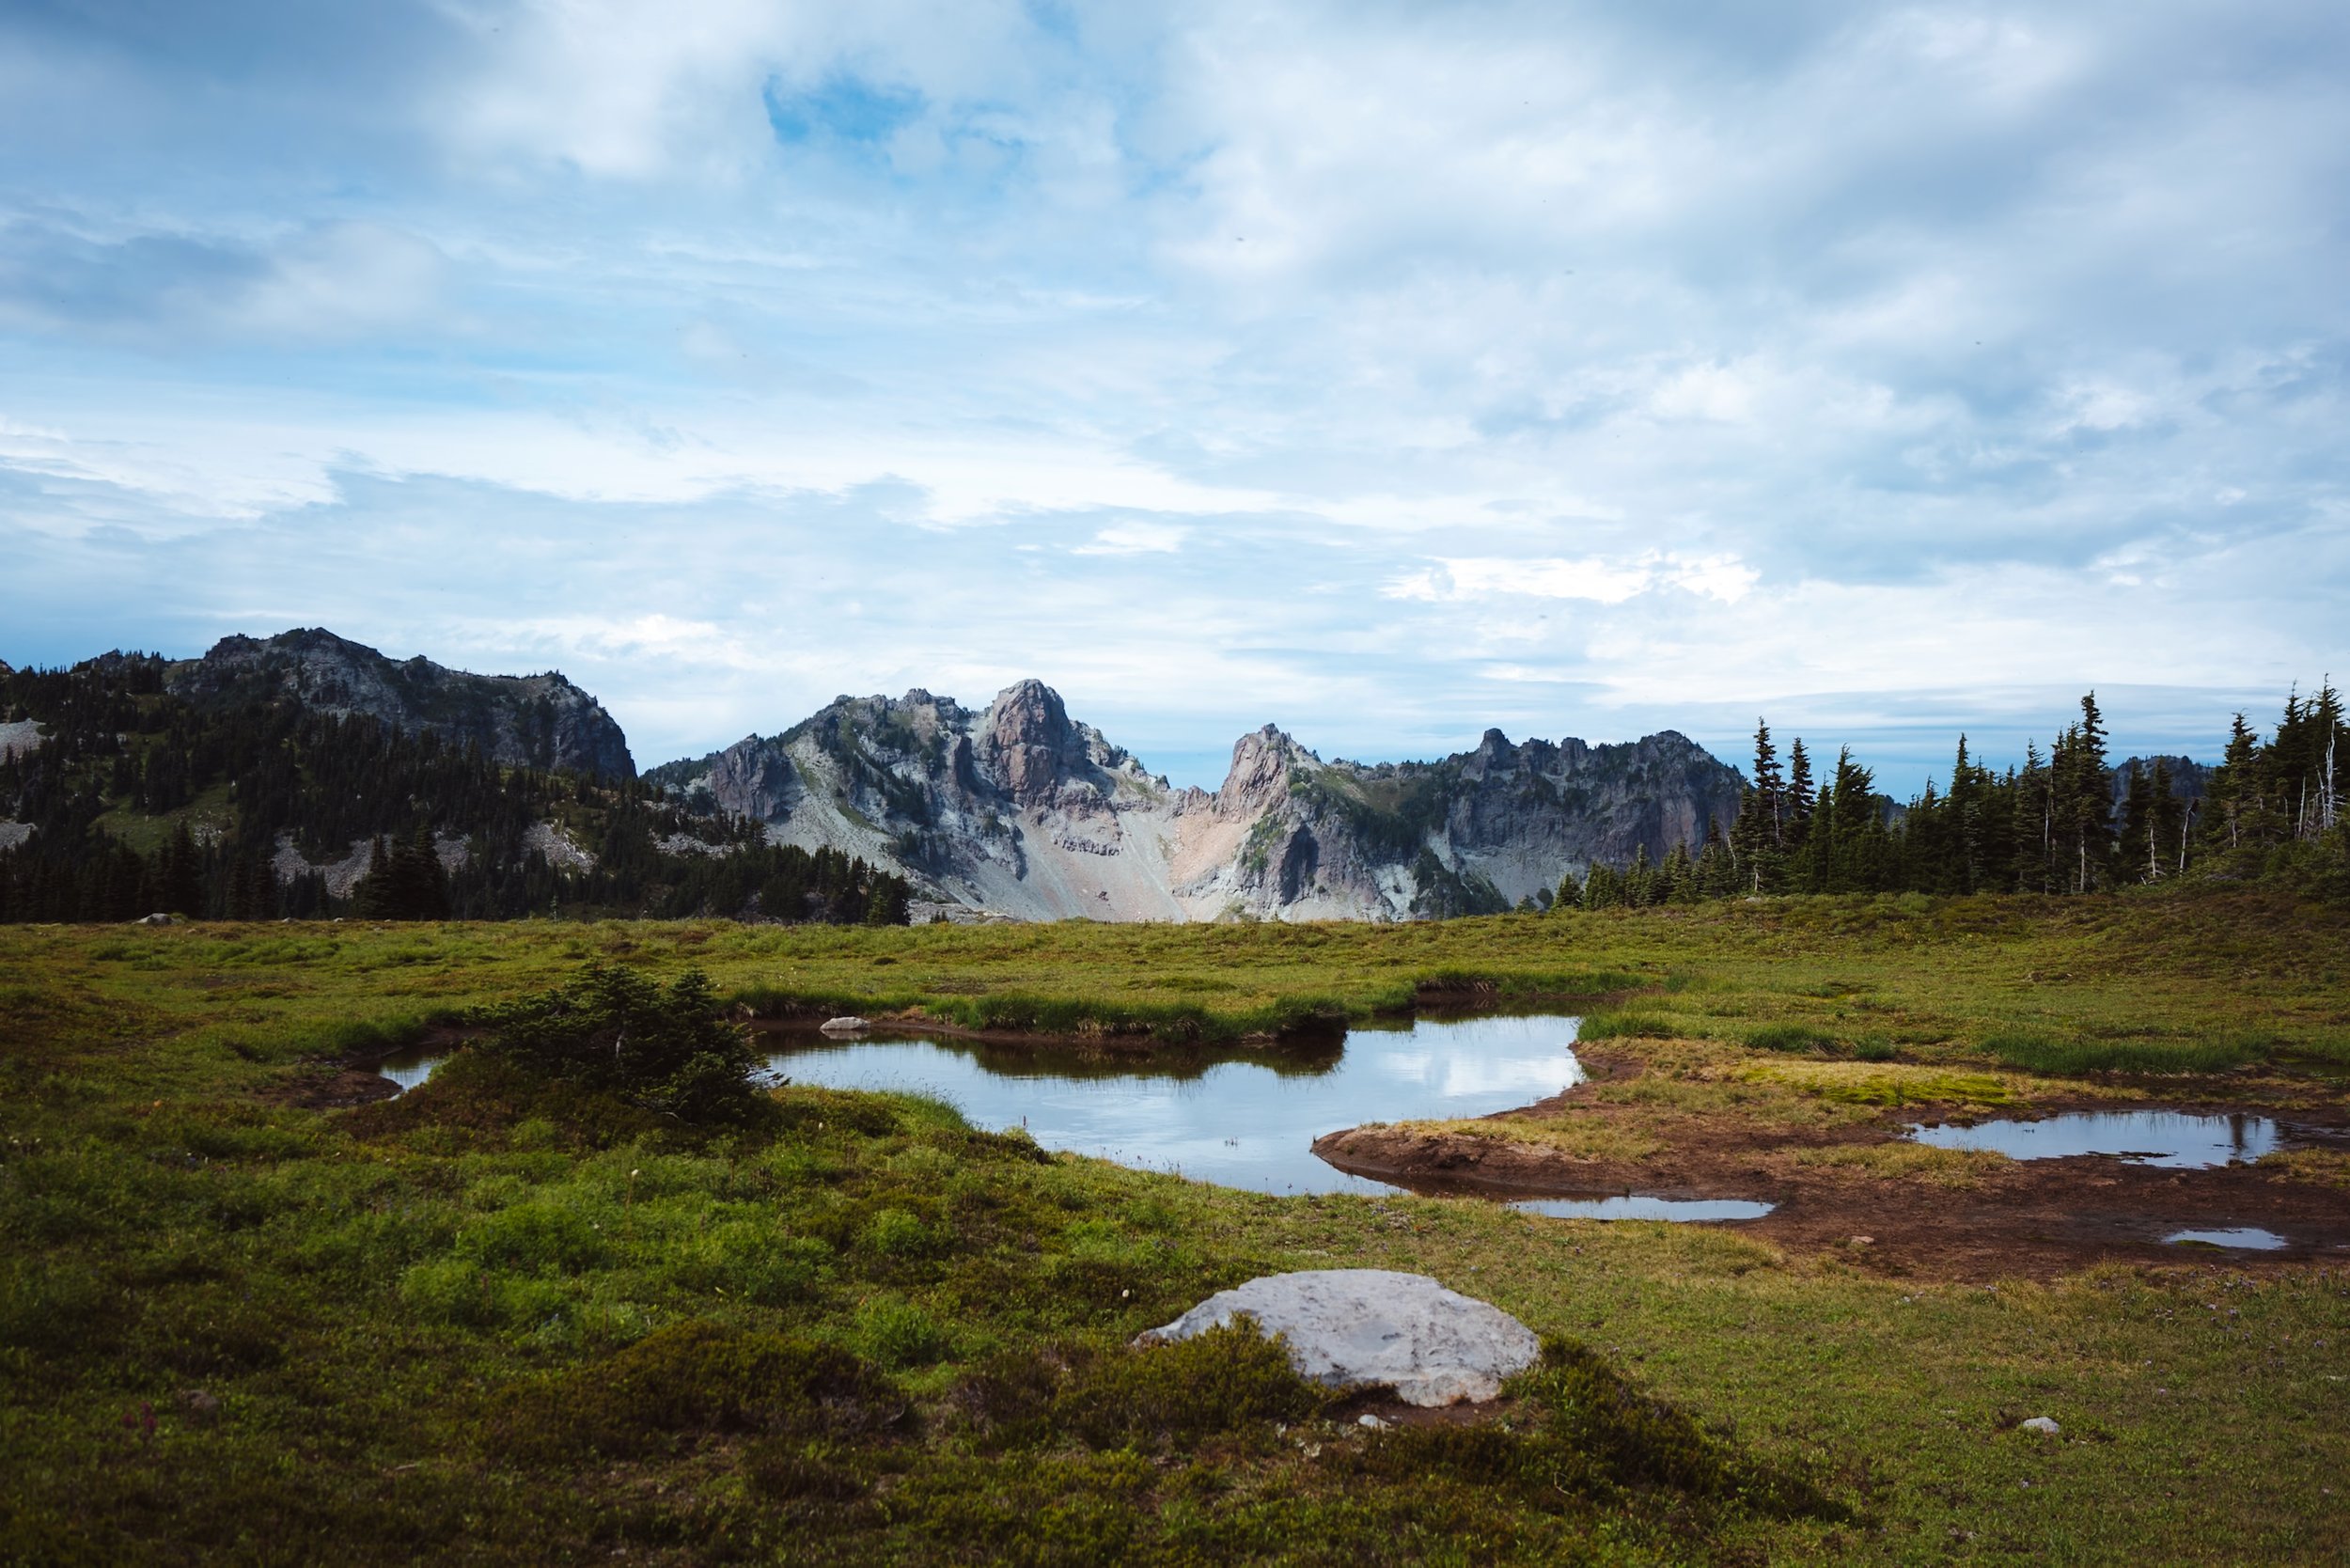
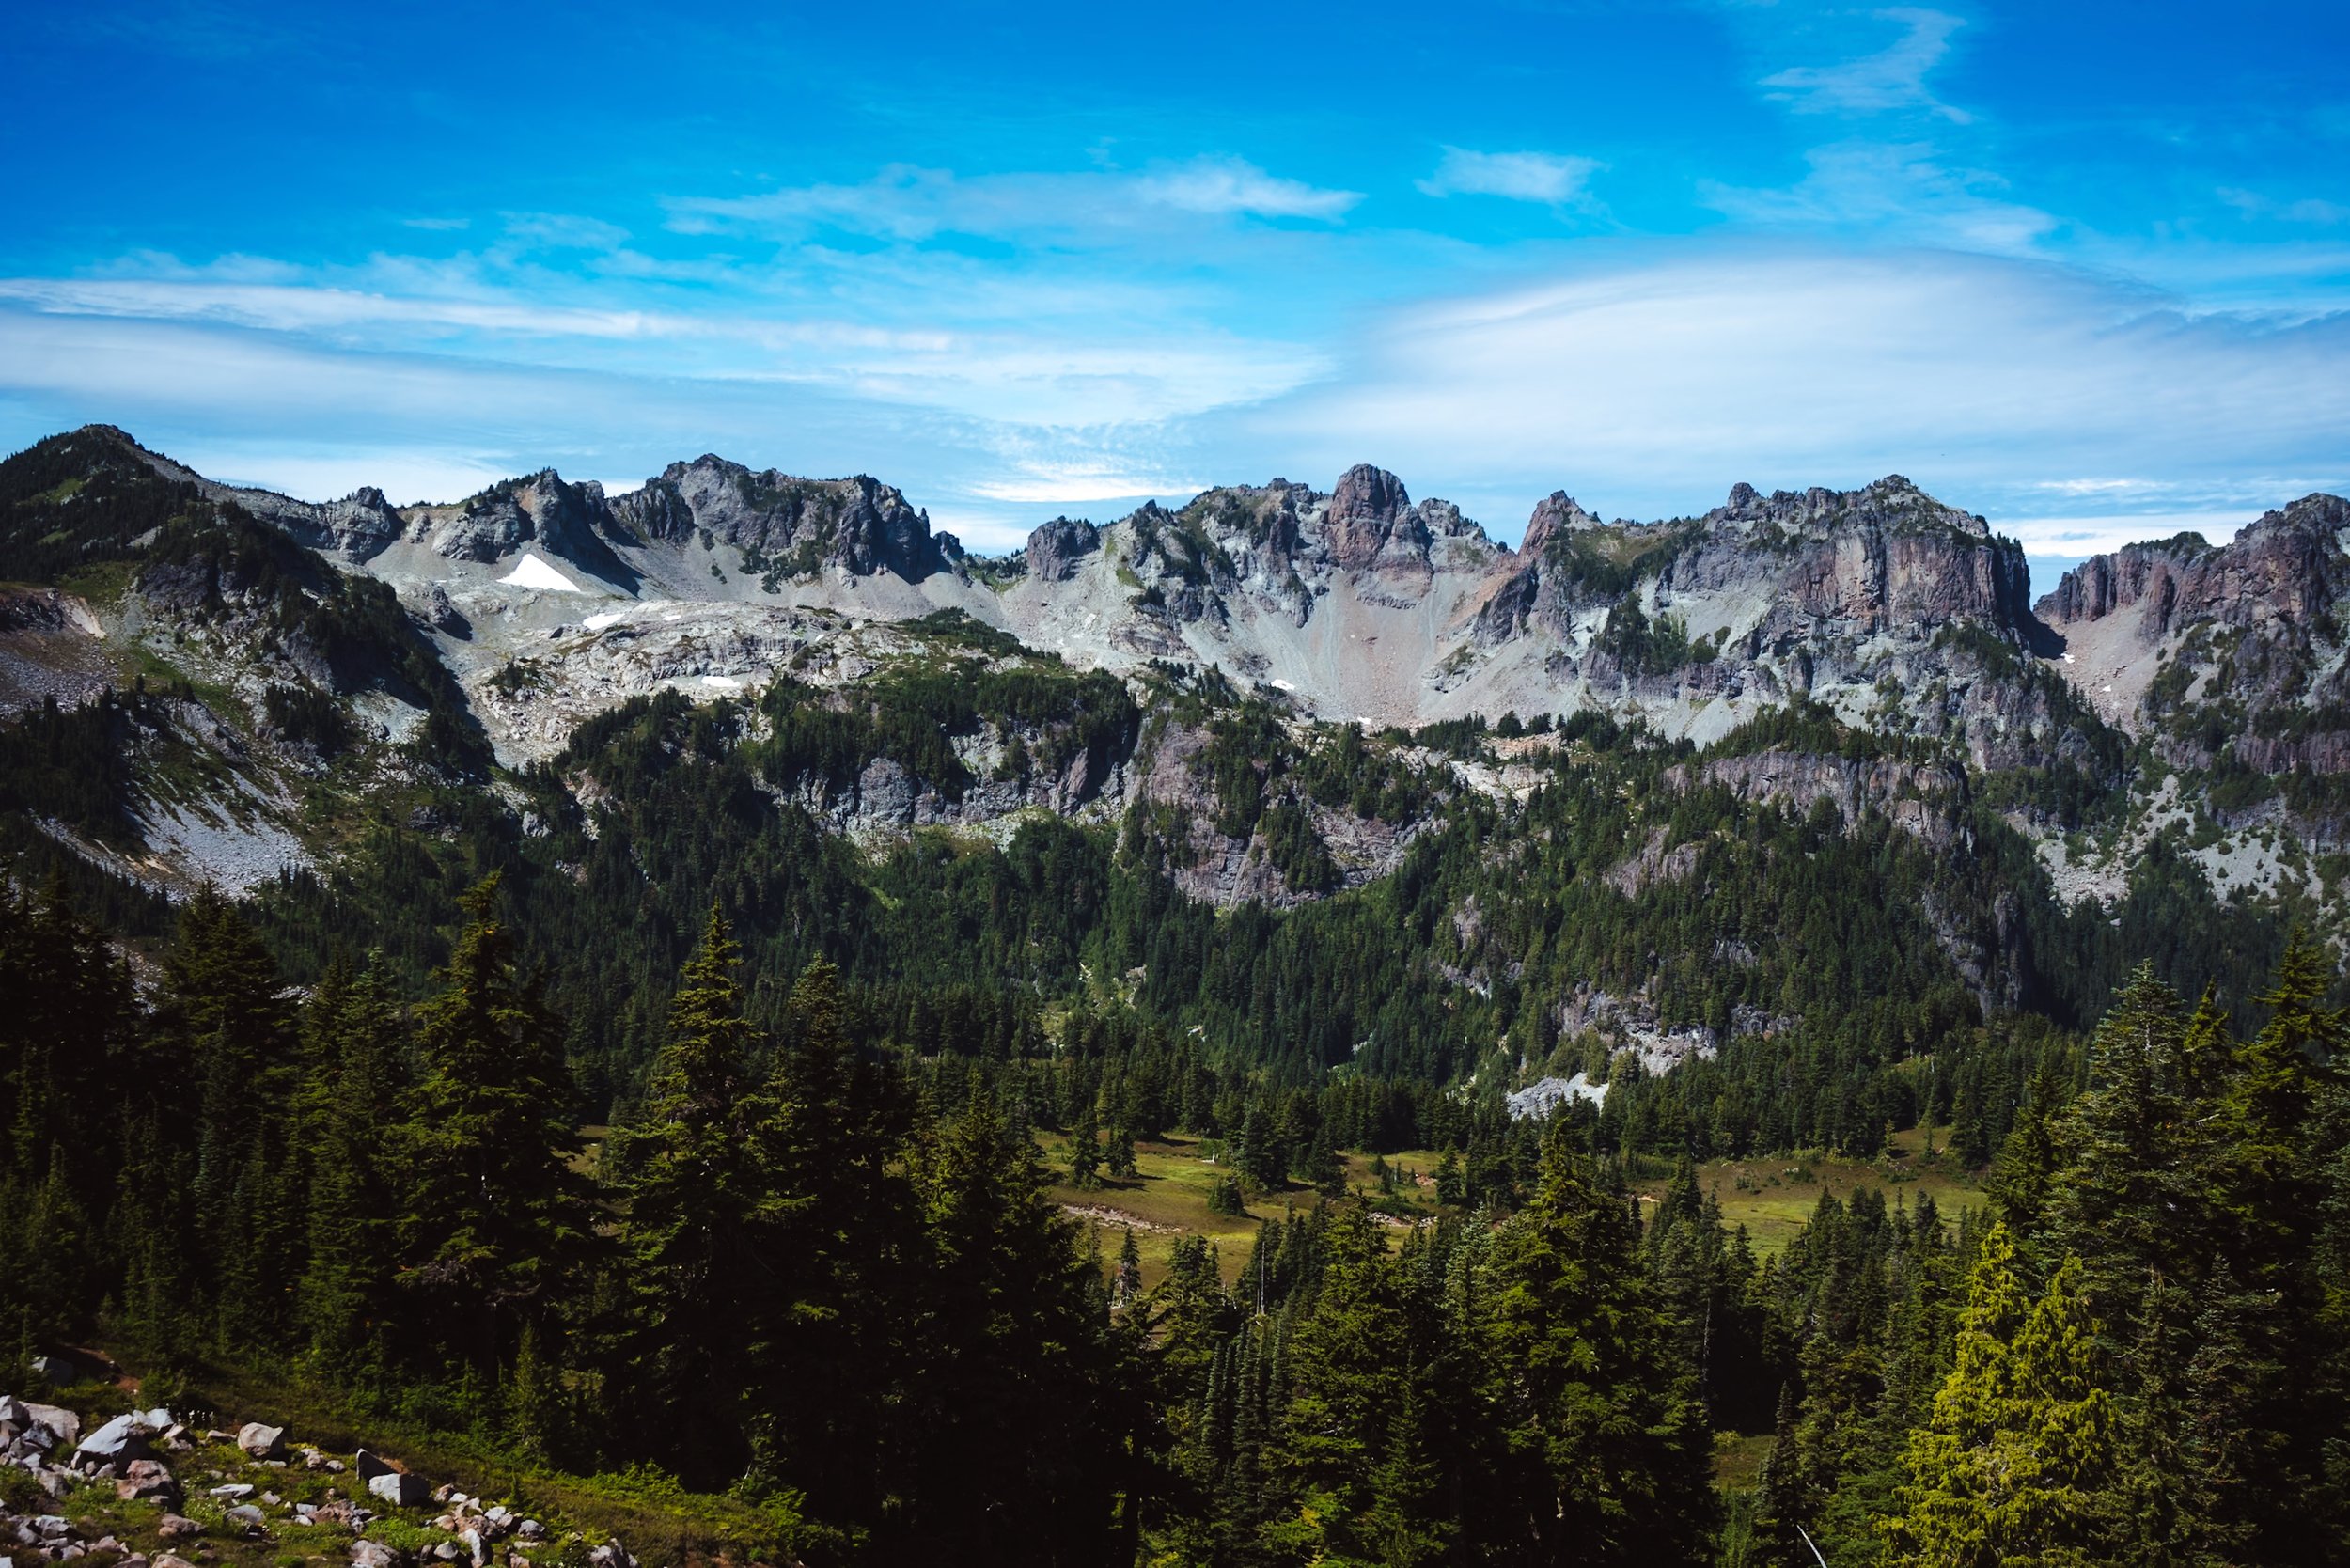
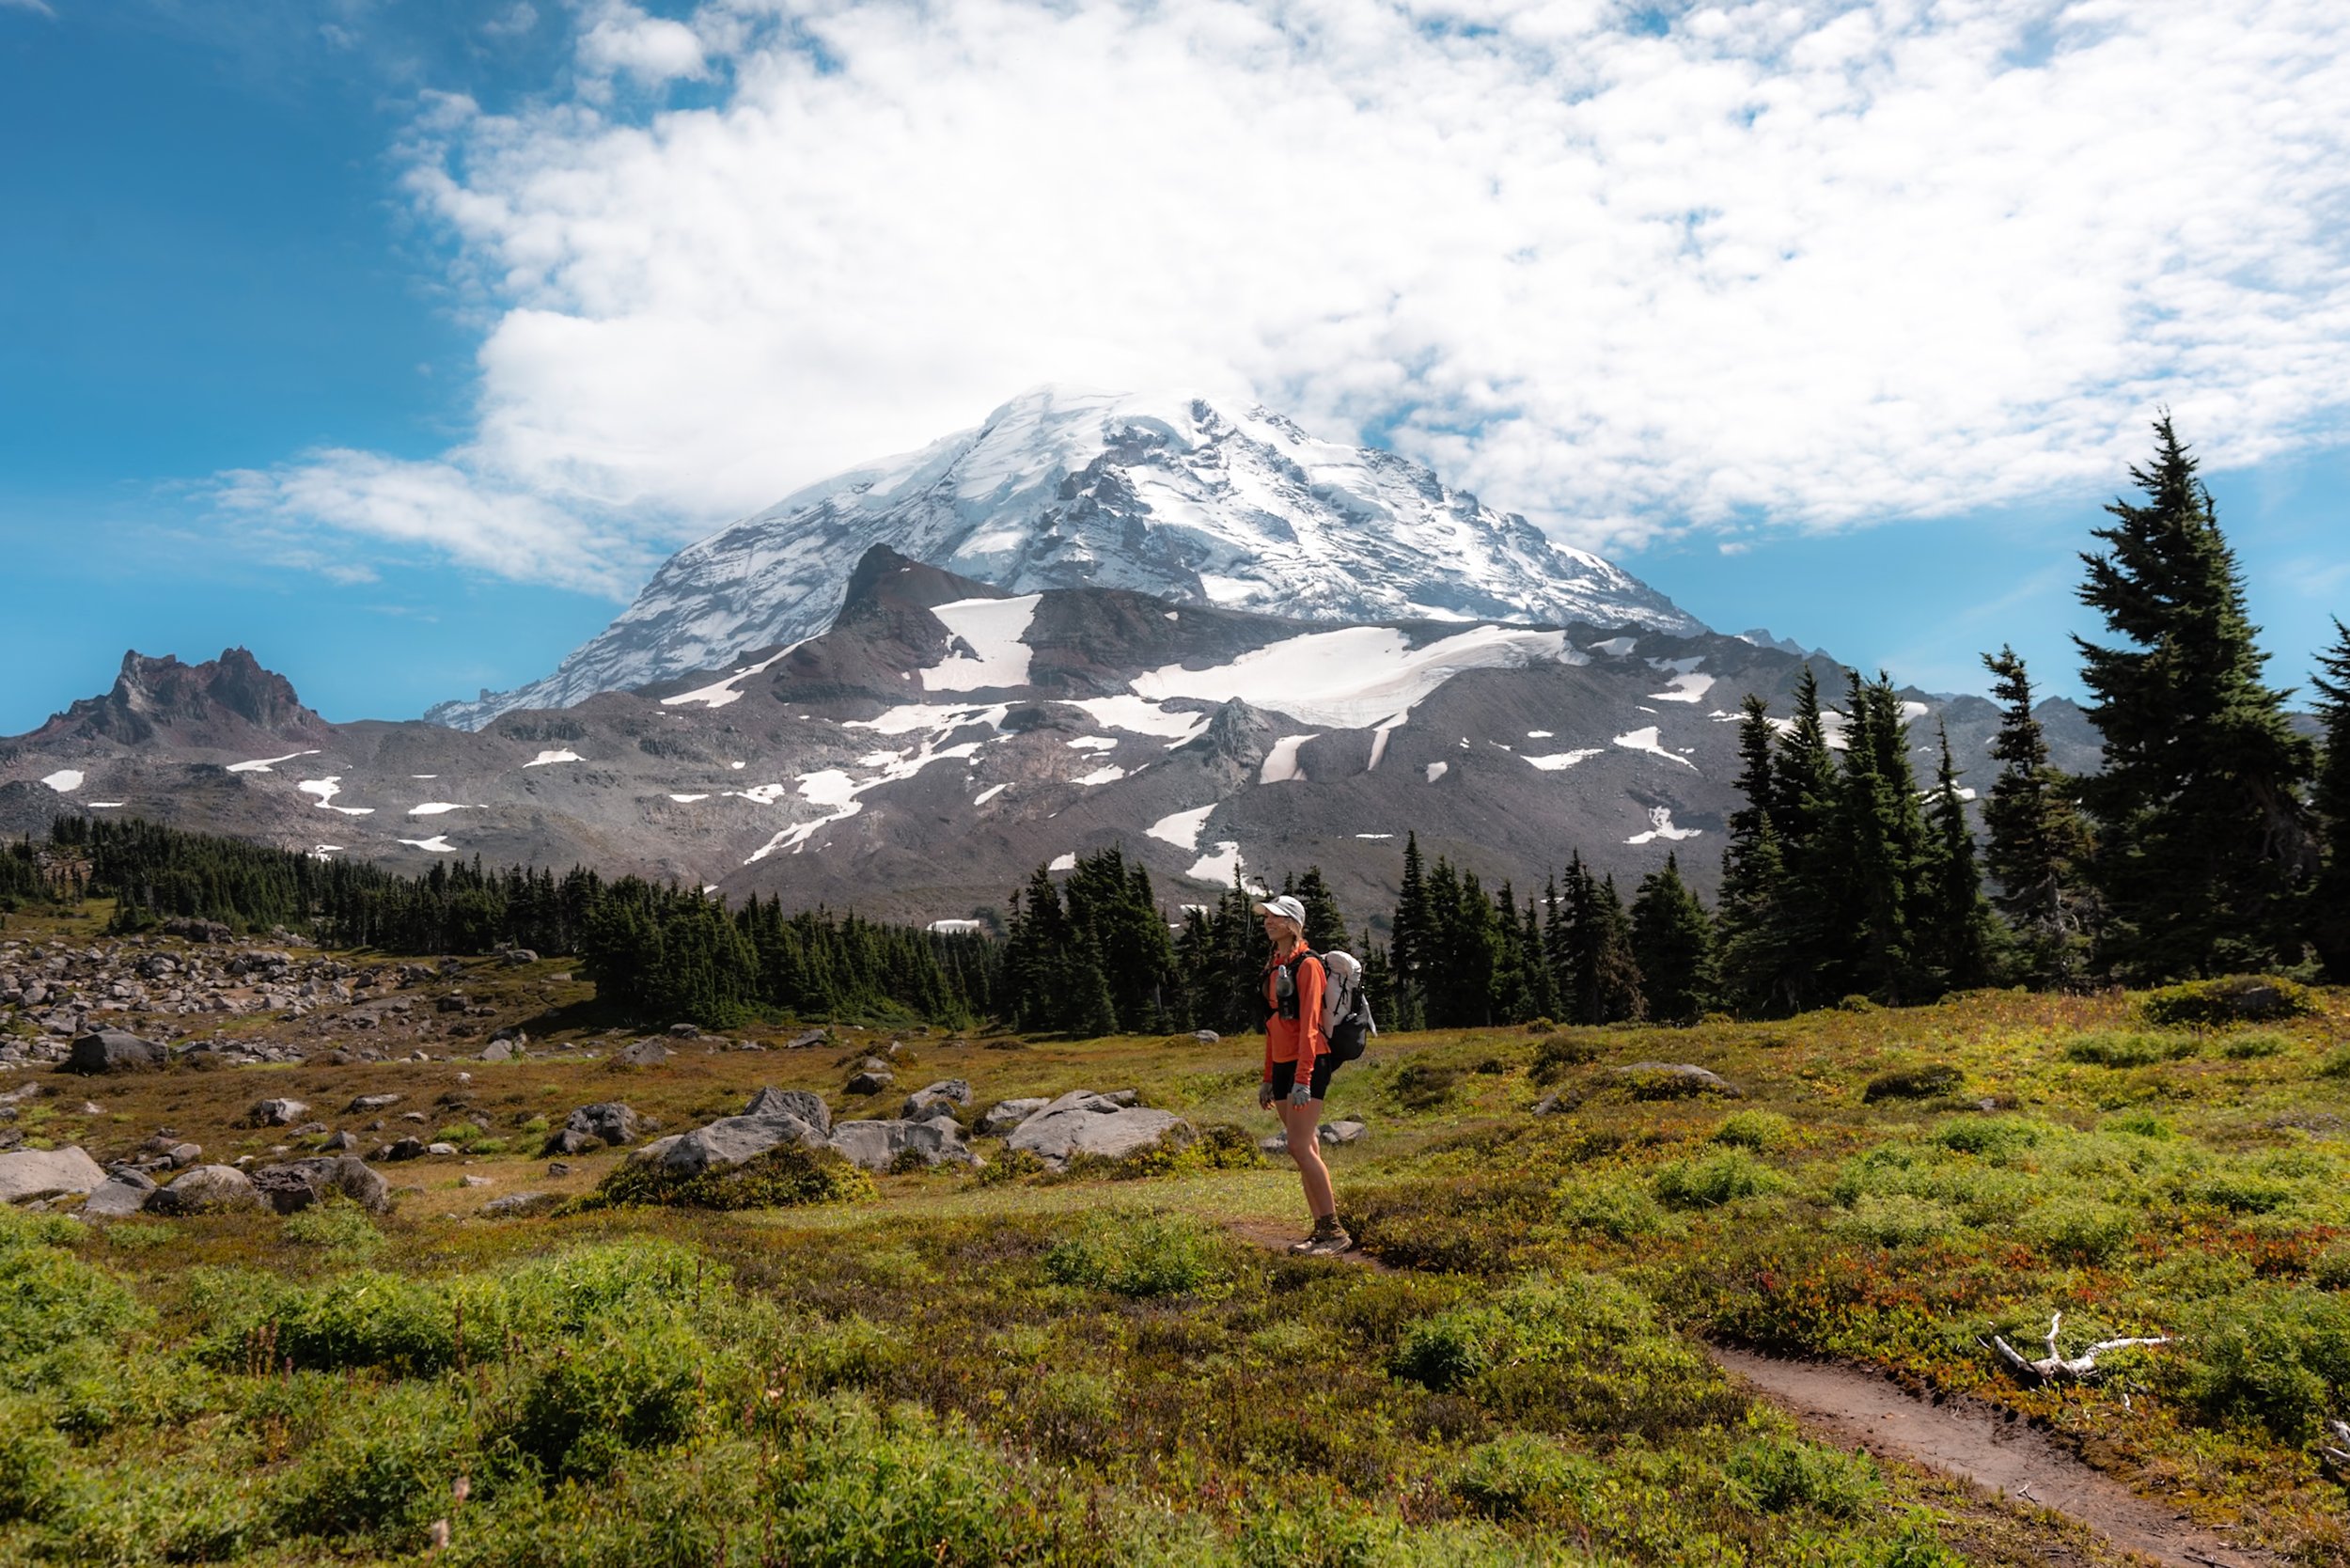
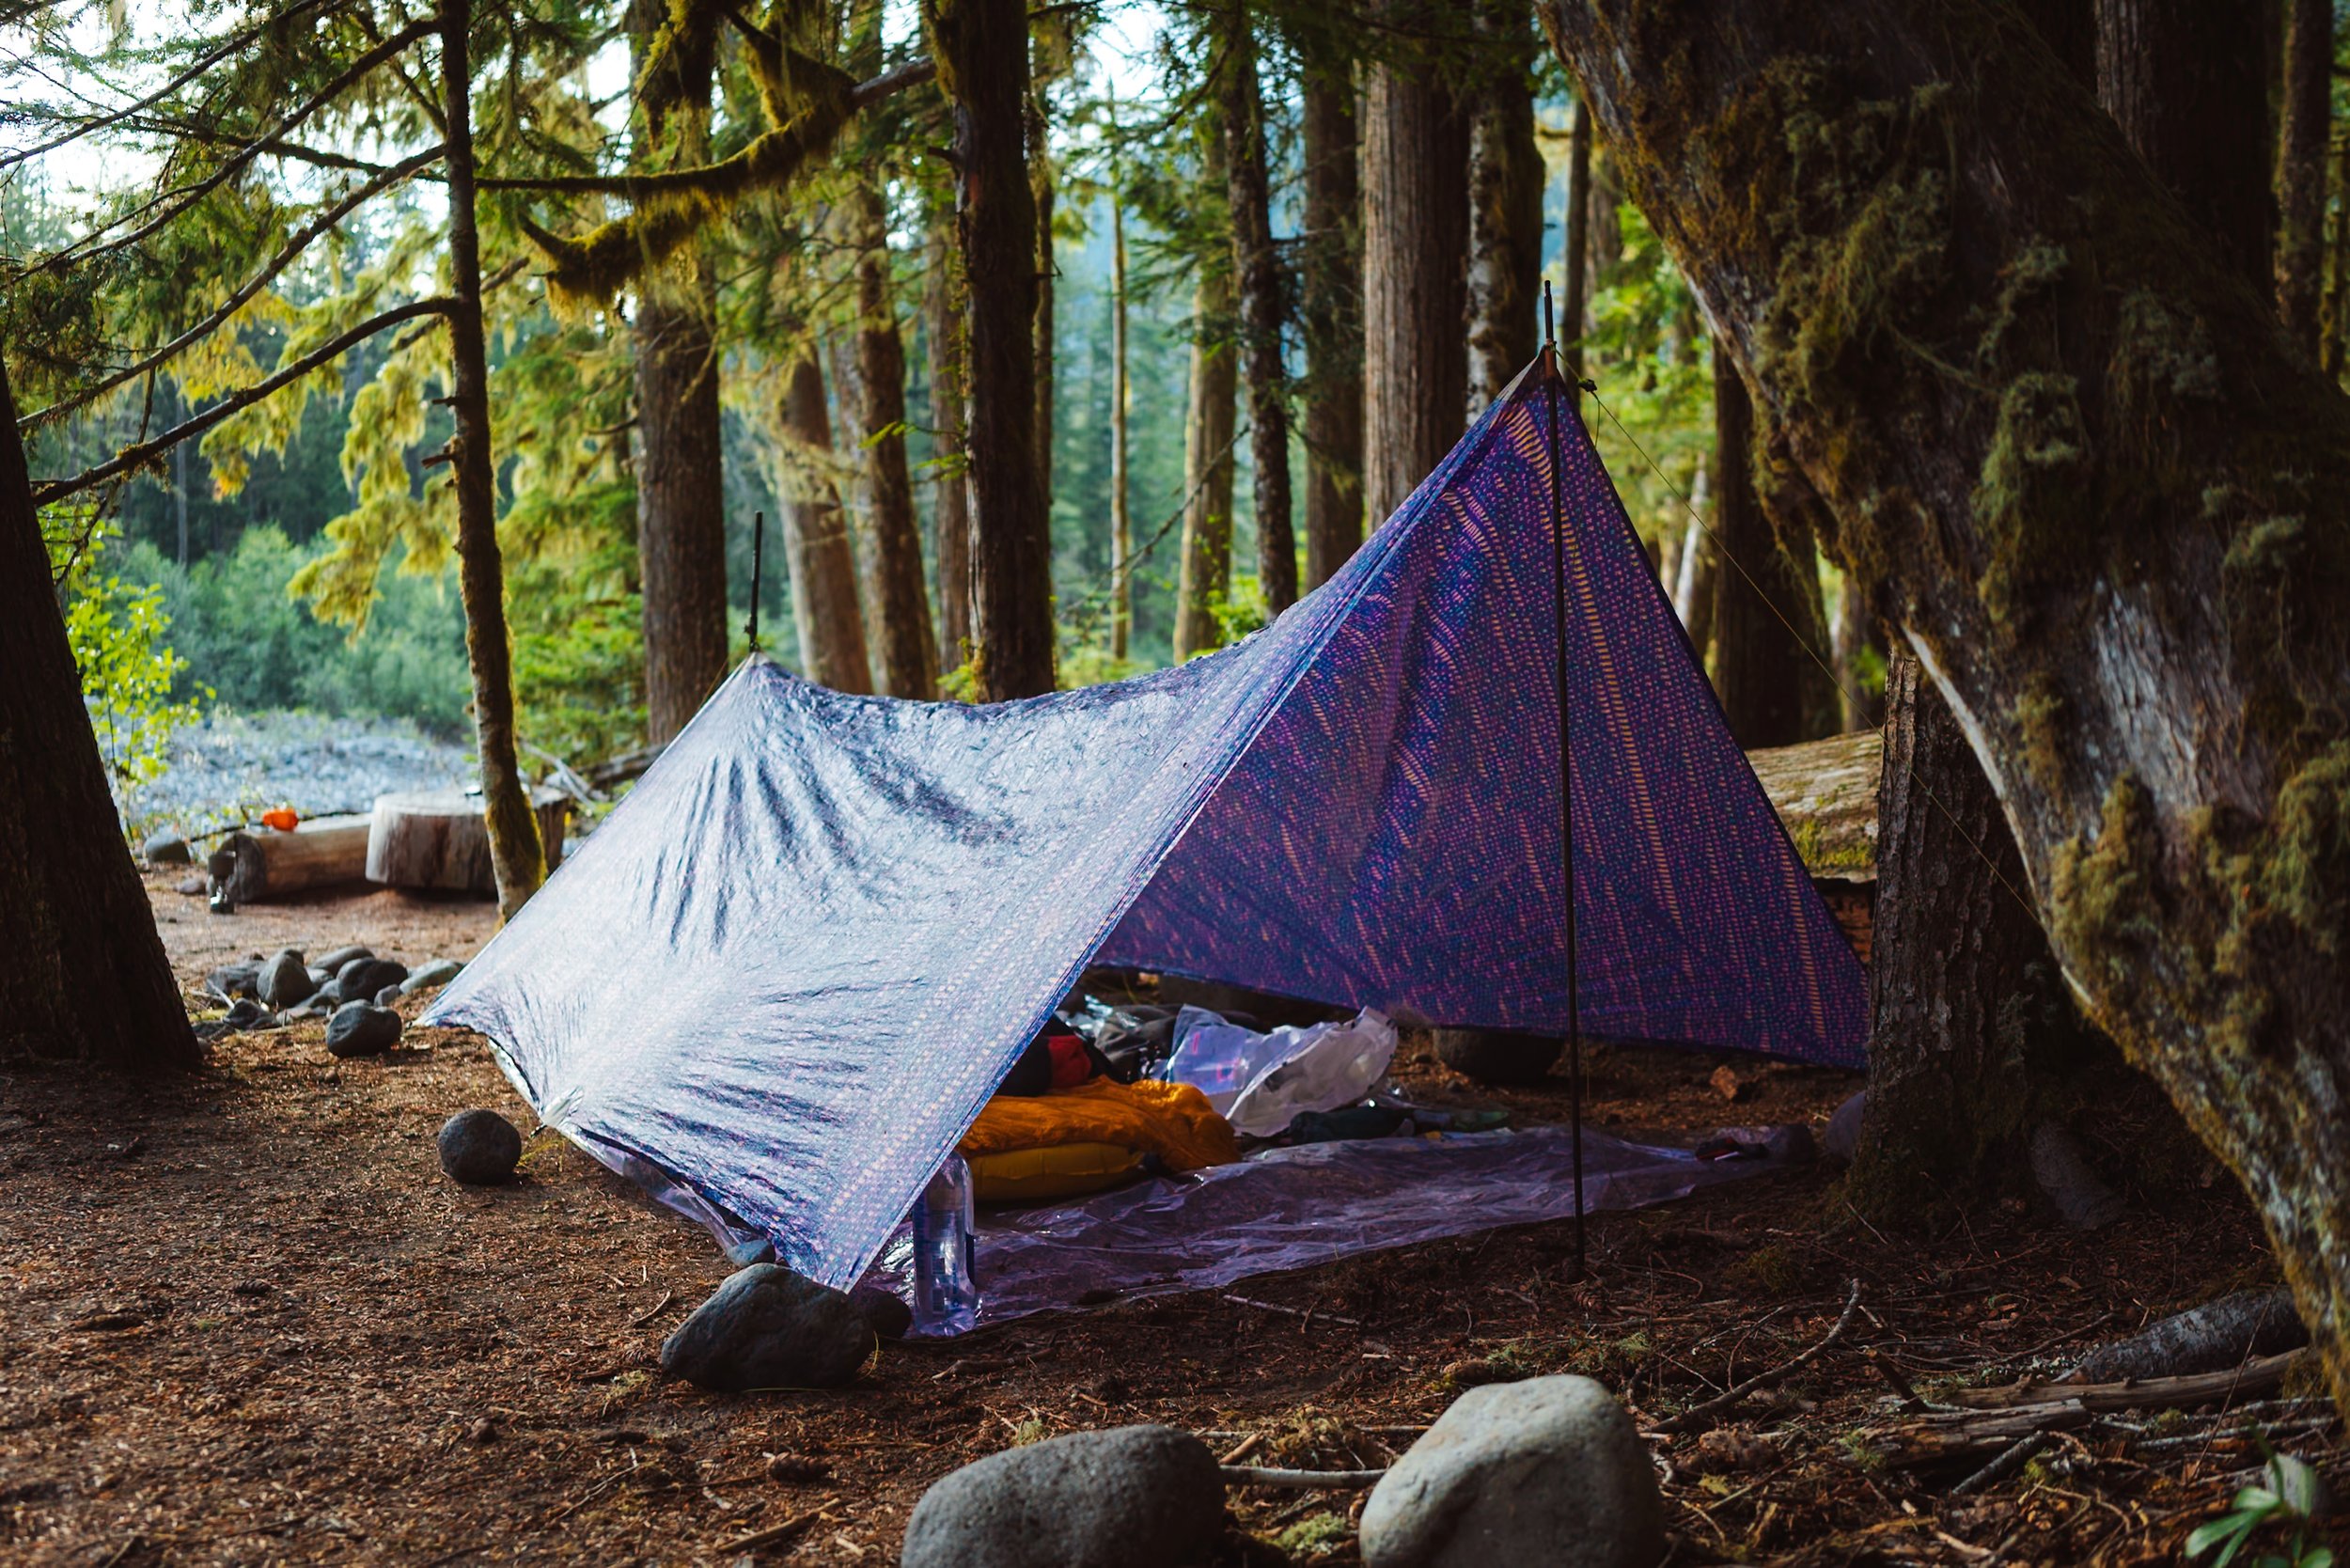
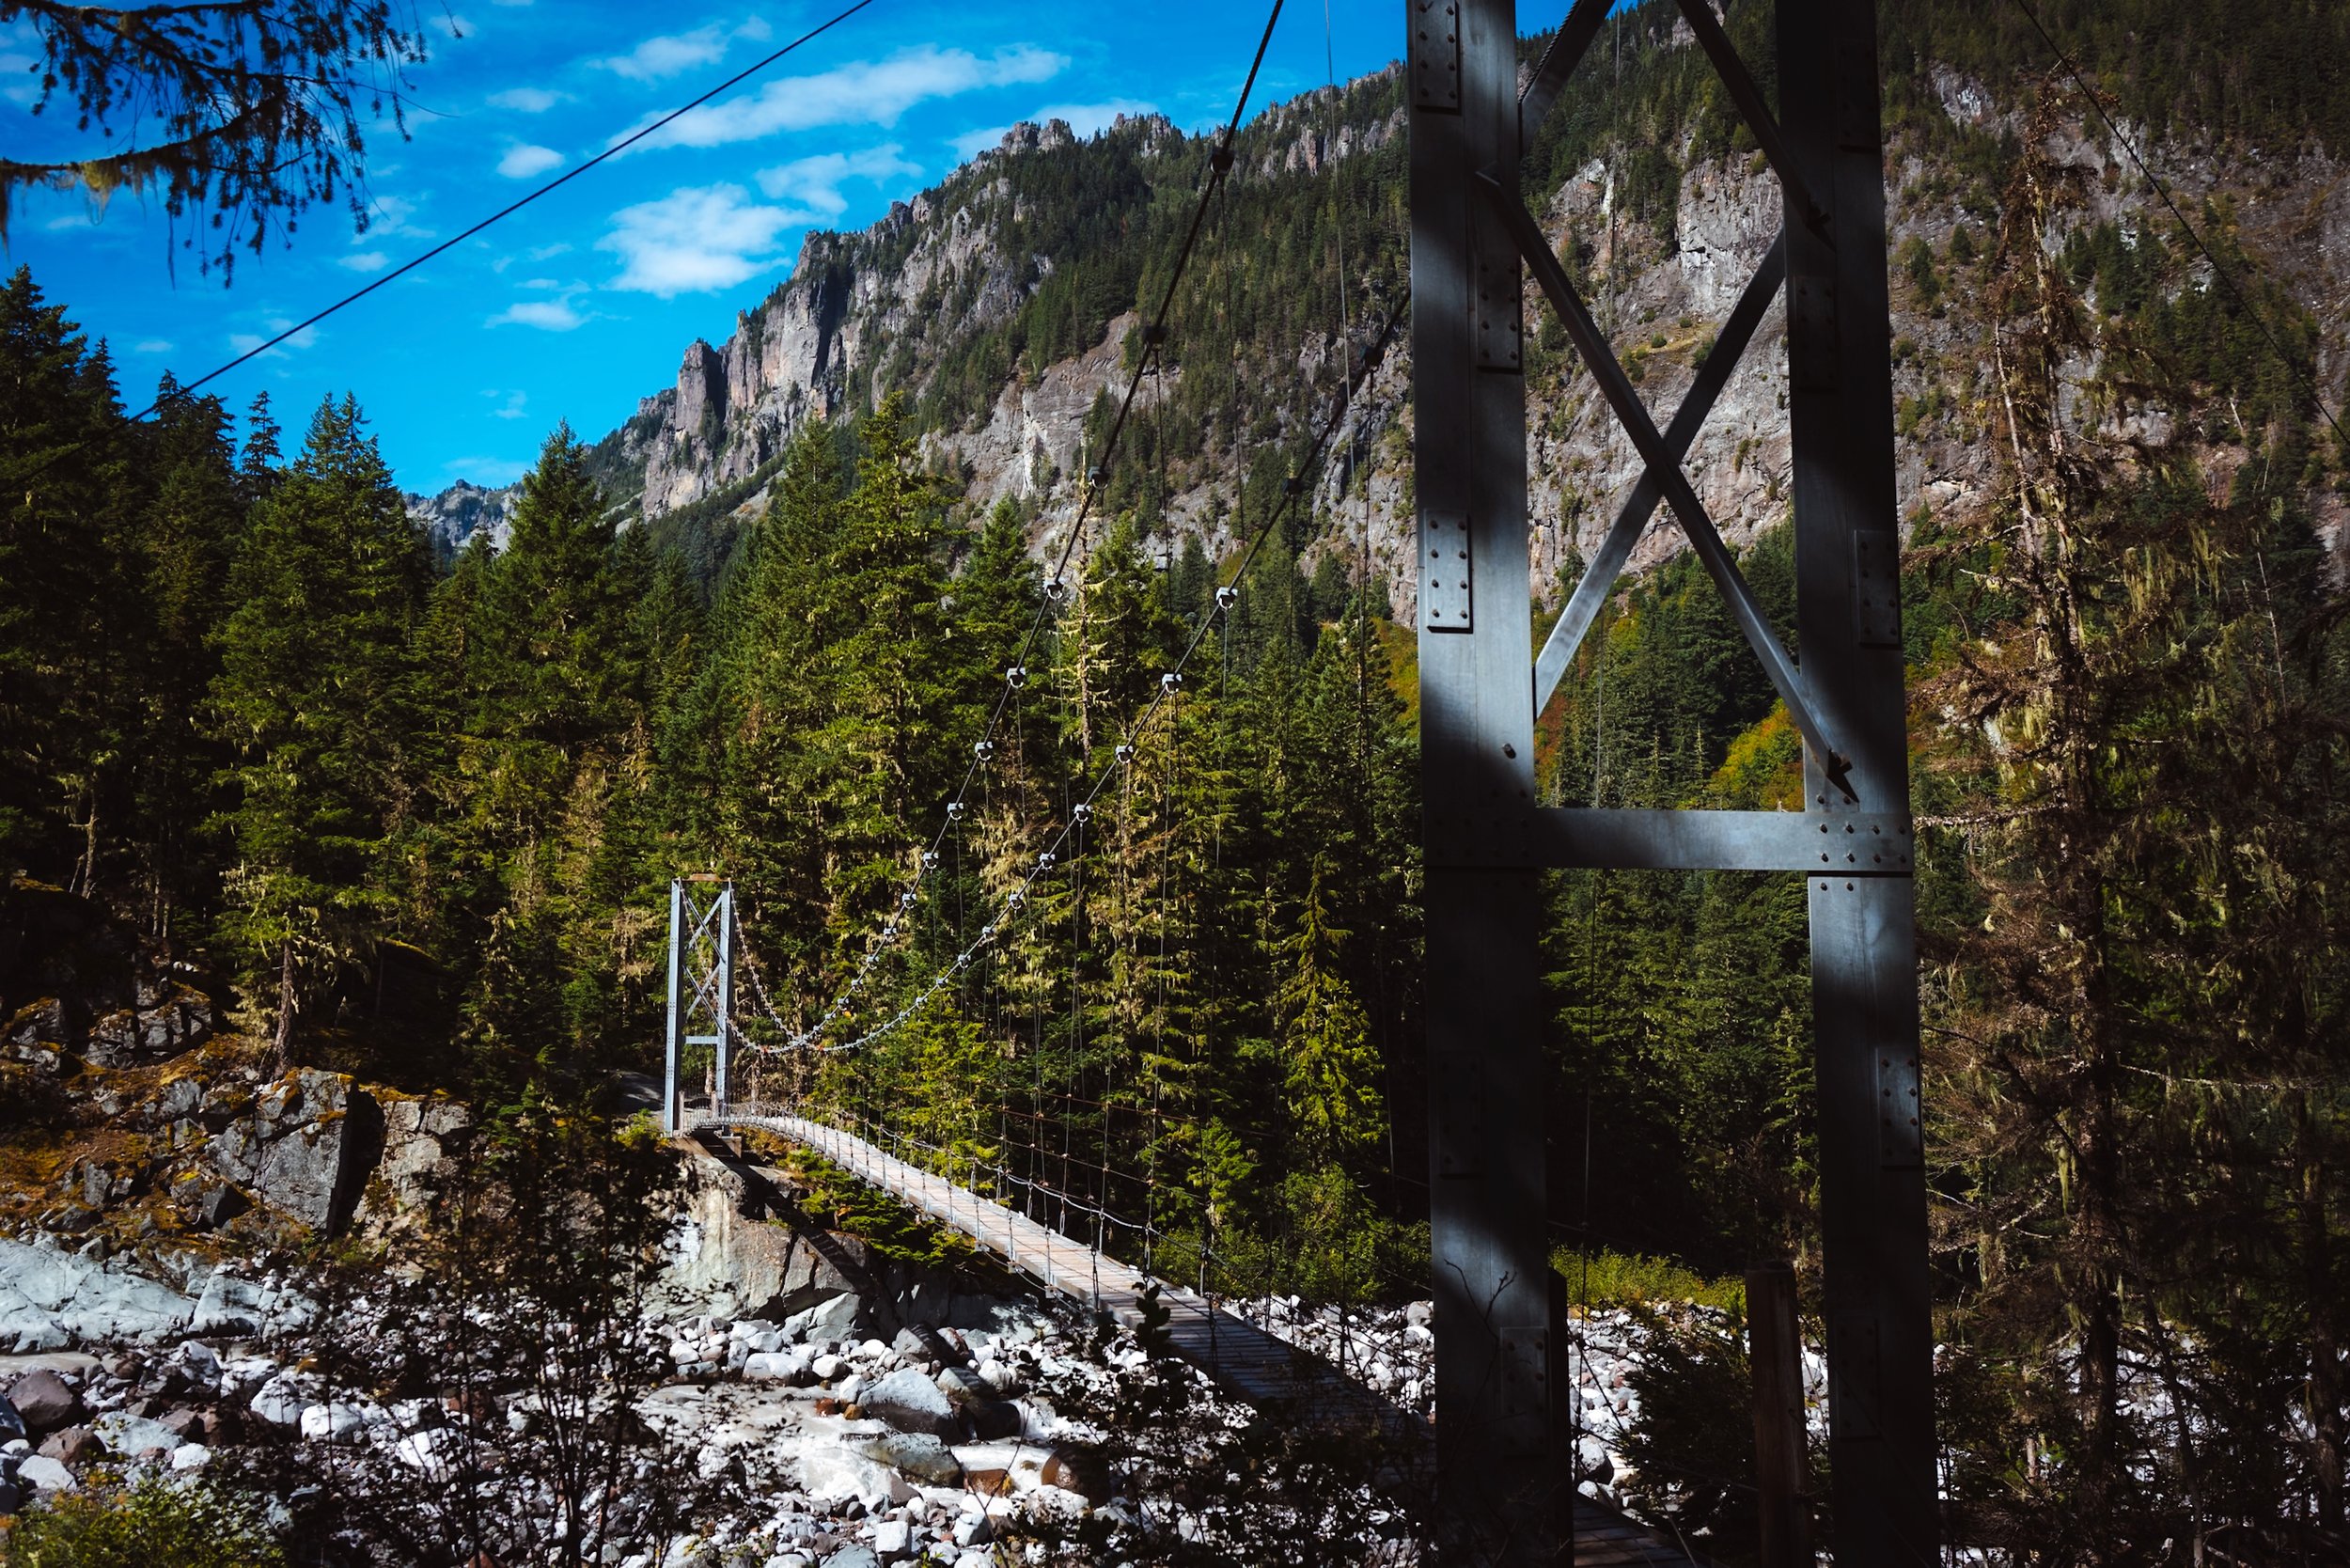
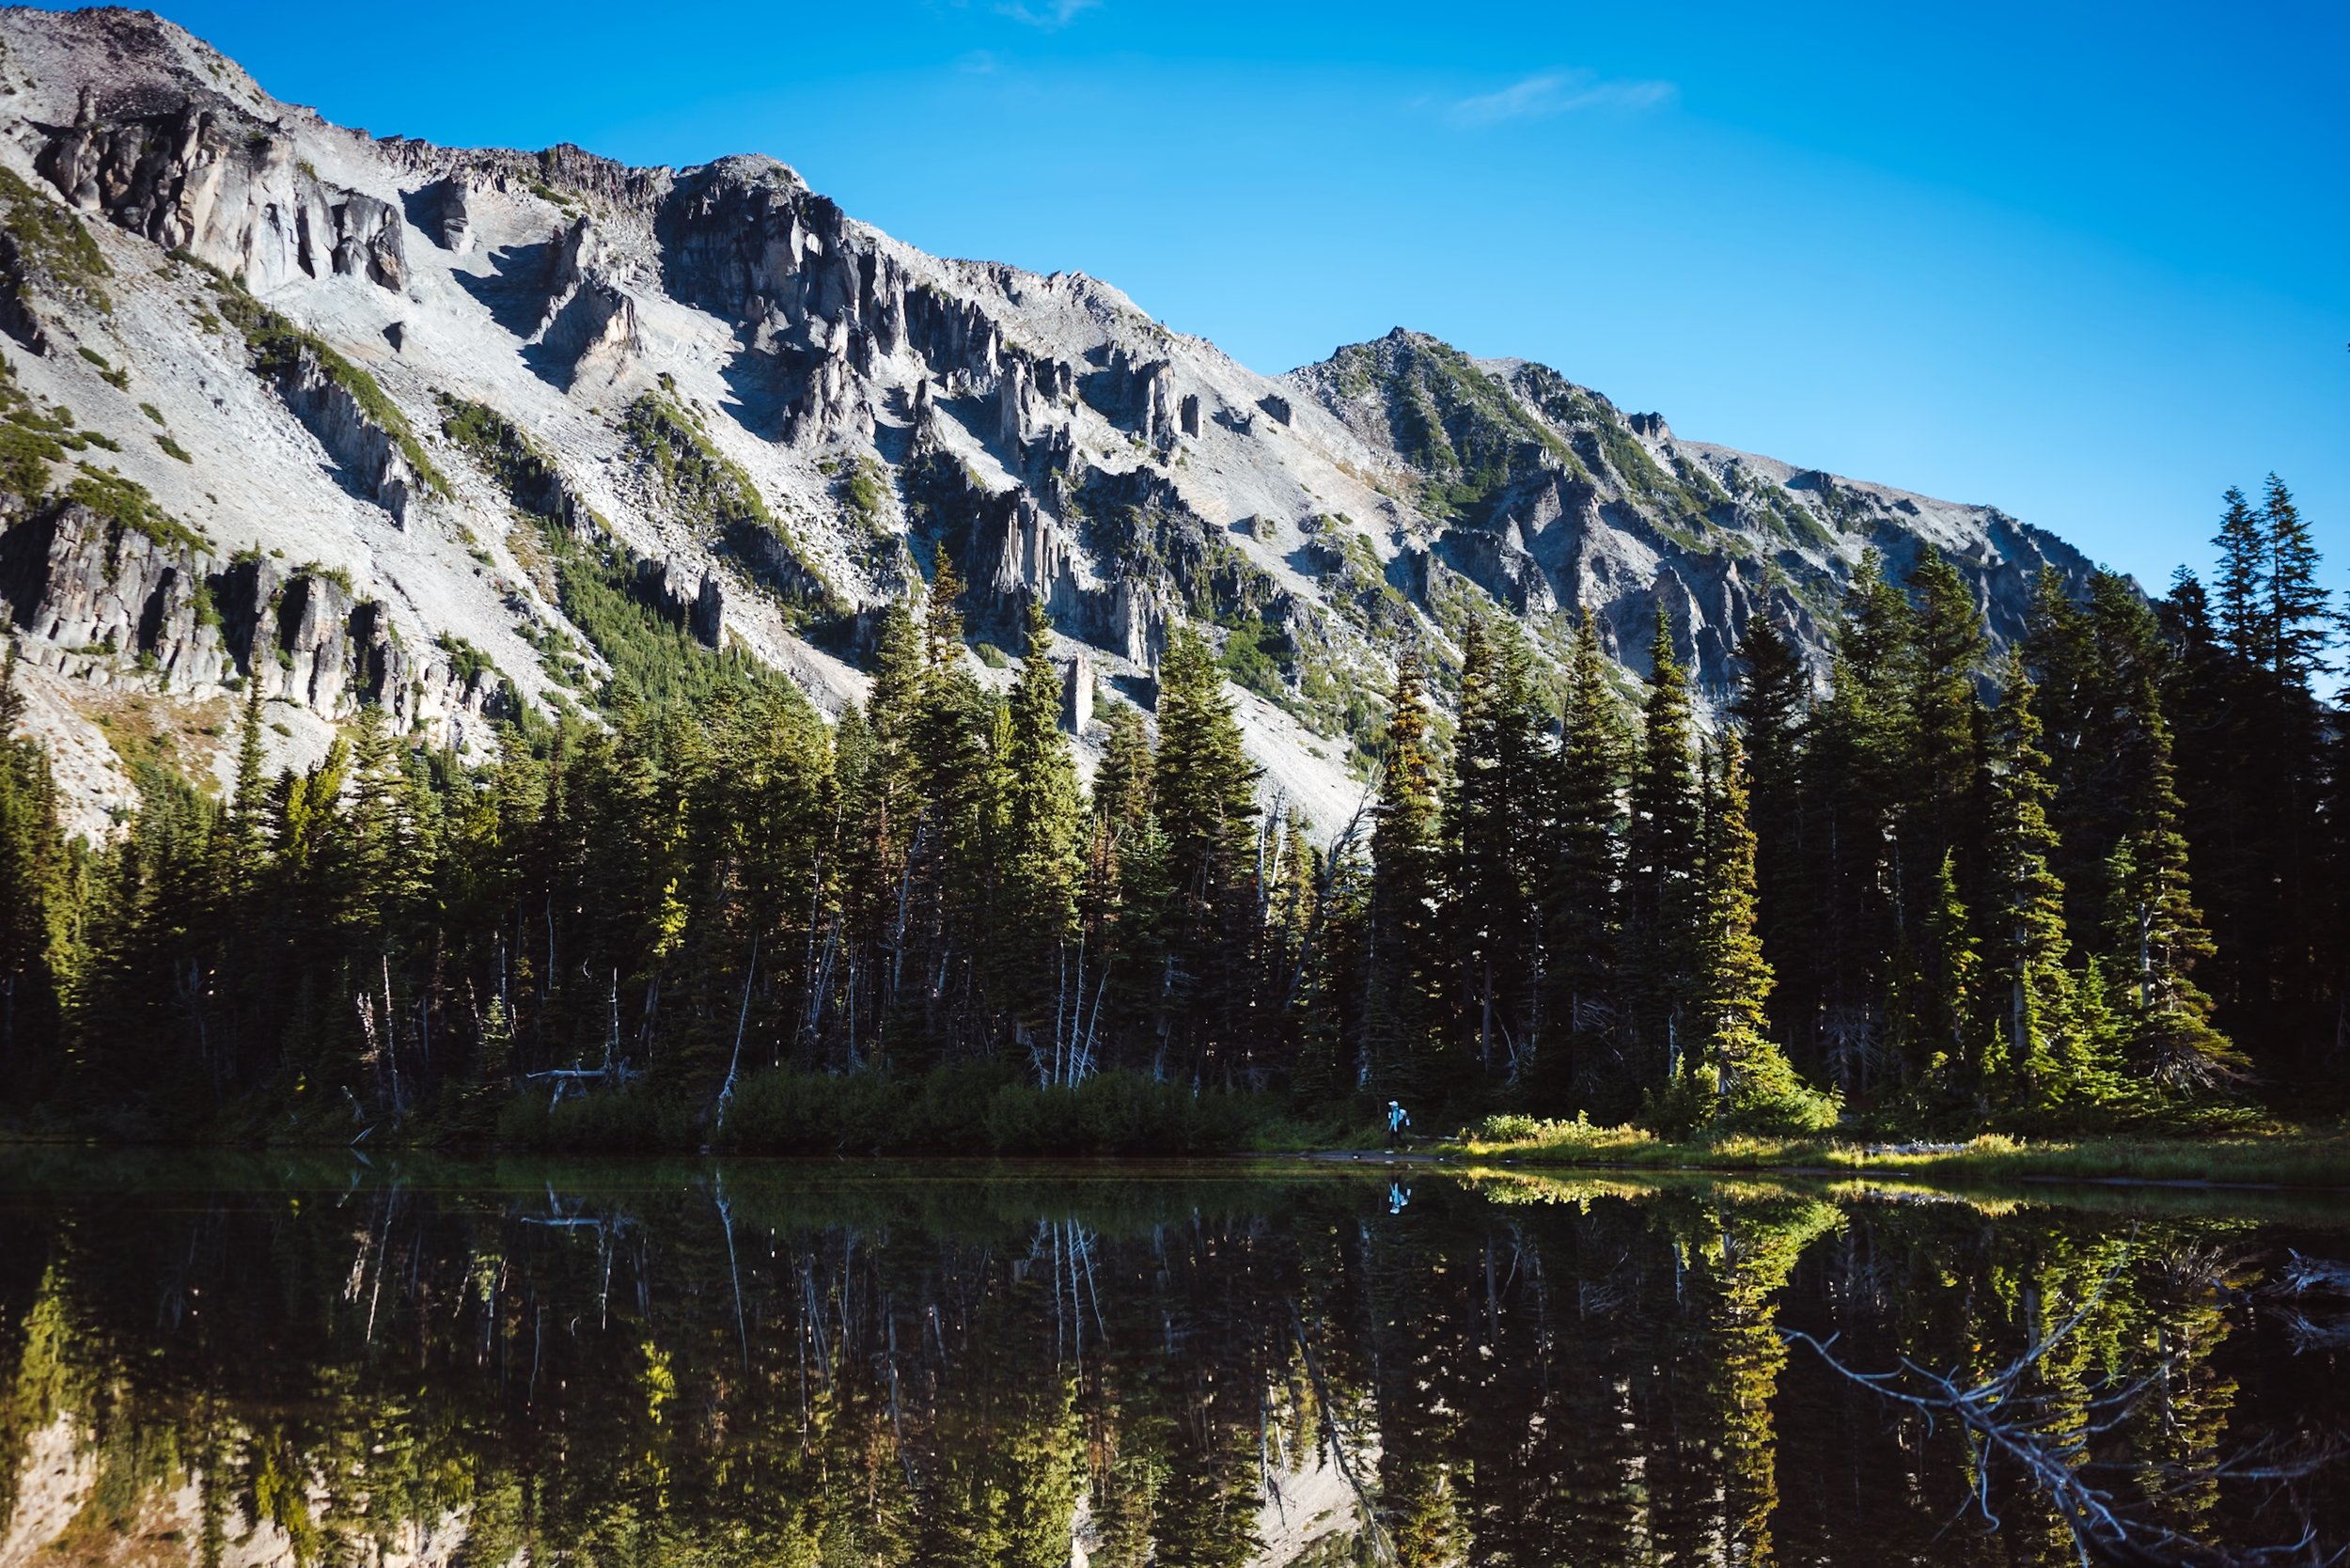
Nearby Mystic Camp is Mystic Lake, which when still has a beautiful reflection. I spent my morning enjoying coffee by the lake and taking in the magnificent views of the surrounding mountains and Rainier. After enjoying my morning and packing up my gear, I set off hiking for the day. This section of trail from Mystic Camp to South Mowich River via Spray Park is absolutely stunning.
Spray Park Alternate:
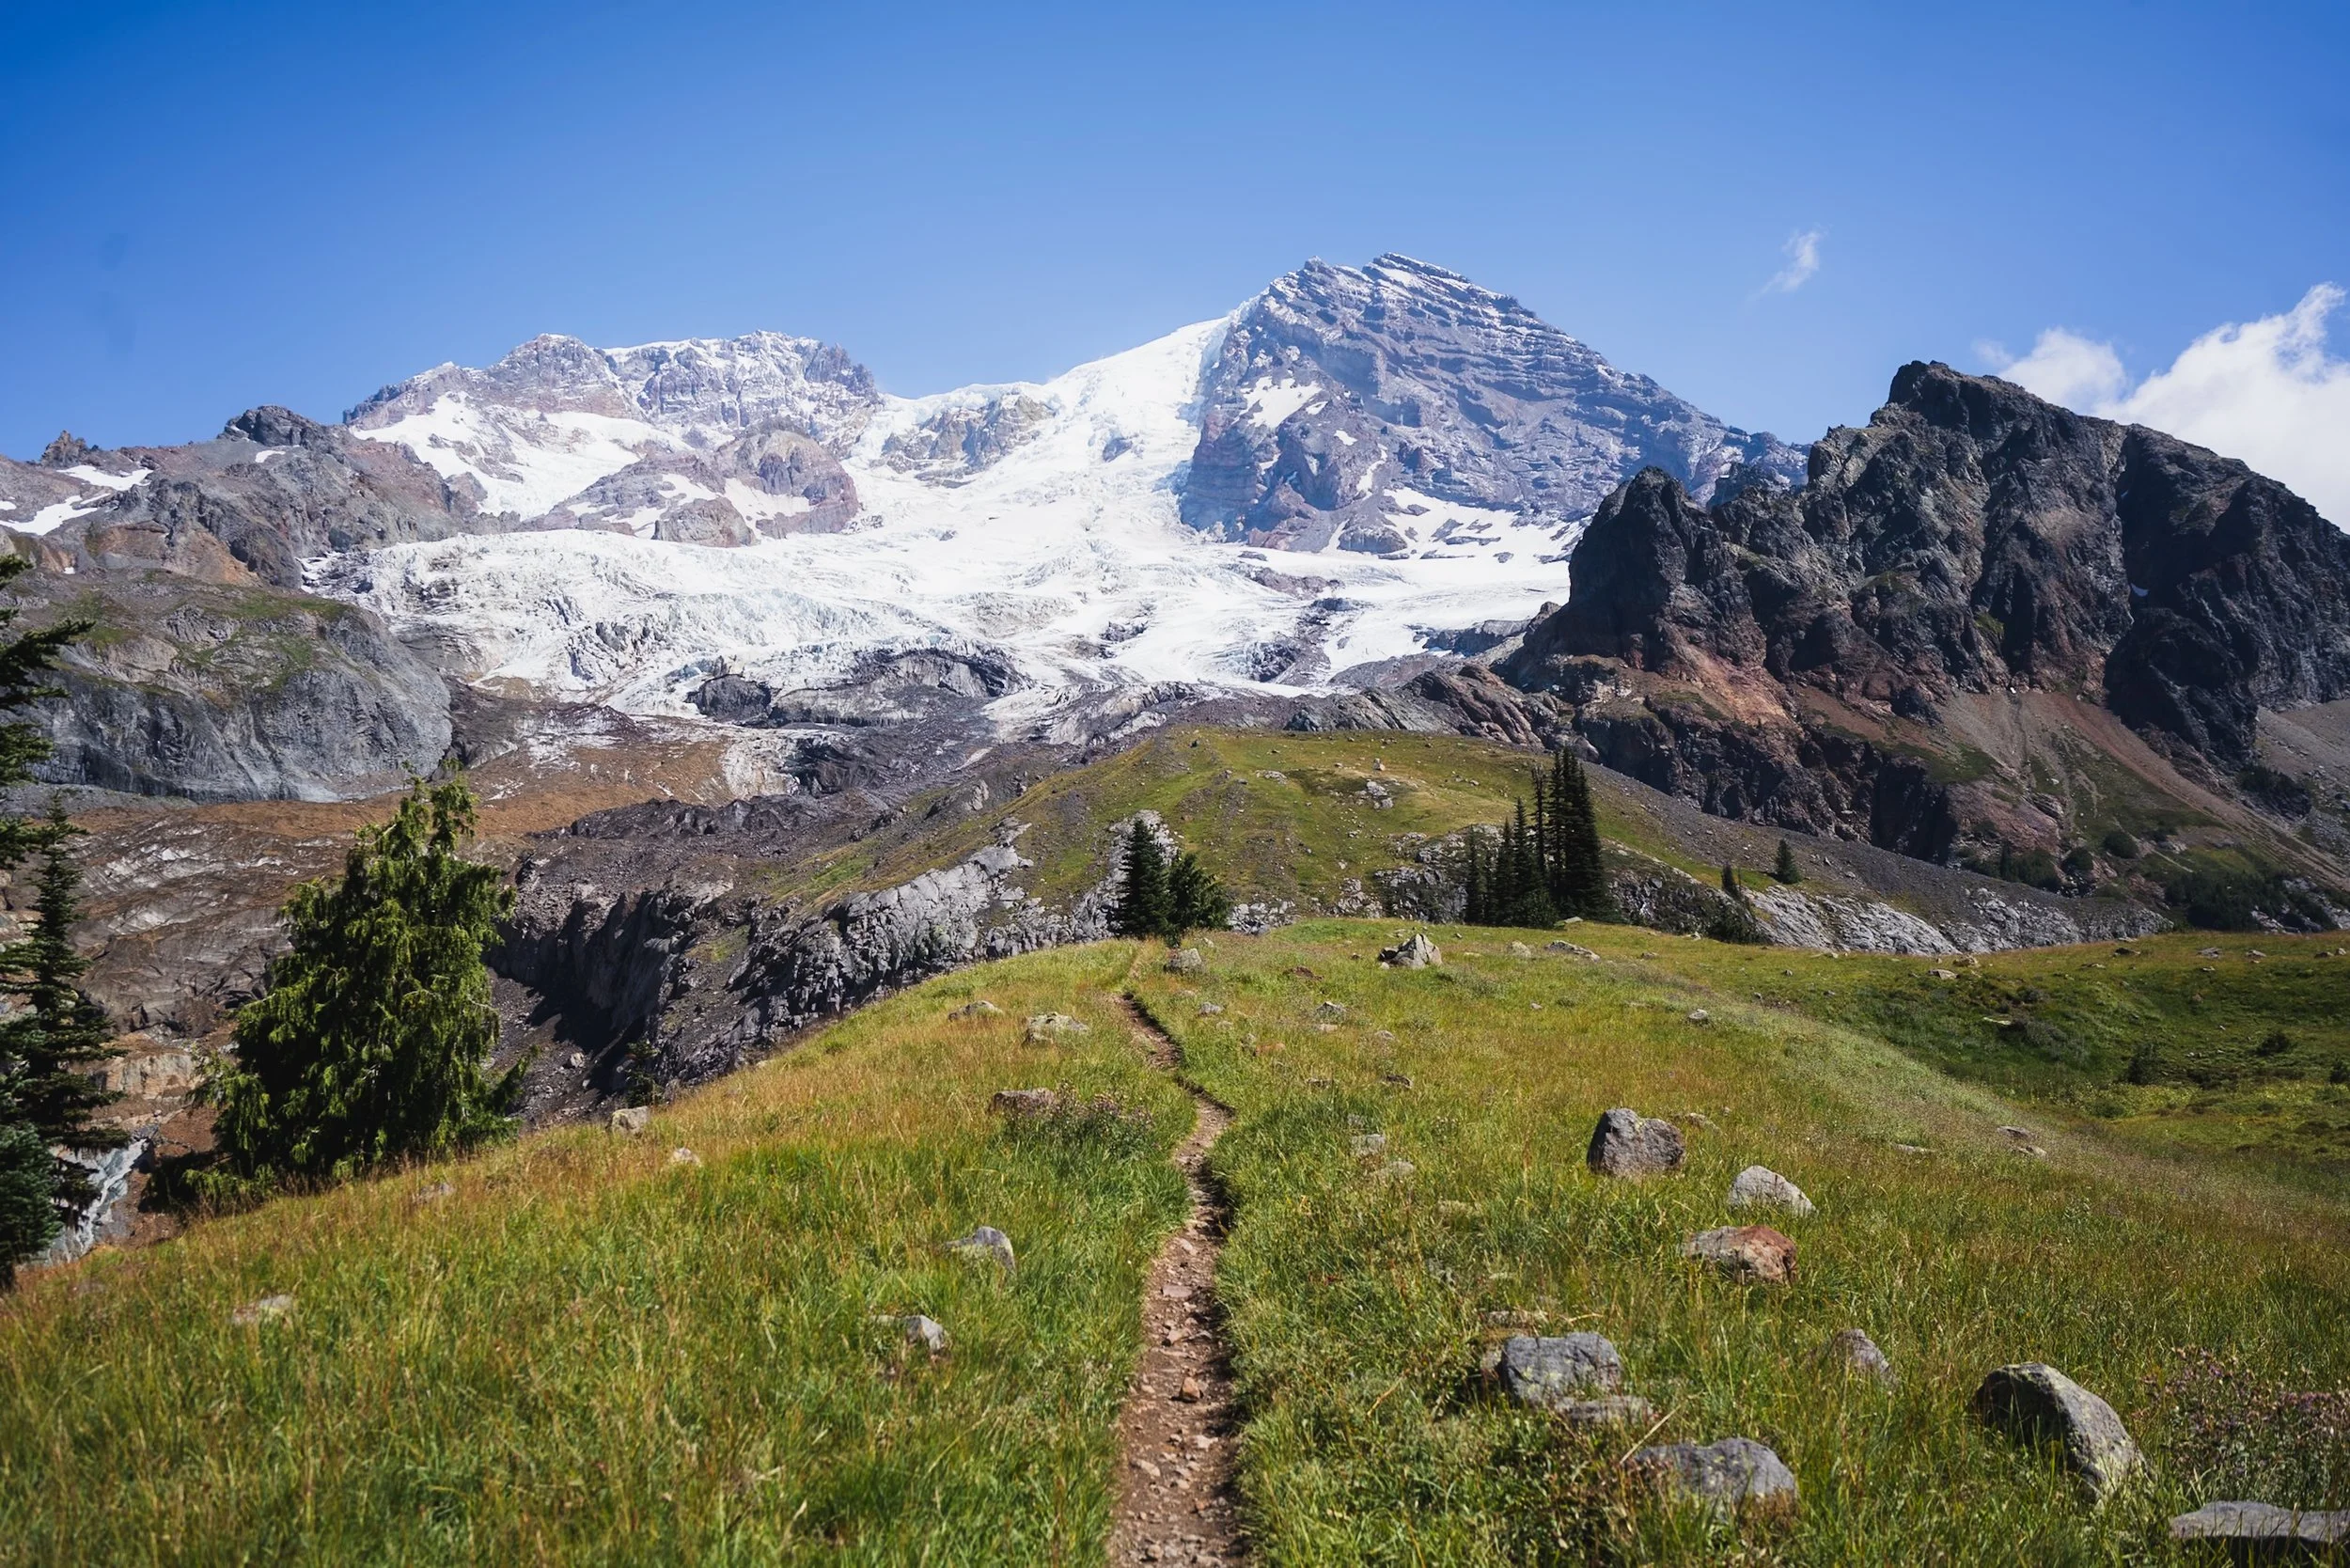
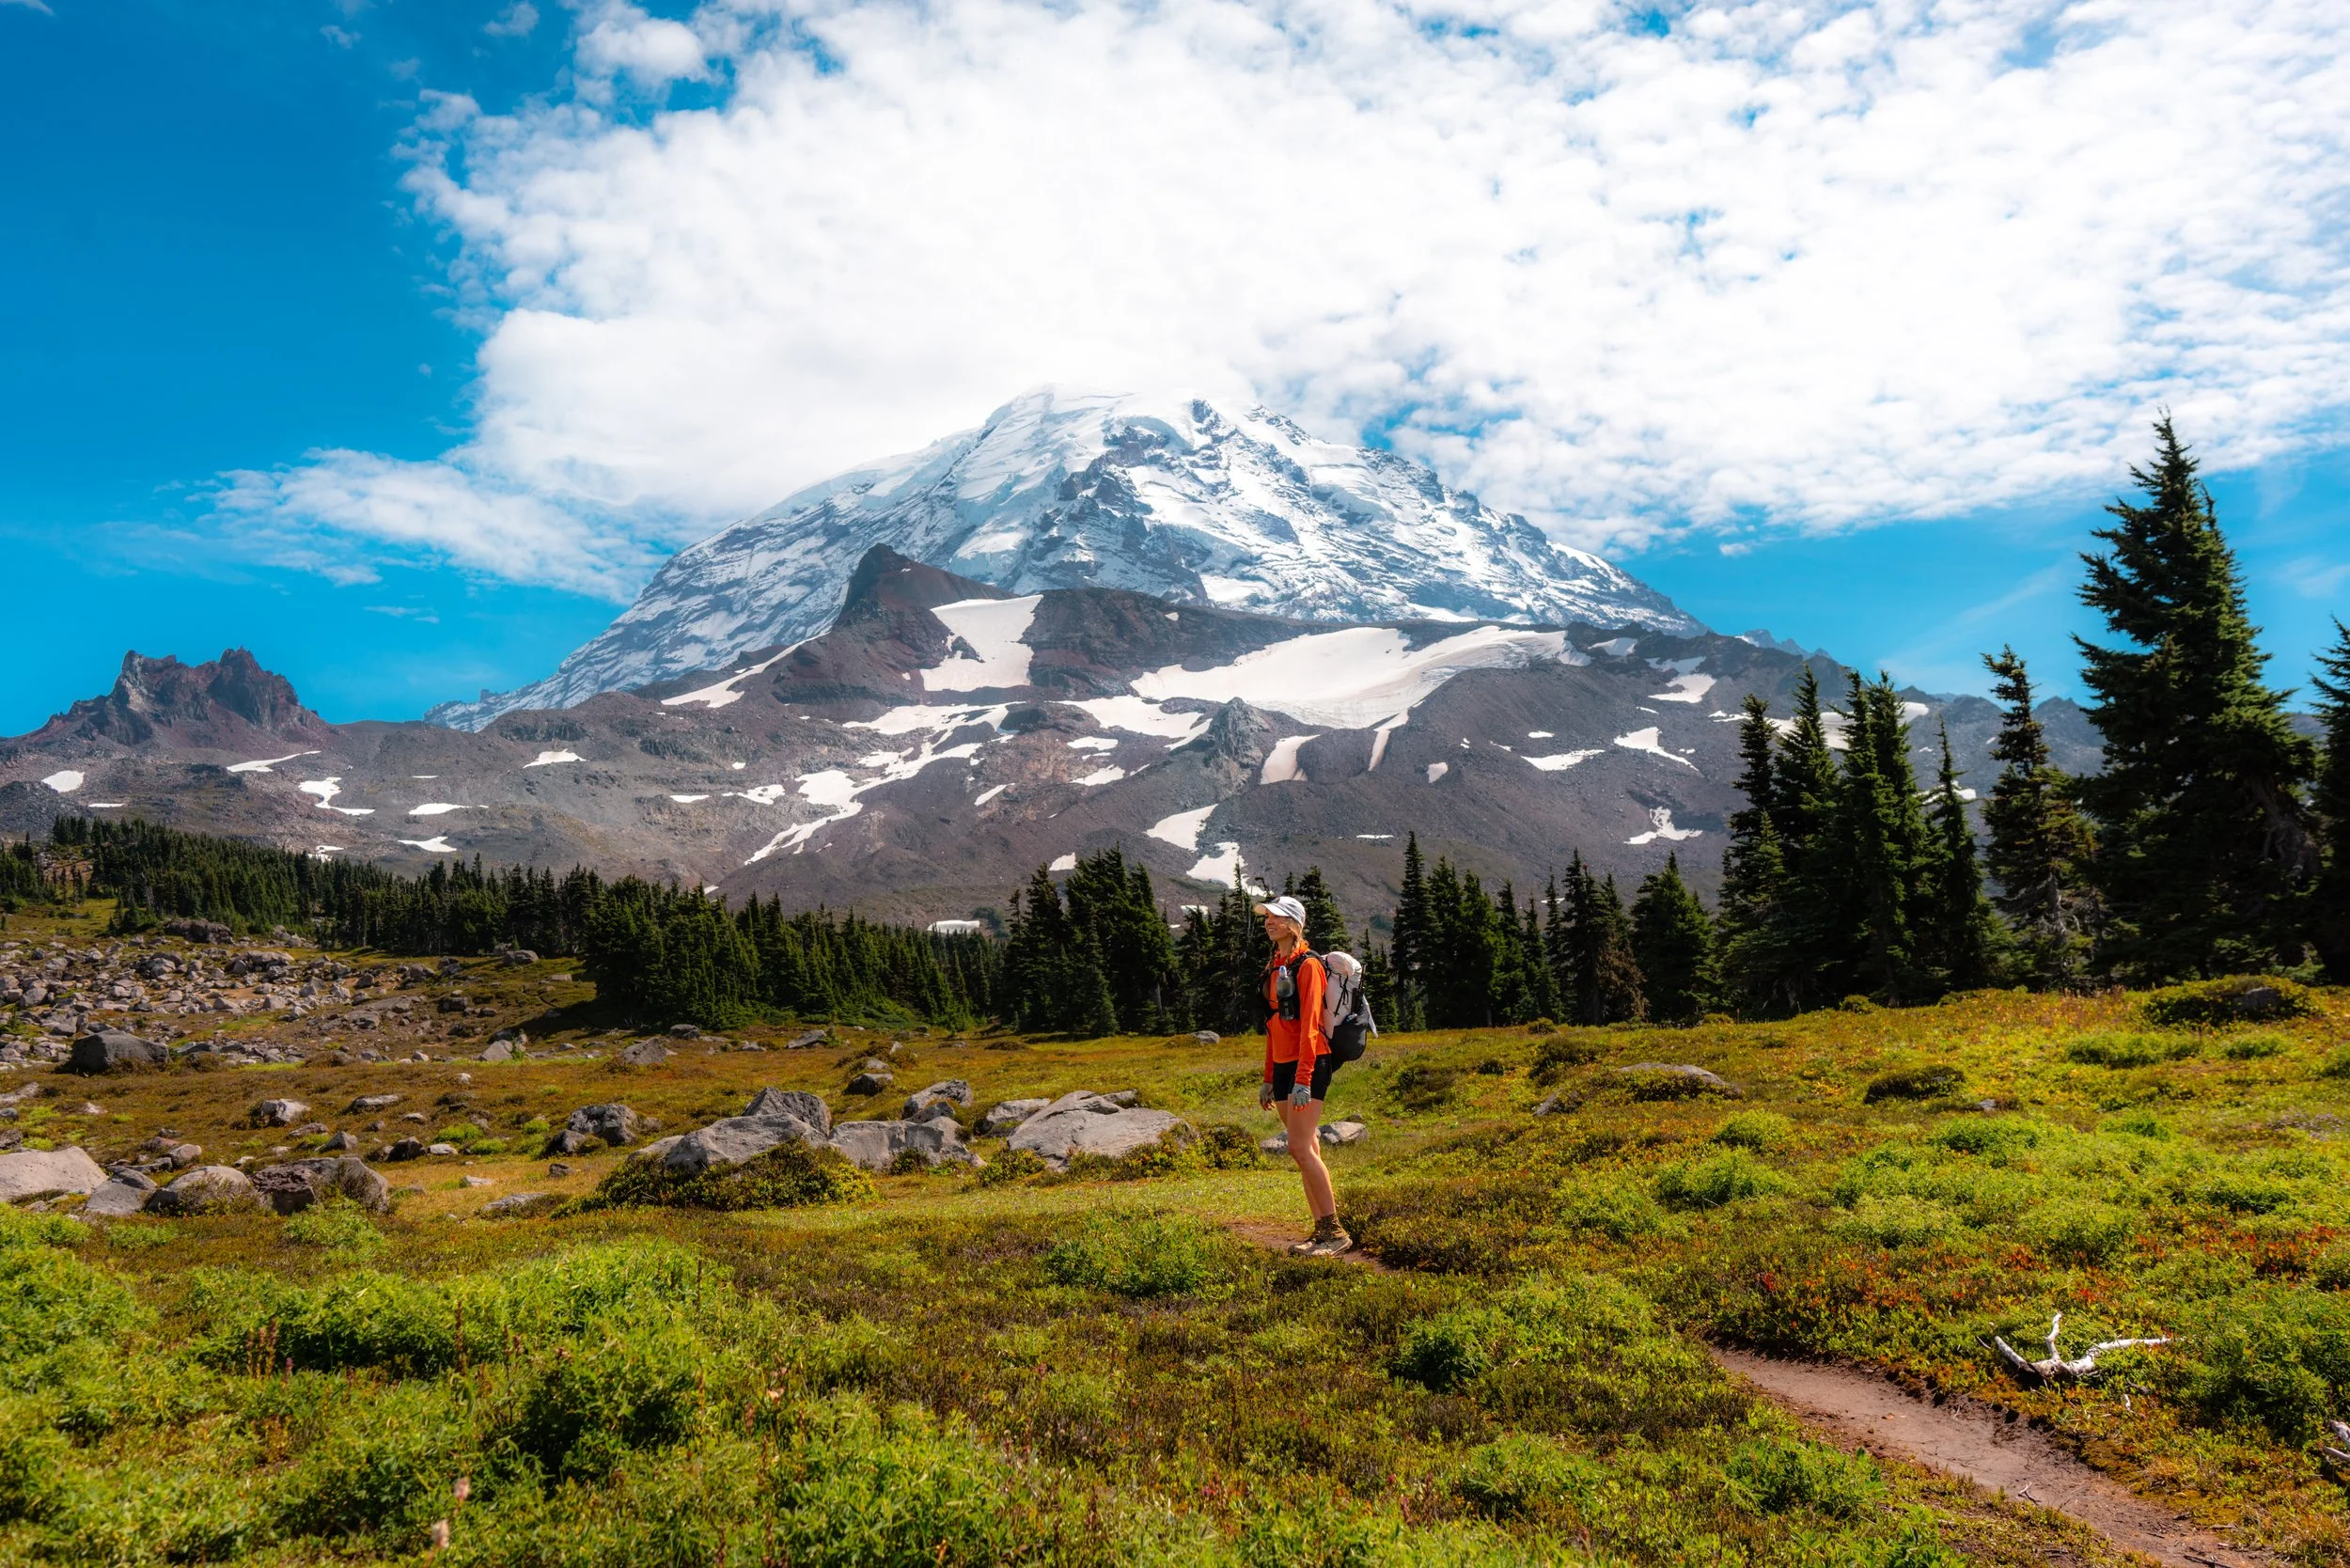
Views of Mount Rainier from the Spray Park alternate on the Wonderland Trail
I chose to hike the Spray Park Alternate as part of my Wonderland Trail hike. Instead of hiking over Ipsut Pass between Carbon River Camp and Mowich Lake, the Spray Park Alternate takes you through Spray Park, where you’ll hike through beautiful high alpine meadows with some of the best views of Mount Rainier that I saw my entire 6-day hike.
I’d say Spray Park was easily one of my favorite parts of my Wonderland Trail hike. If the weather is good and clear, I highly recommend taking the Spray Park Alternate. While it does have slightly more elevation gain than Ipsut Pass, I think the views more than make up for it.
Ipsut Pass, on the other hand, is known for its beautiful old-growth forests and is said to be stunning in its own right. Ultimately, I think it depends on whether you prefer a forest or meadows experience, where your next planned campsite is, and whether the route fits into your schedule.
I personally recommend Spray Park for its views, which are different from the up-and-down river valleys you’ll see along the rest of the trail. However, since it's above treeline, I would advise avoiding Spray Park if bad weather, storms, or lightning are forecasted.
Ipsut Pass vs. Spray Park:
Ipsut Pass: Old-growth forests, good if you prefer more shade and slightly less elevation gain.
Spray Park: Alpine meadows with views of Mount Rainier, best when weather is clear. Spray Park is above treeline, so avoid it in bad weather (storms or lightning) to stay safe.
South Mowich River Camp:
View from my campsite at South Mowich River Camp on the Wonderland Trail
After descending from Spray Park and reconnecting with the Wonderland Trail, I continued on to South Mowich River Camp. There was a lot of downhill hiking. Day 2 had the most elevation loss in a single day of my entire trip: -7,700 ft! The constant descent was tough on my knees and I was happy to finally arrive at camp.
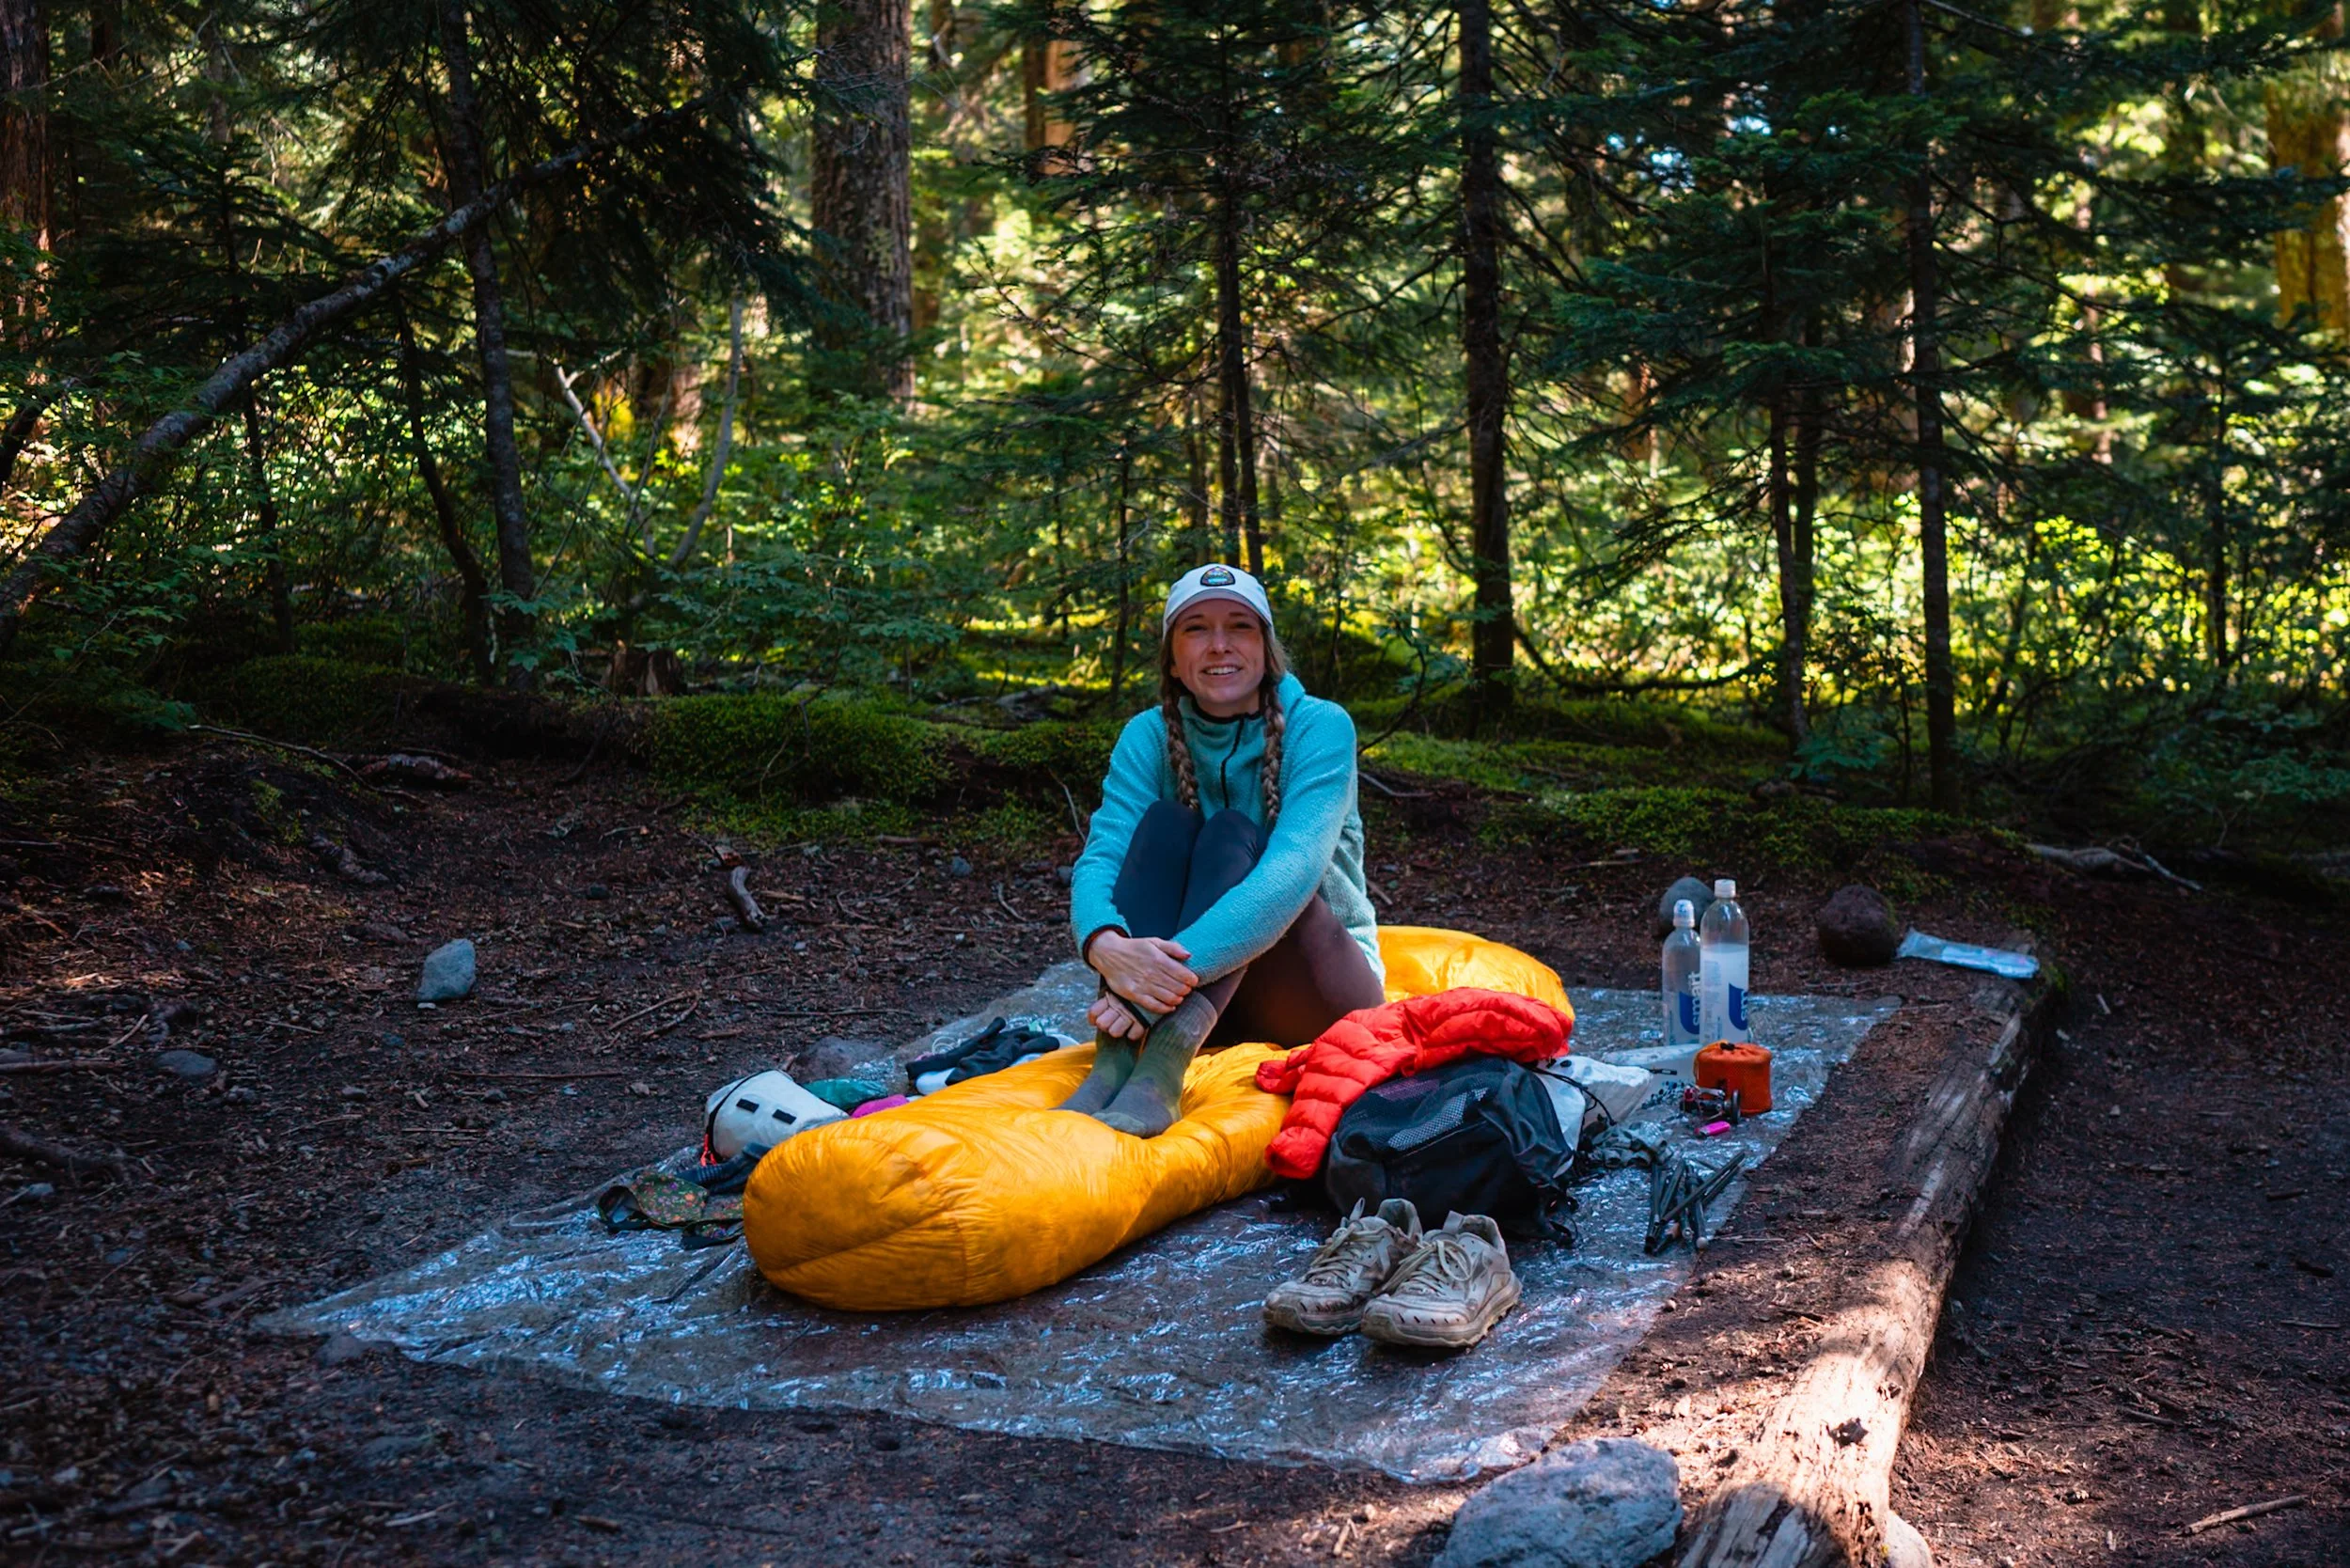
South Mowich River Camp is nestled in a forest right next to South Mowich River. It has 4 campsites and 1 group site. One of the 4 campsites is a shelter (a 3-sided wooden structure). When I arrived, the other group that was already there had claimed the shelter, but I was able to choose from the remaining 3 campsites. I opted for Site 4, which sits right on the riverfront. It was a great spot and I enjoyed my night there. Like Mystic Camp, South Mowich River Camp also has a pole with hooks to hang your food from (with another pole to lift your food bag up).
Pro-tip: Don’t attempt to filter the silty, glacial water from the South Mowich River, as it might clog your water filter. When I hiked, there was a nearby creek just before camp where you could find somewhat clearer water. In general, I don’t recommend sourcing water from any glacial, silty streams at any point during your Wonderland Trail hike unless absolutely necessary. Stick to clear water whenever possible.
Day 3: South Mowich River to Klapatche Park
Mileage: 13.5 miles
Elevation Gain: +4,900 ft
Elevation Loss: -2,200 ft
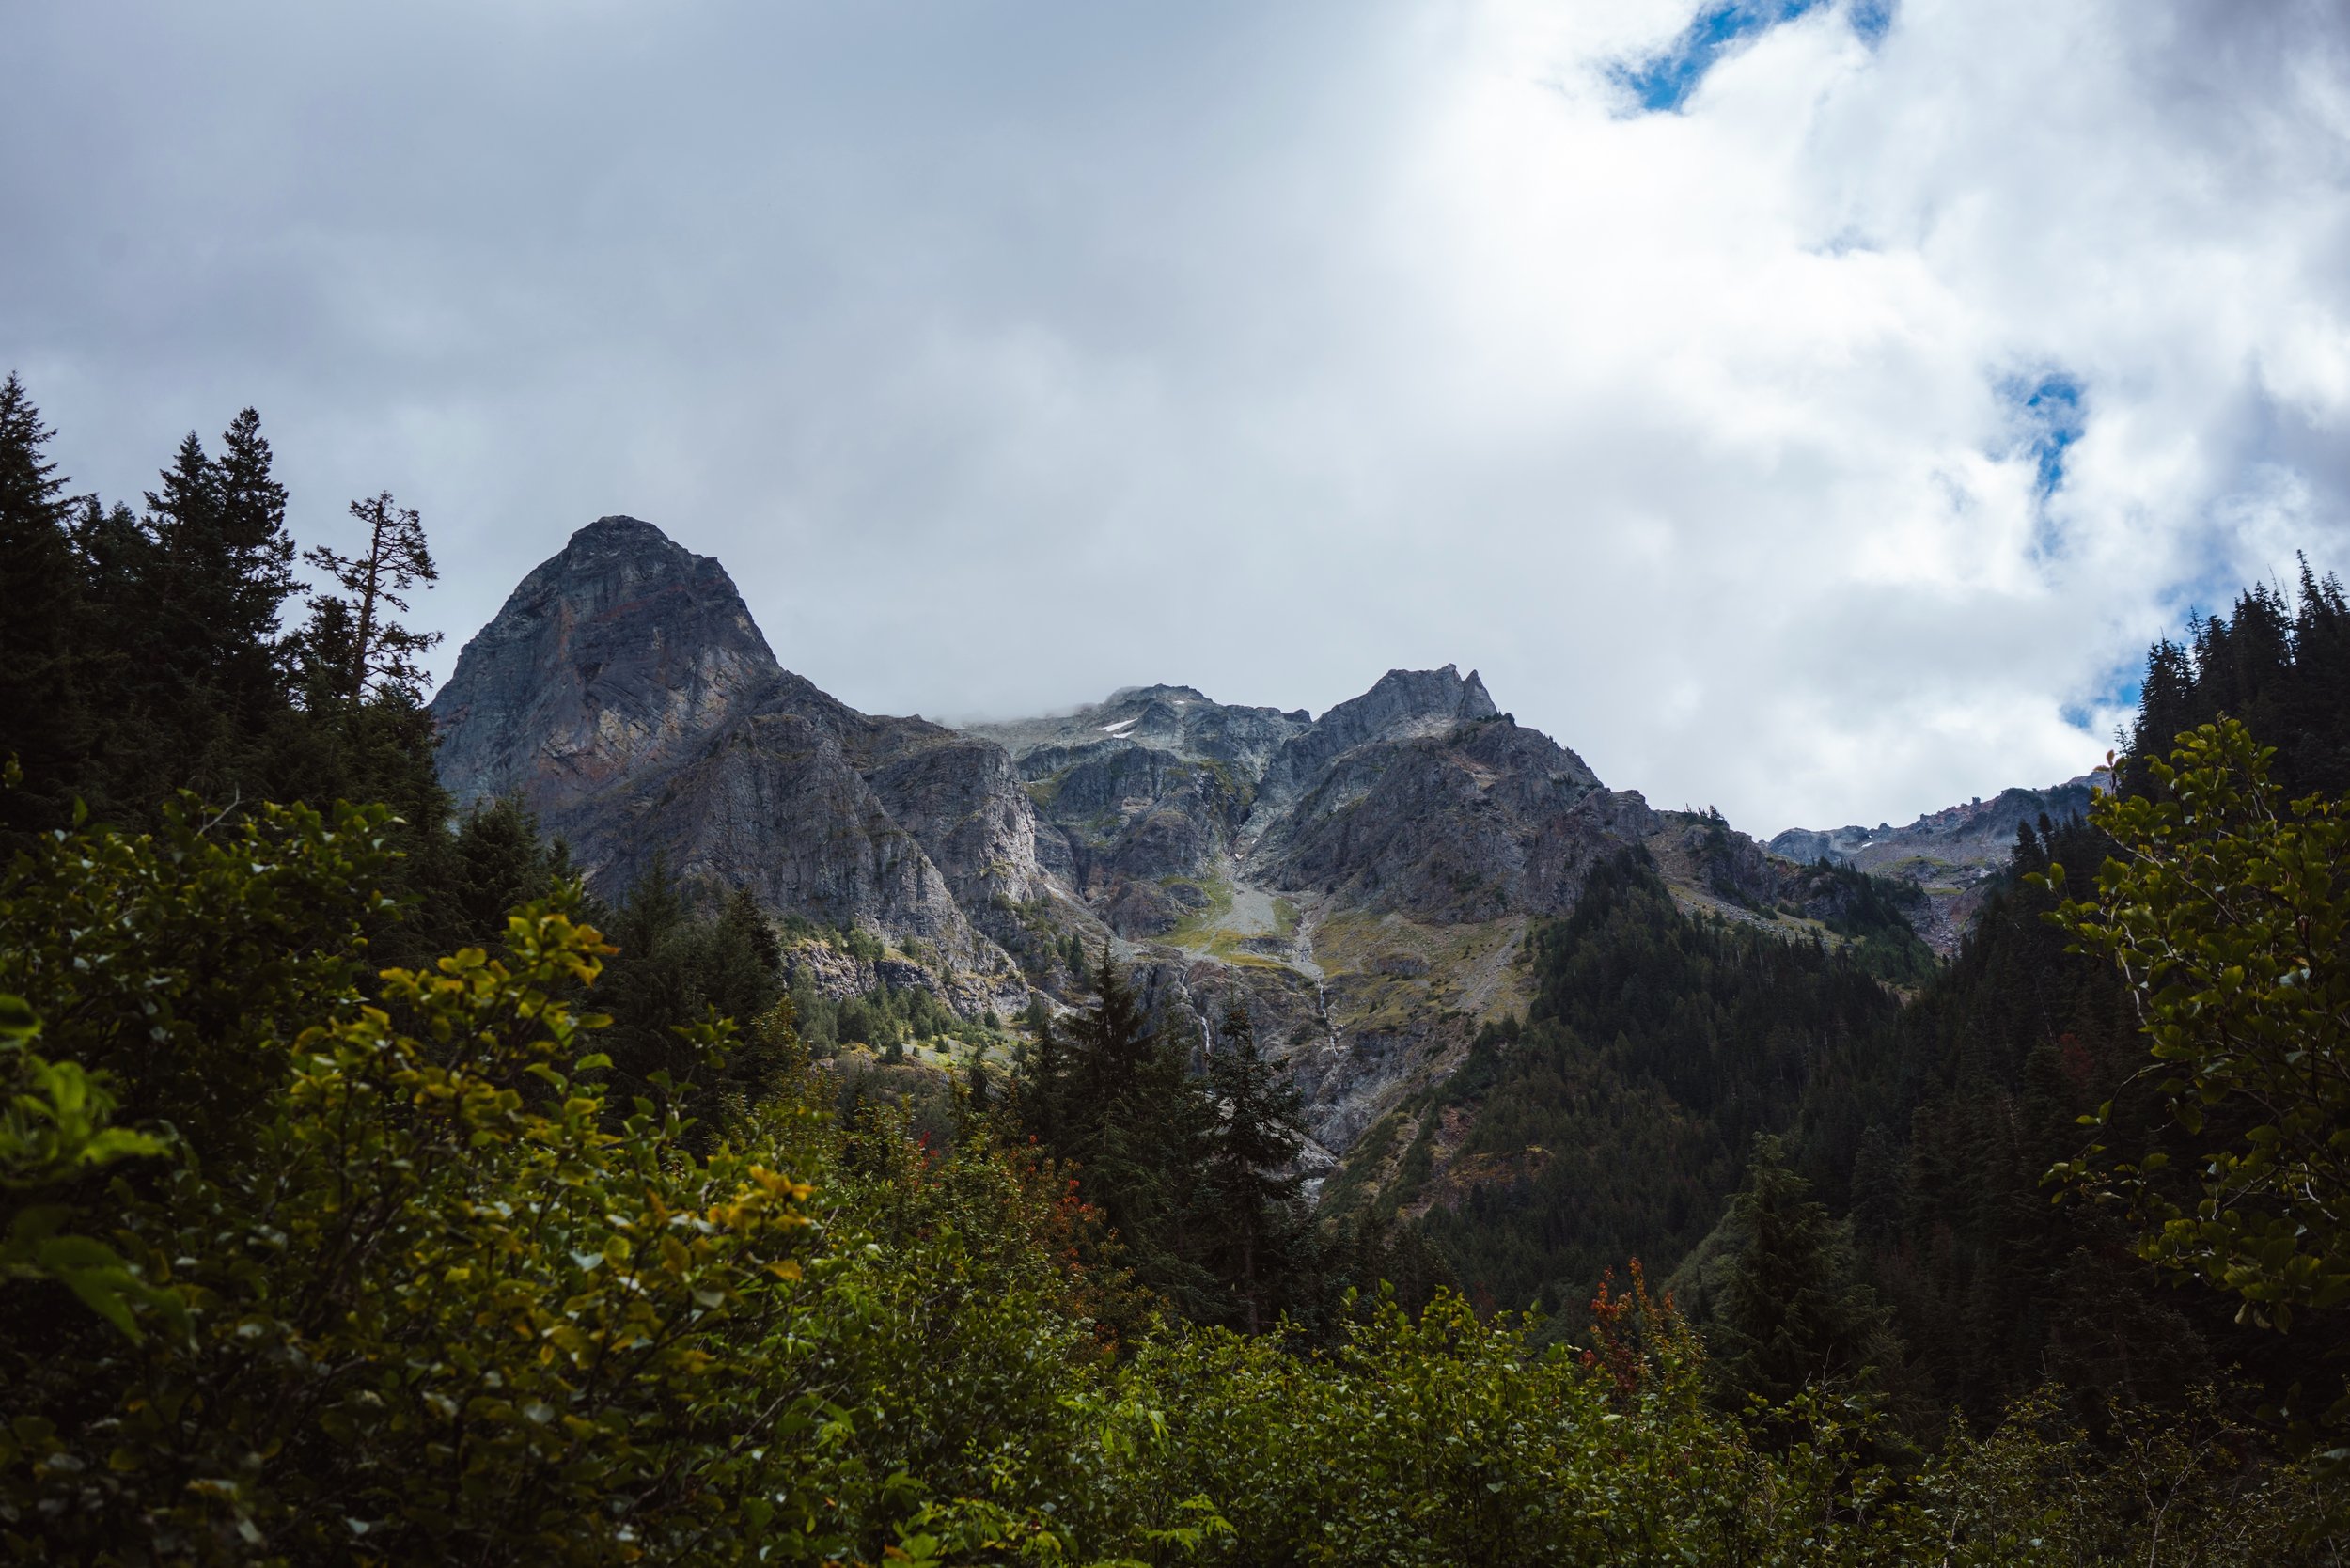
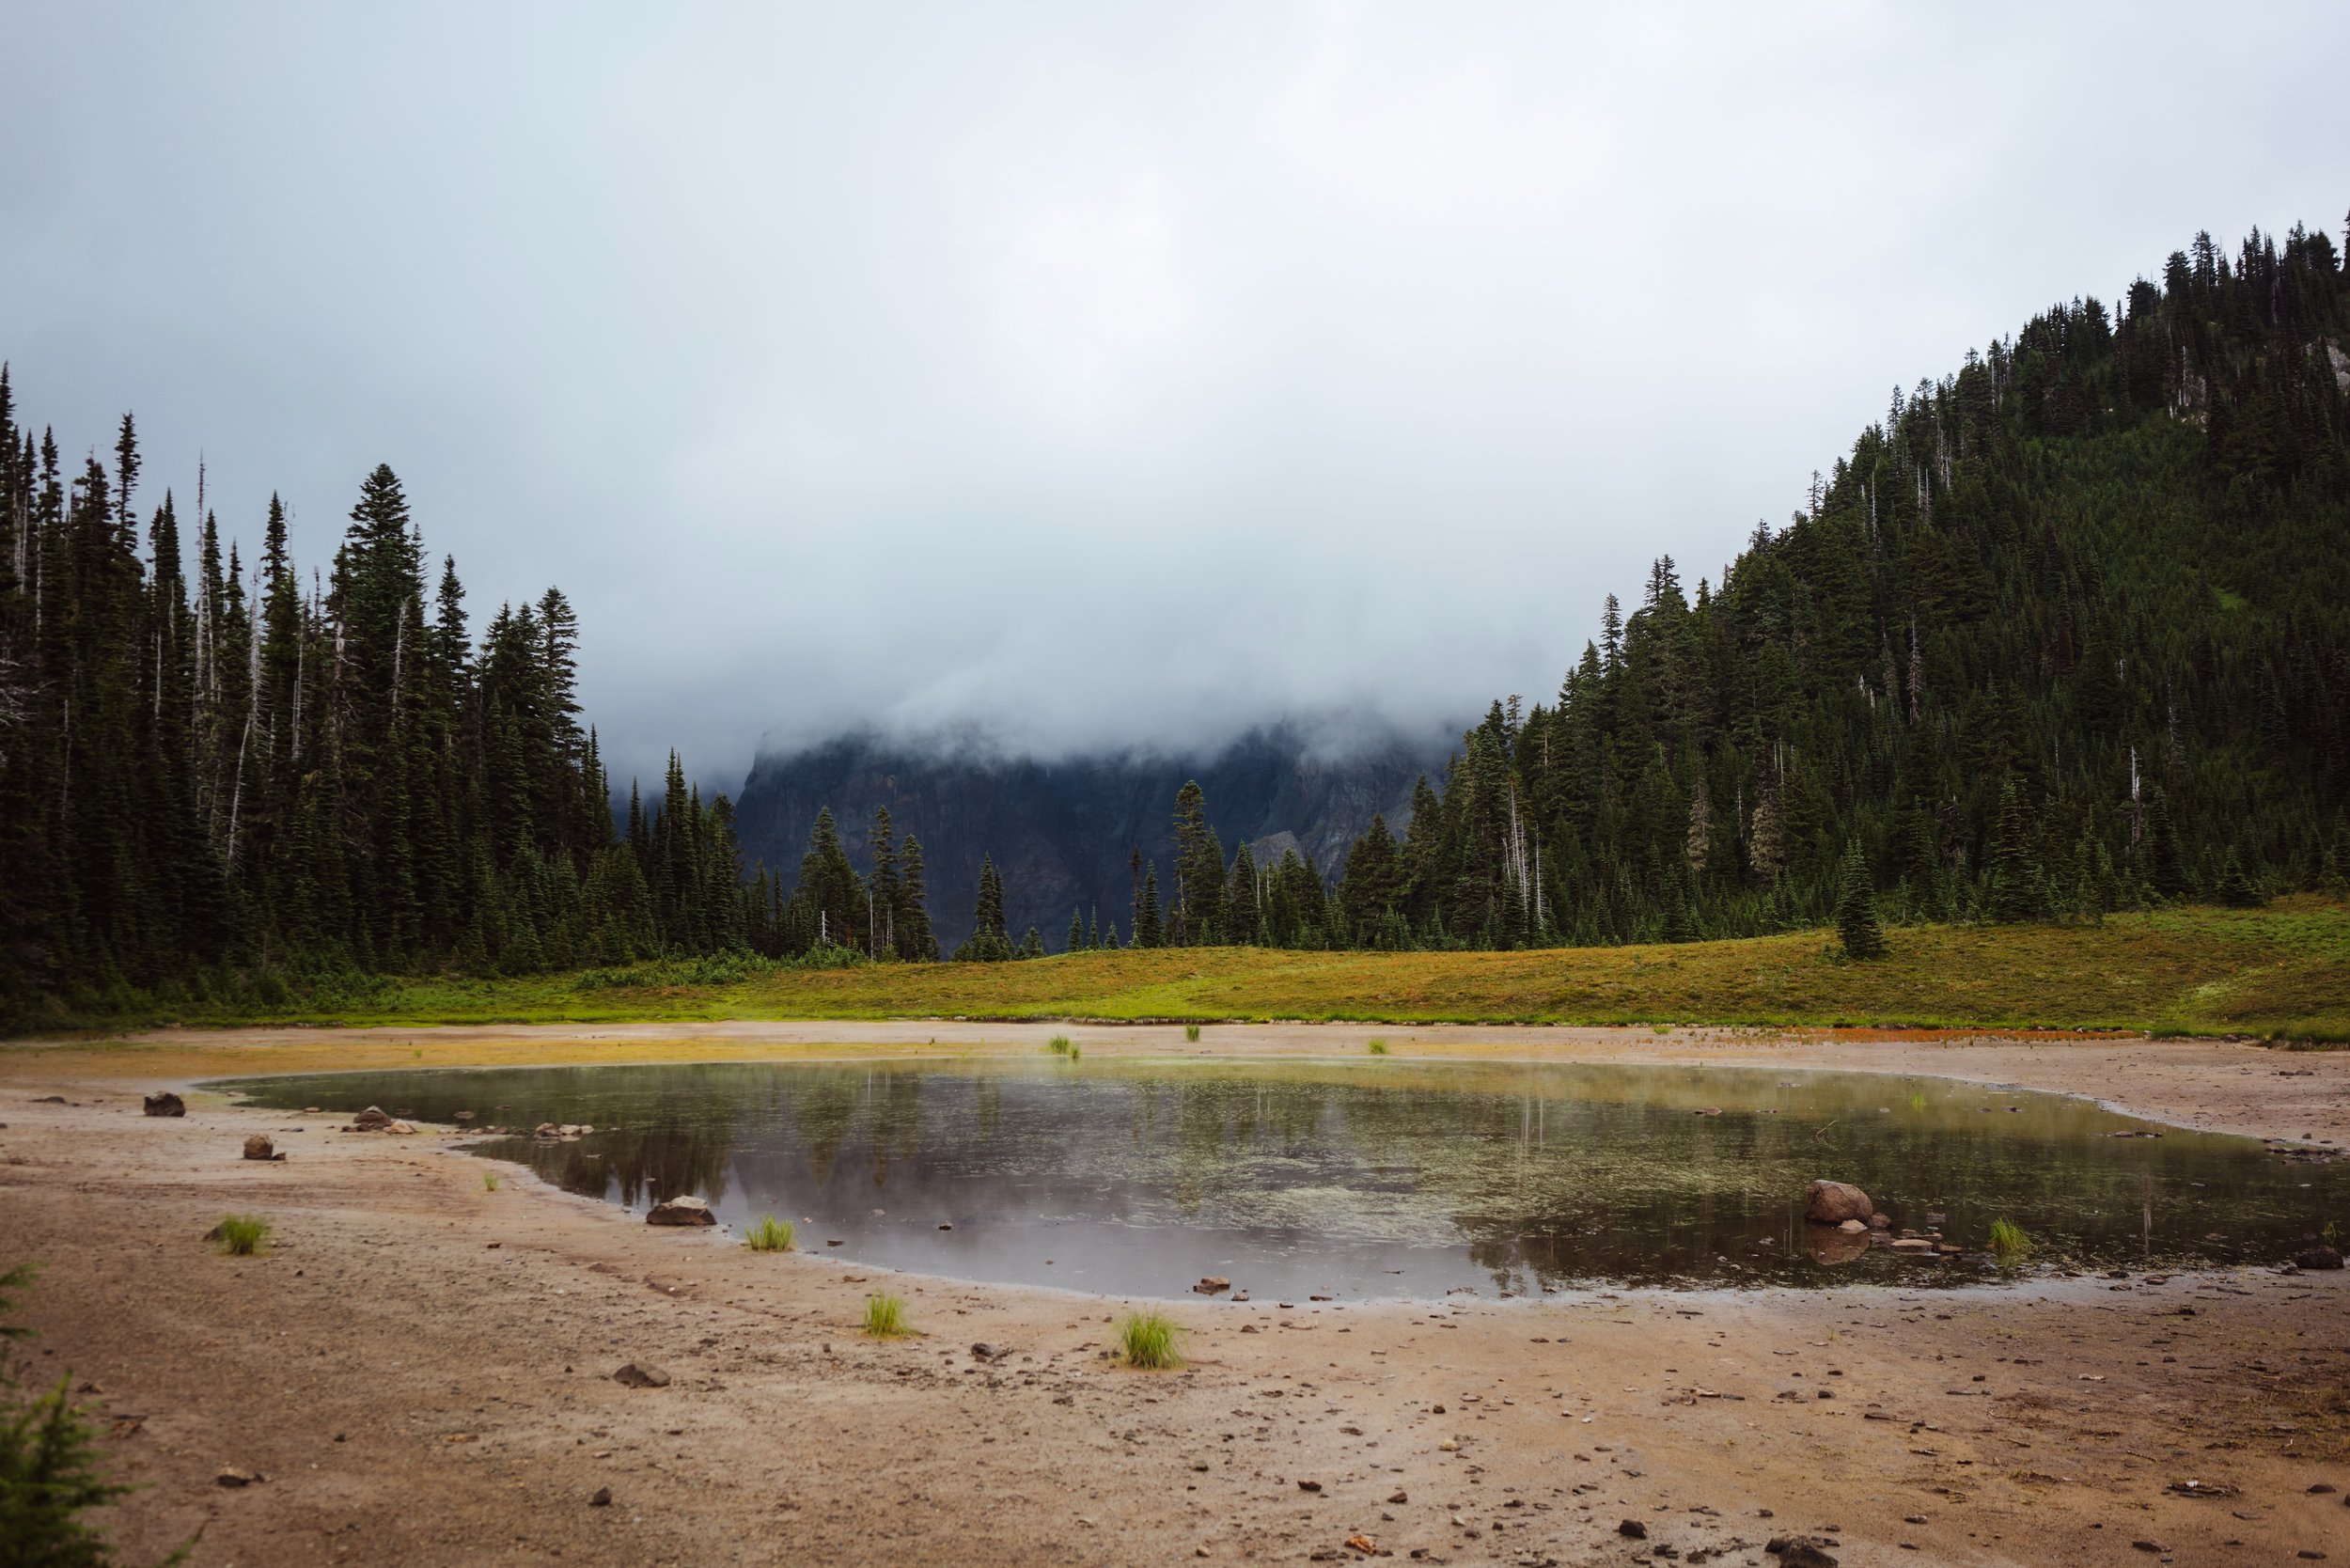
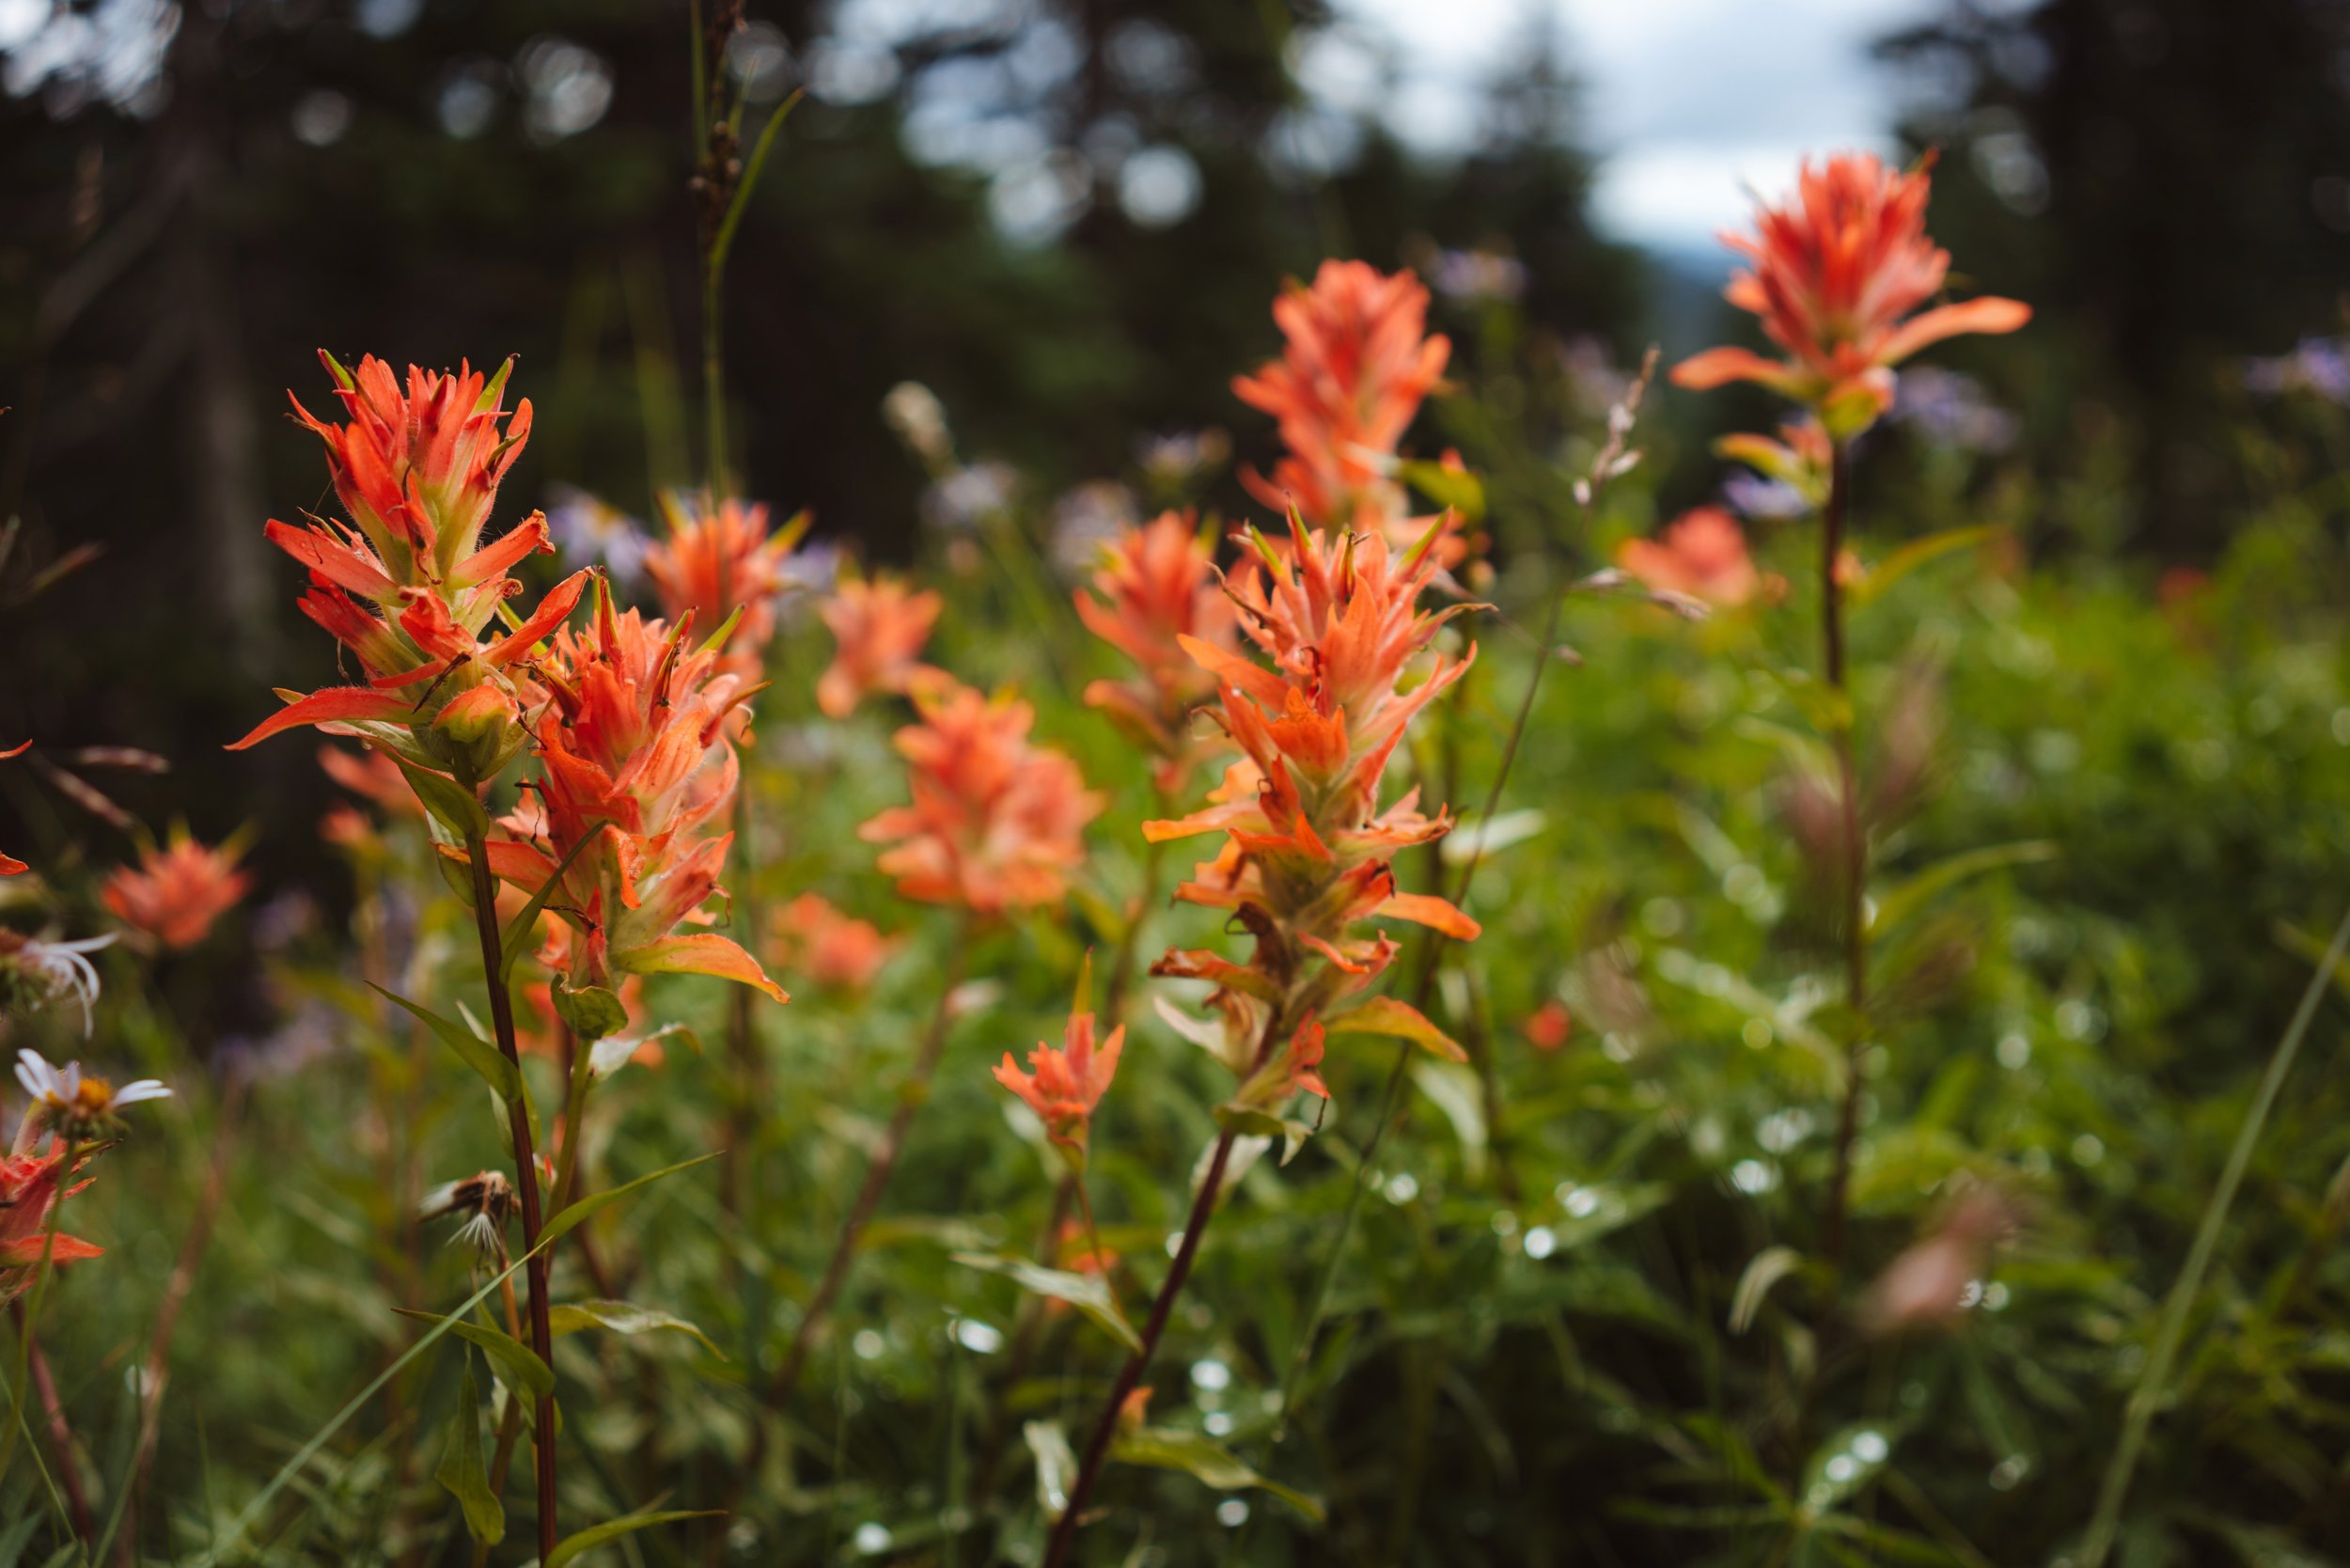
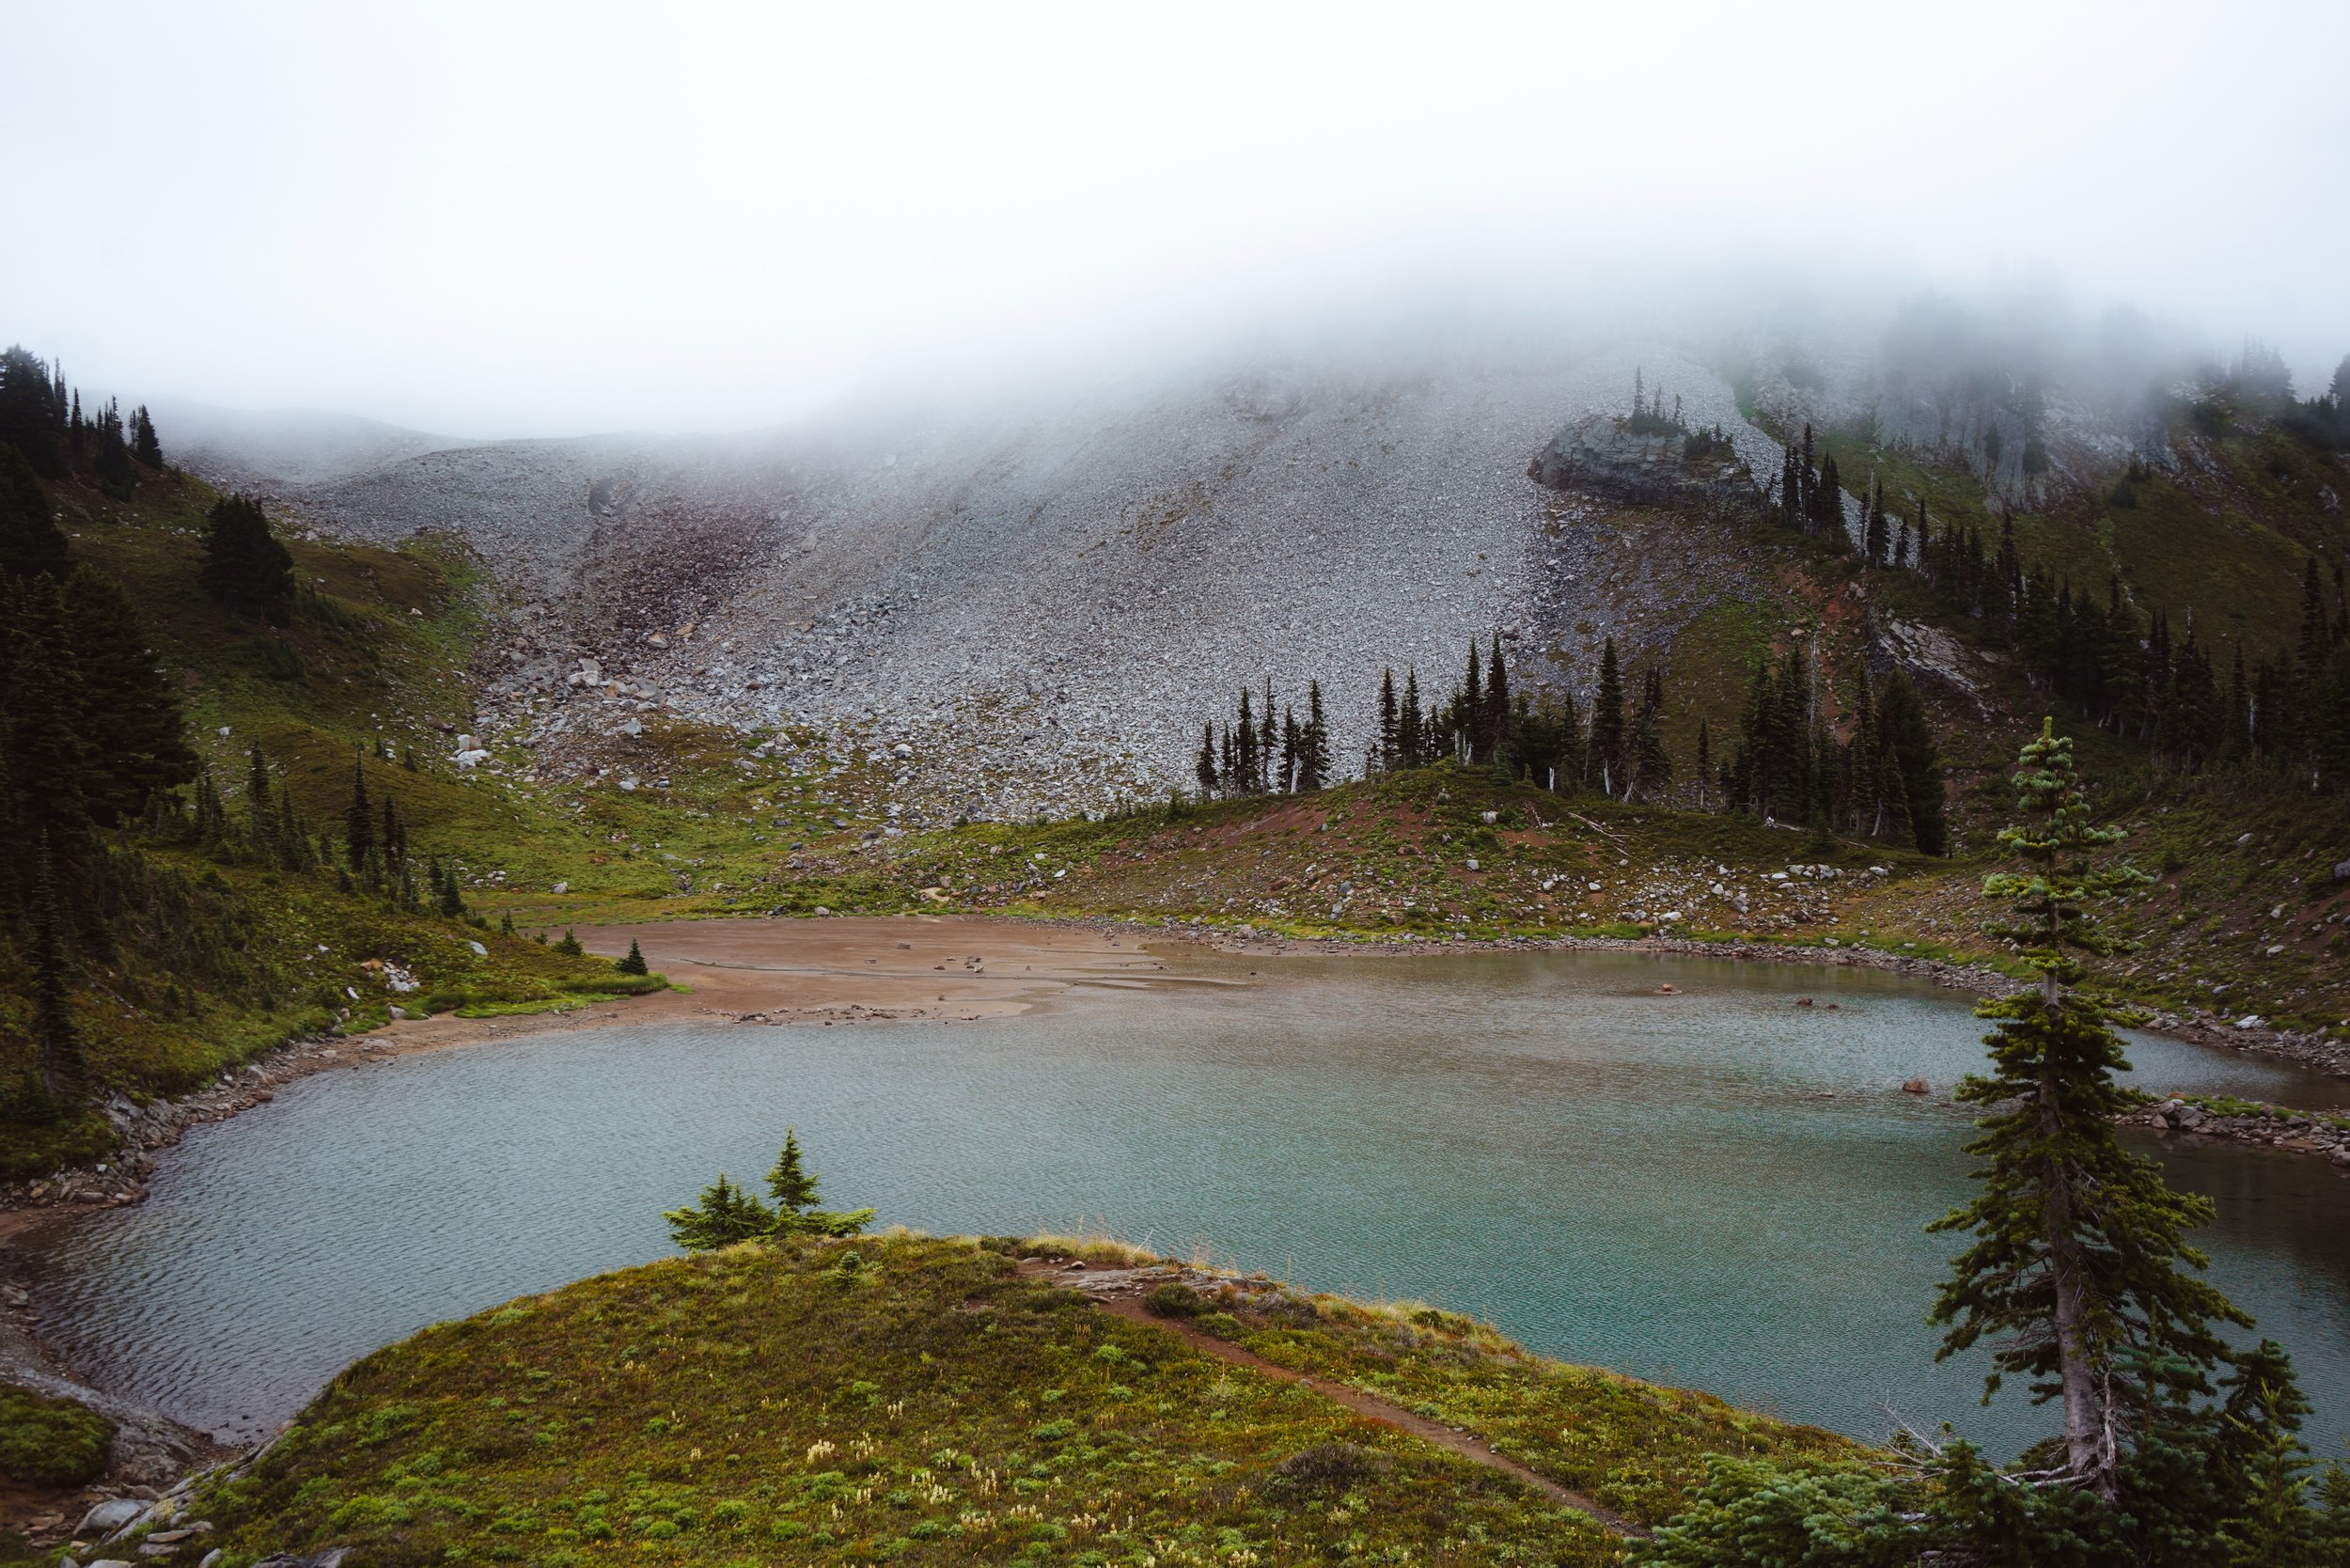

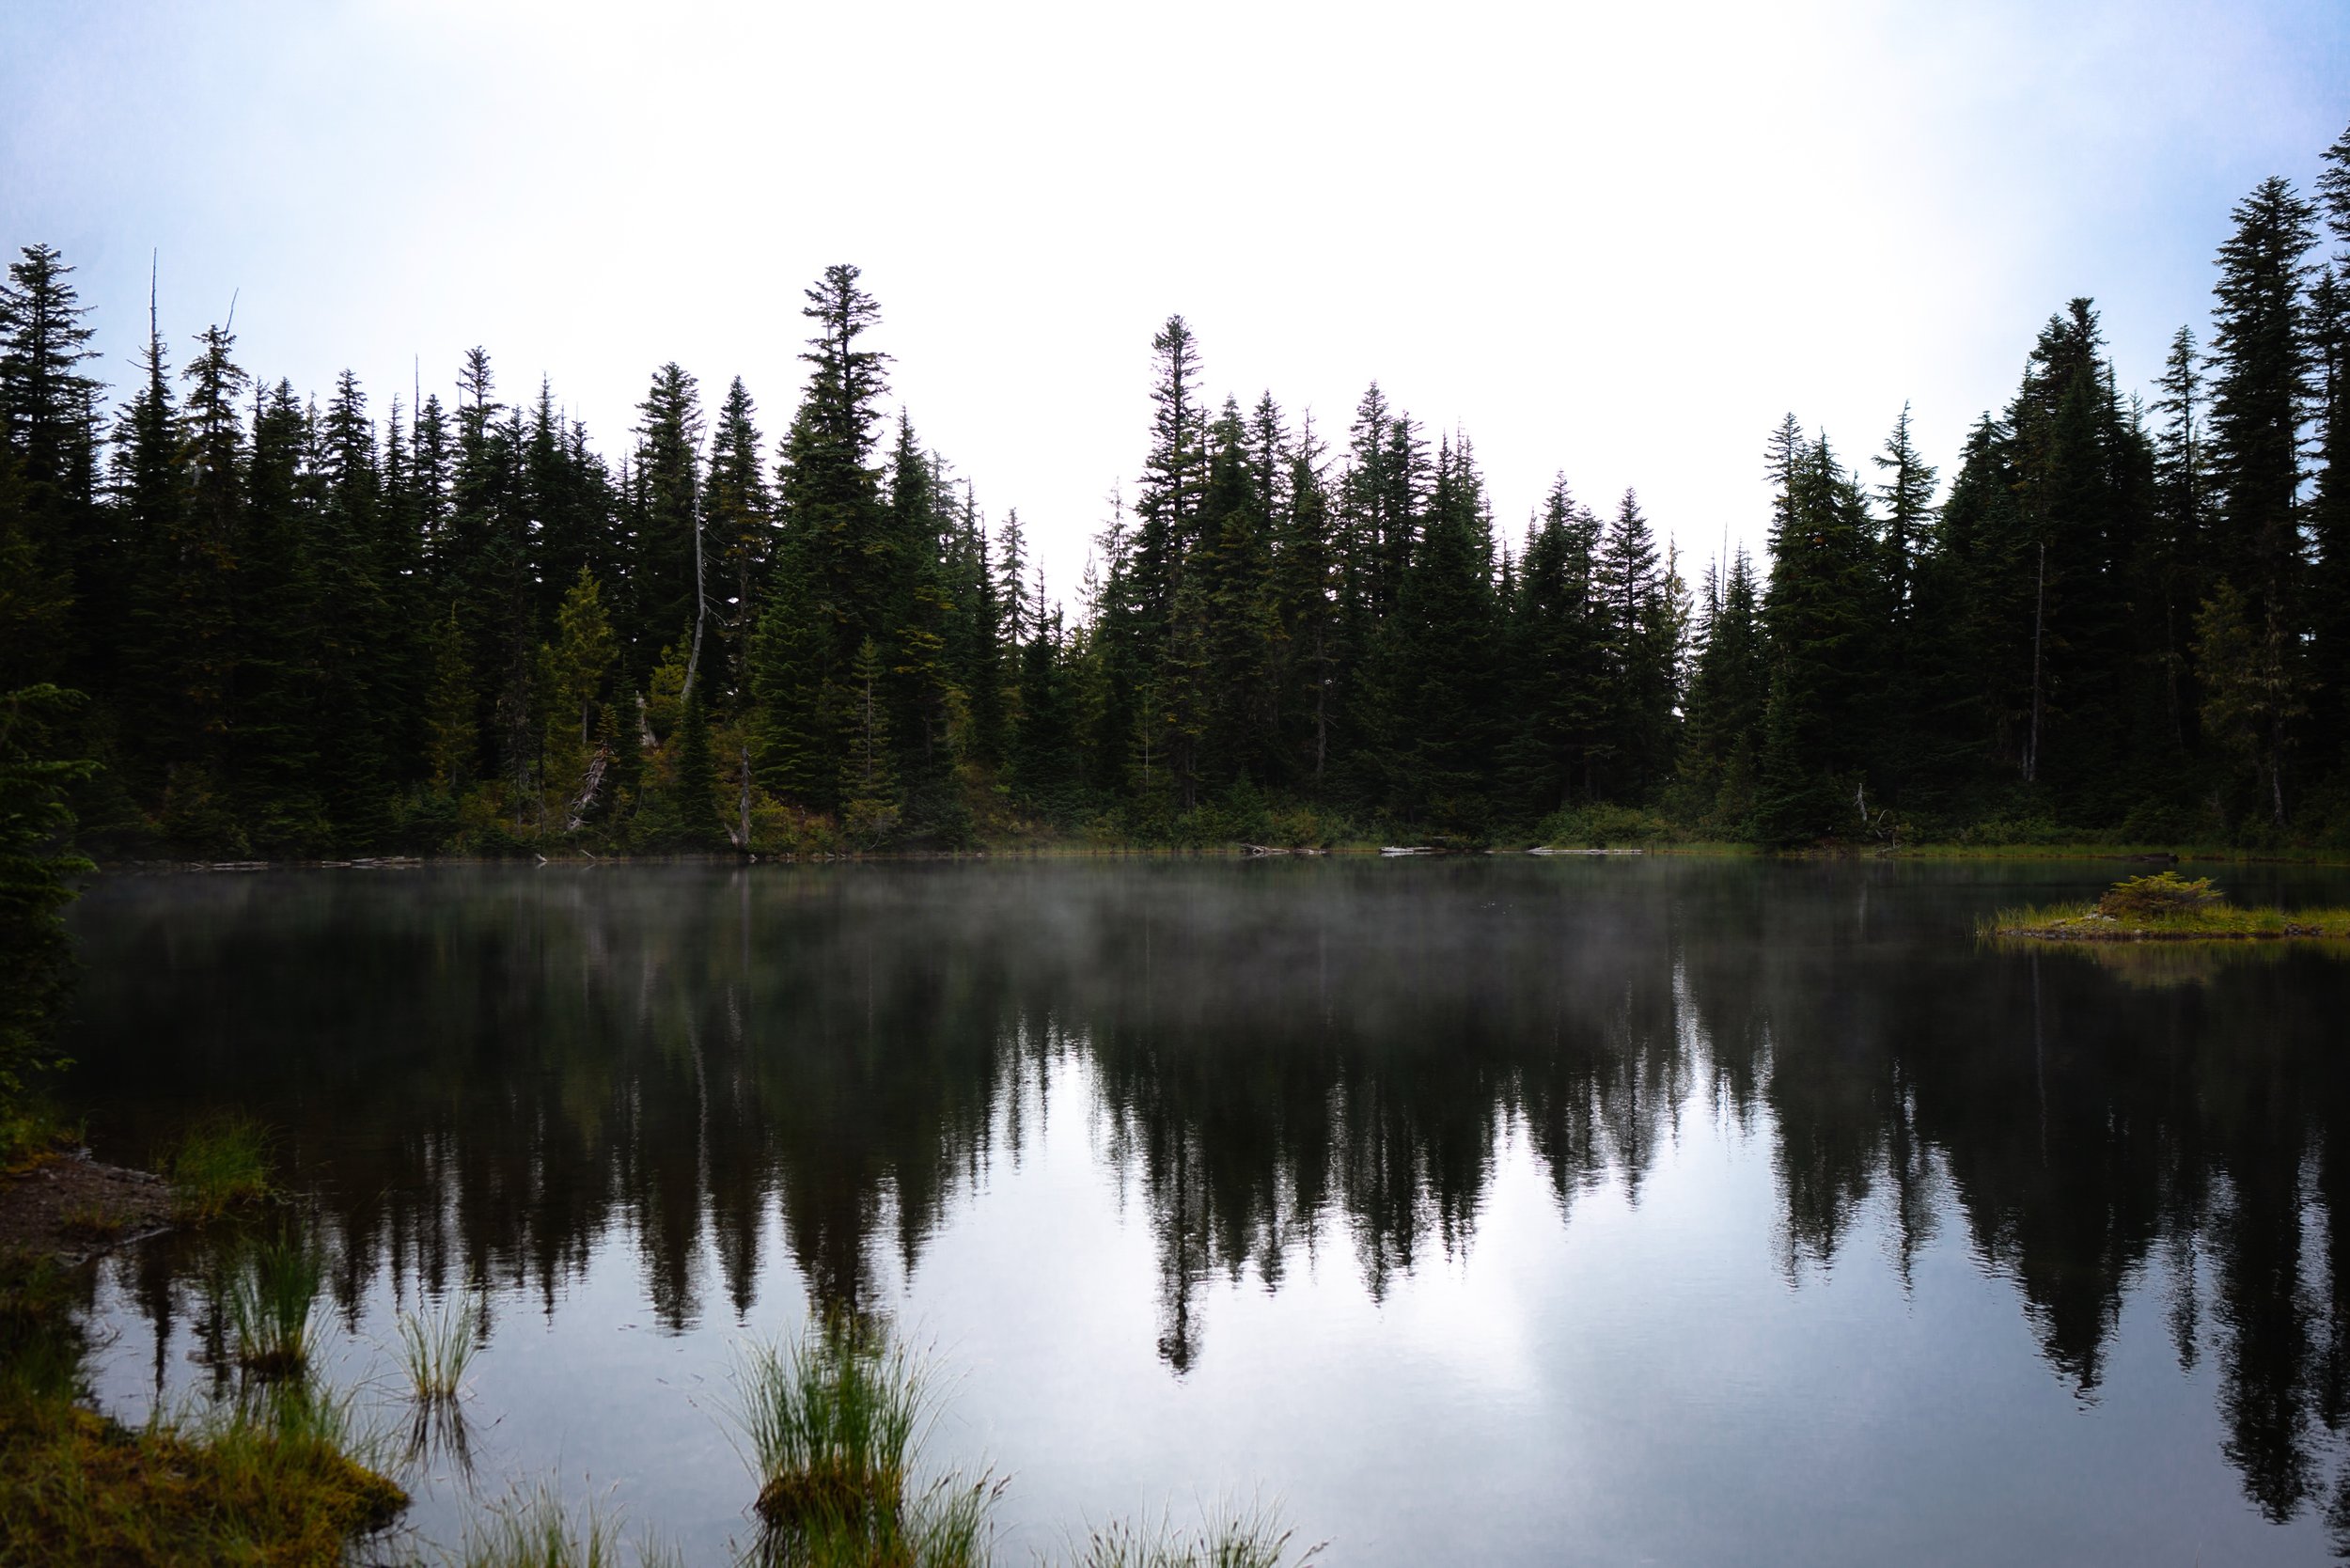
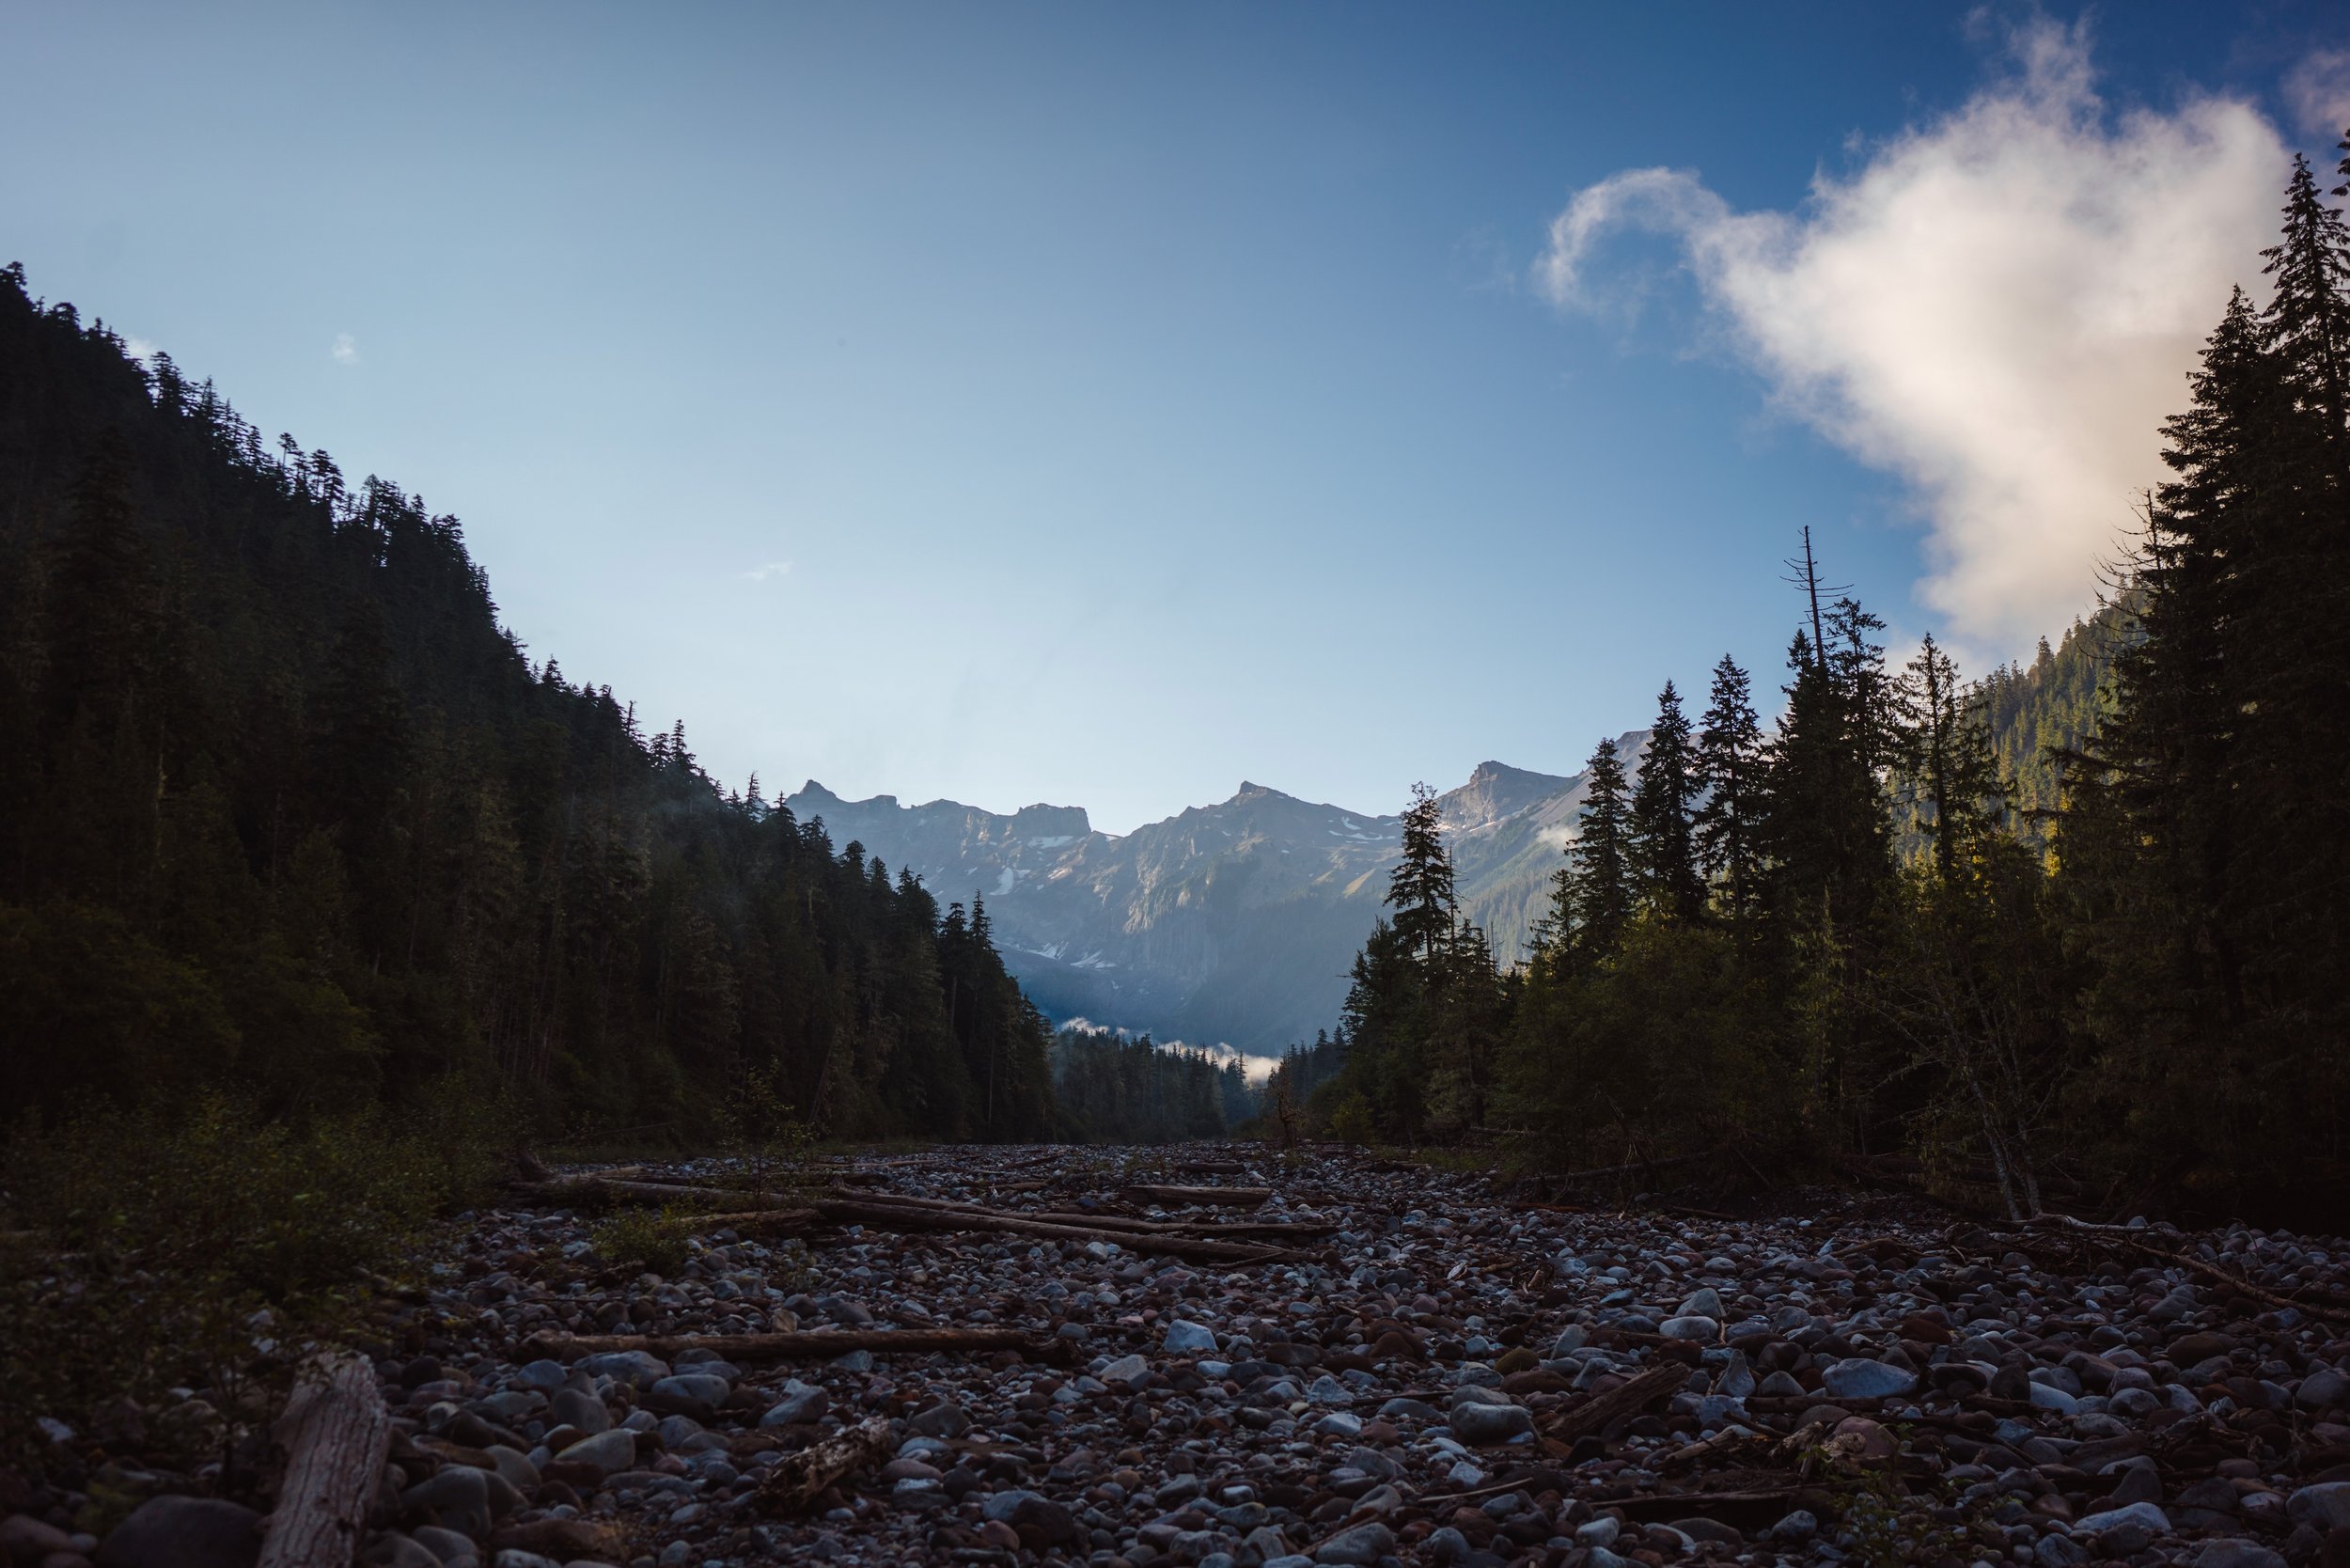
Starting the day with coffee by the river was so relaxing. Day 3 was shorter for me, so I didn’t rush out of camp, but I was excited to get to Klapatche Park because it is supposed to have incredible views of Mount Rainier.
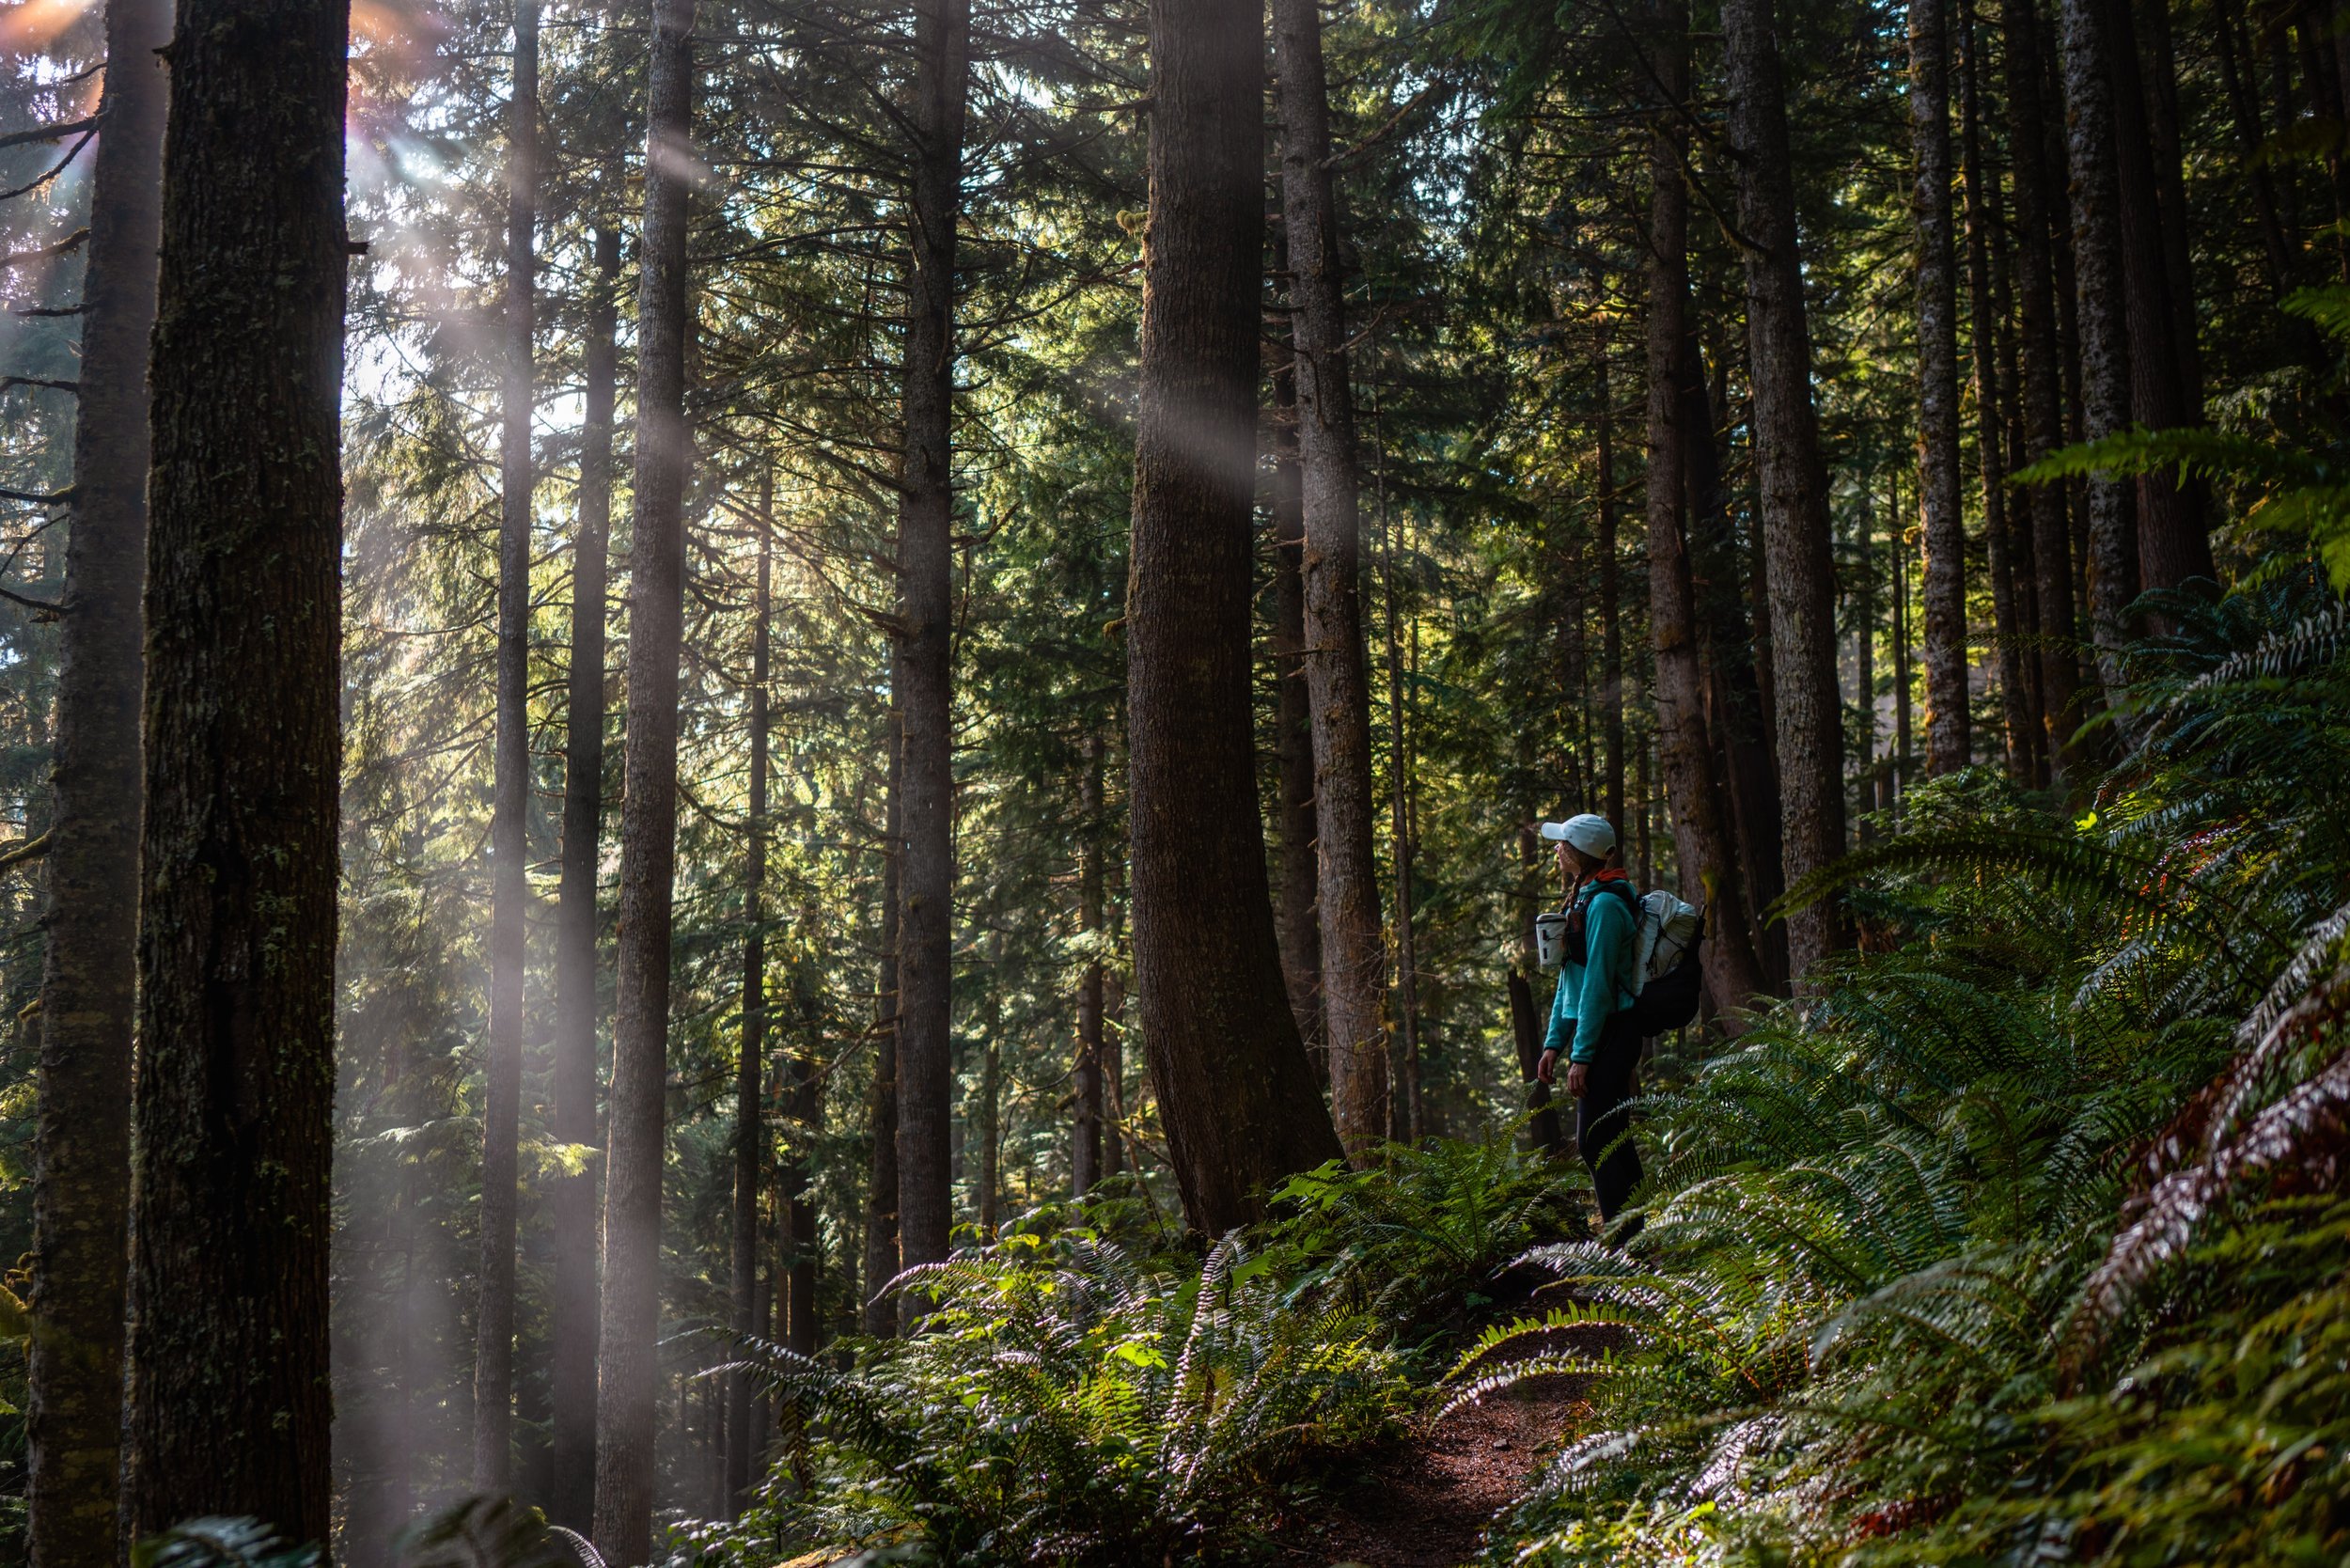
After crossing South Mowich River, the trail goes through a beatiful old-growth forest with huge trees. The light beams through the trees were super magical. I passed Golden Lakes Camp and took a quick detour to check it out because I heard it was a highly sought-after camp. It’s near a lake and has great views. It would be perfect for a future backpacking trip, but it was too close to Klapatche Park to fit into my 6-day itinerary.
Light through the trees on the Wonderland Trail
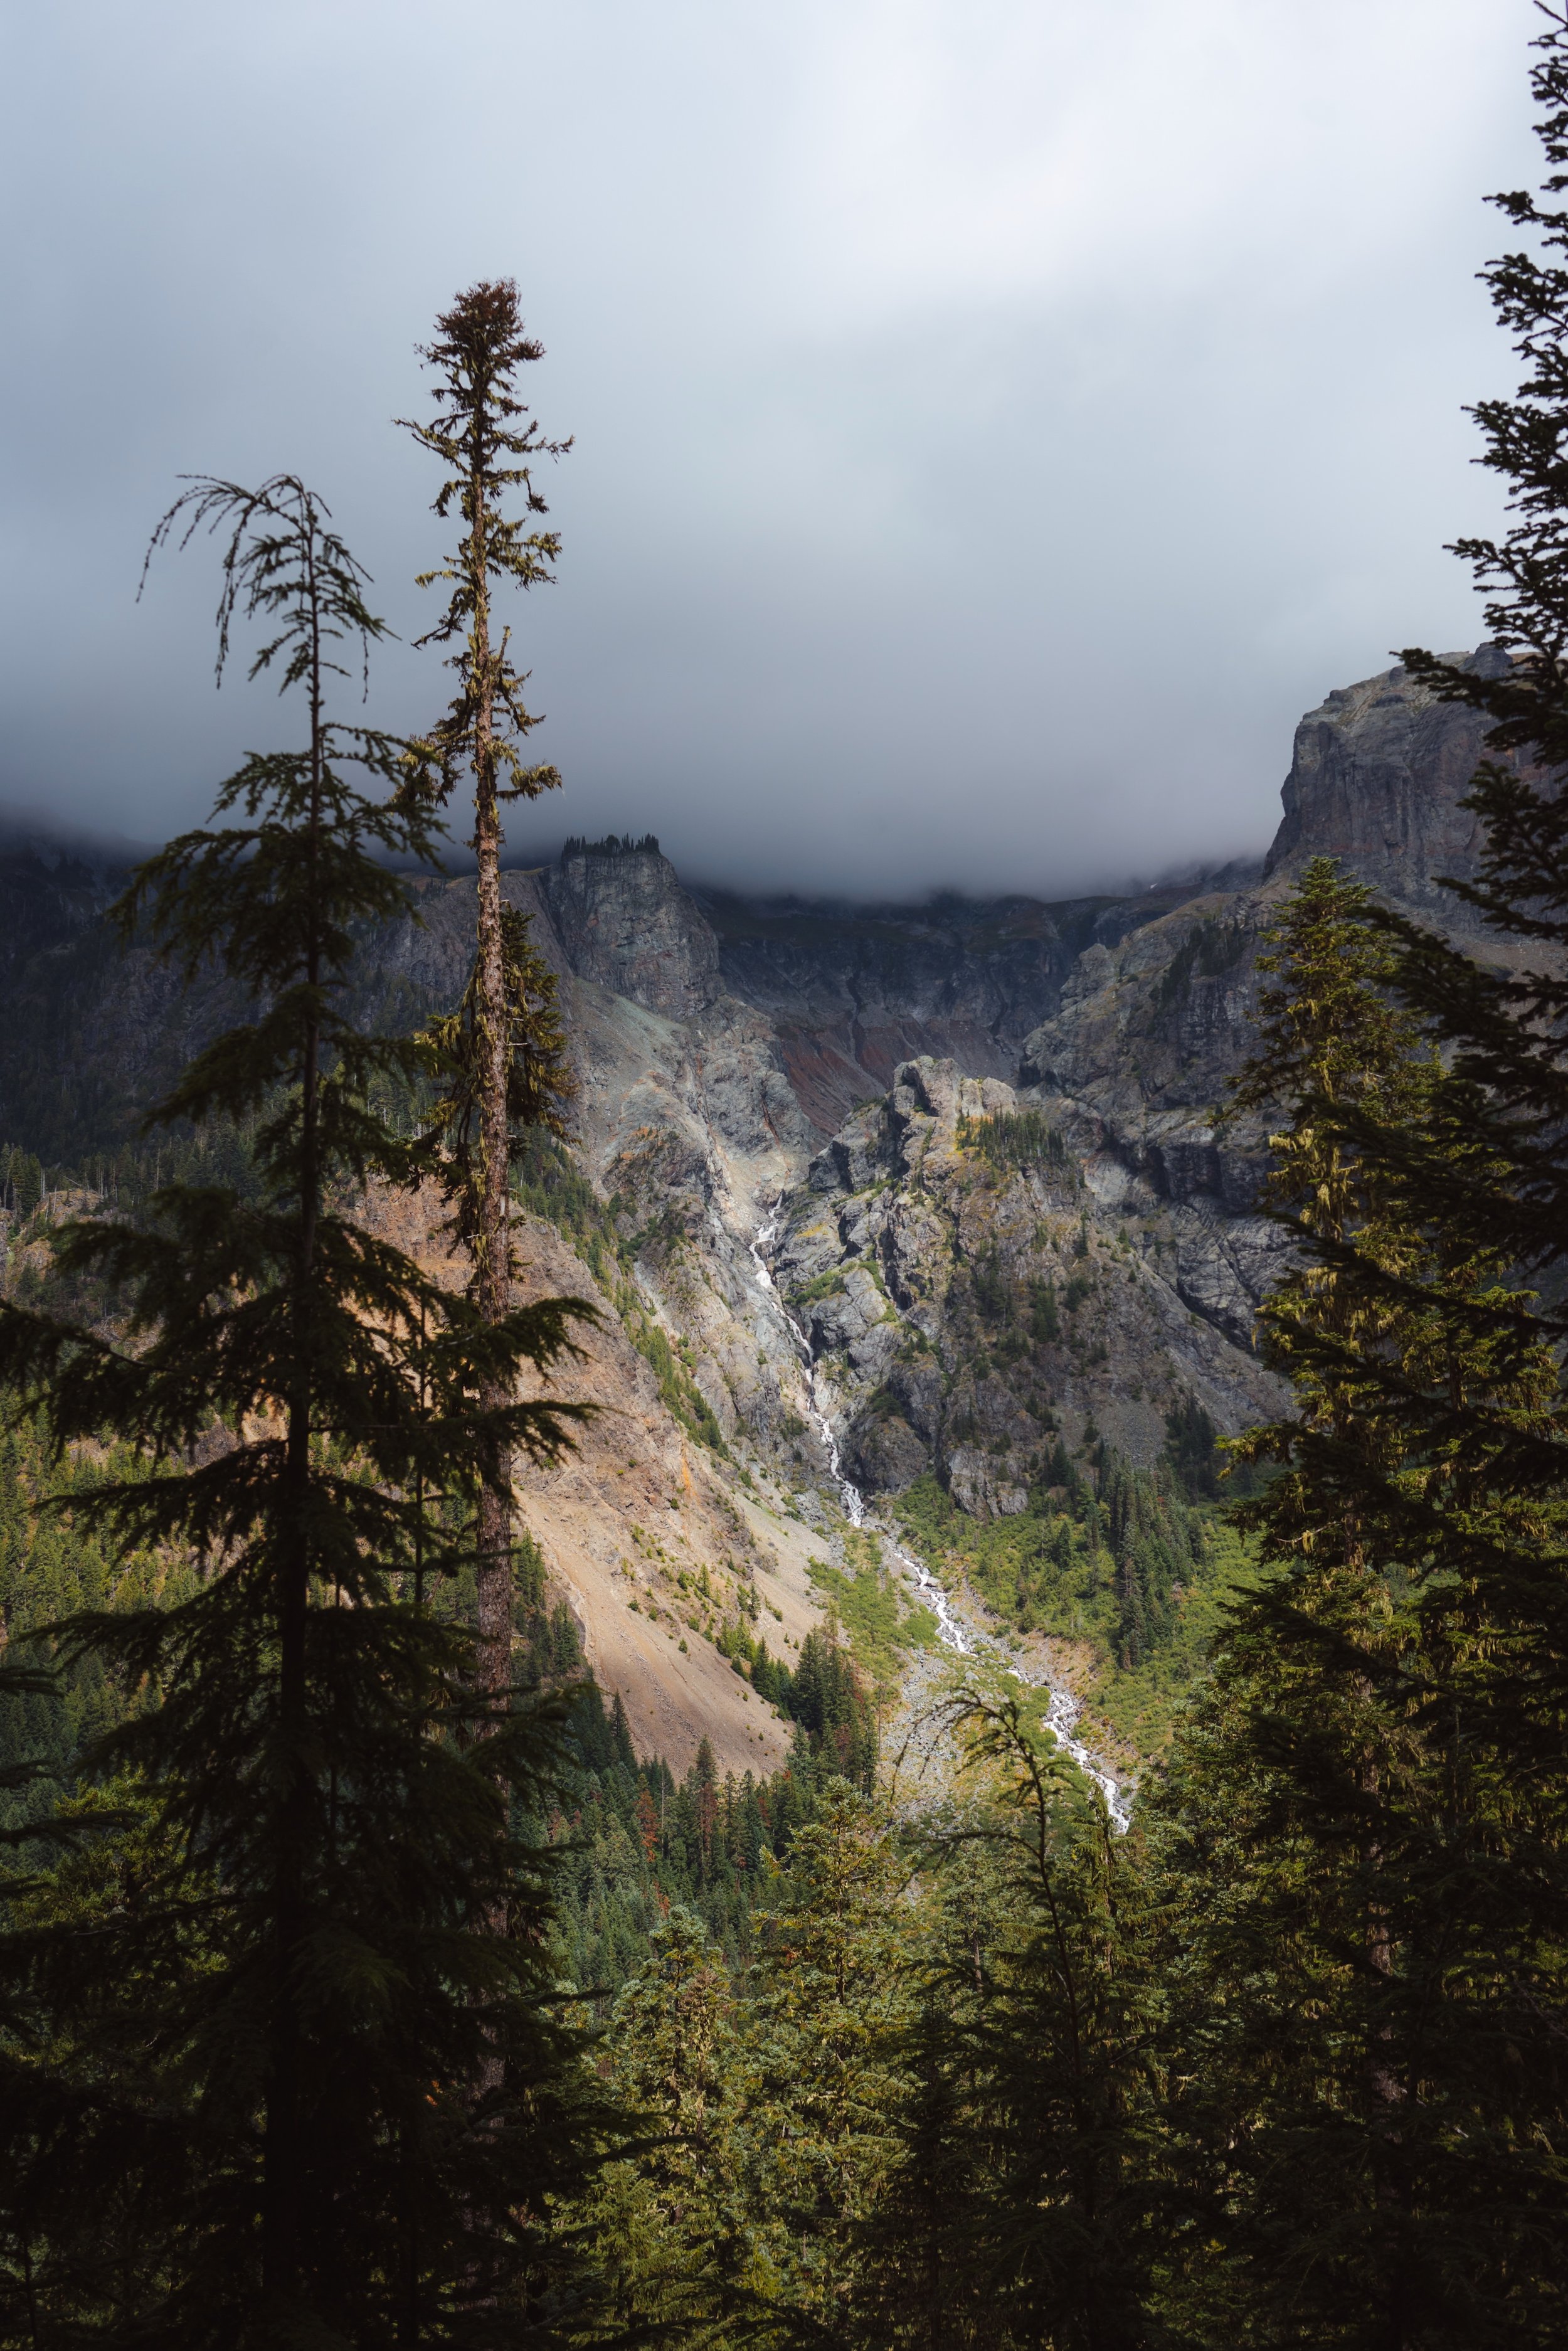
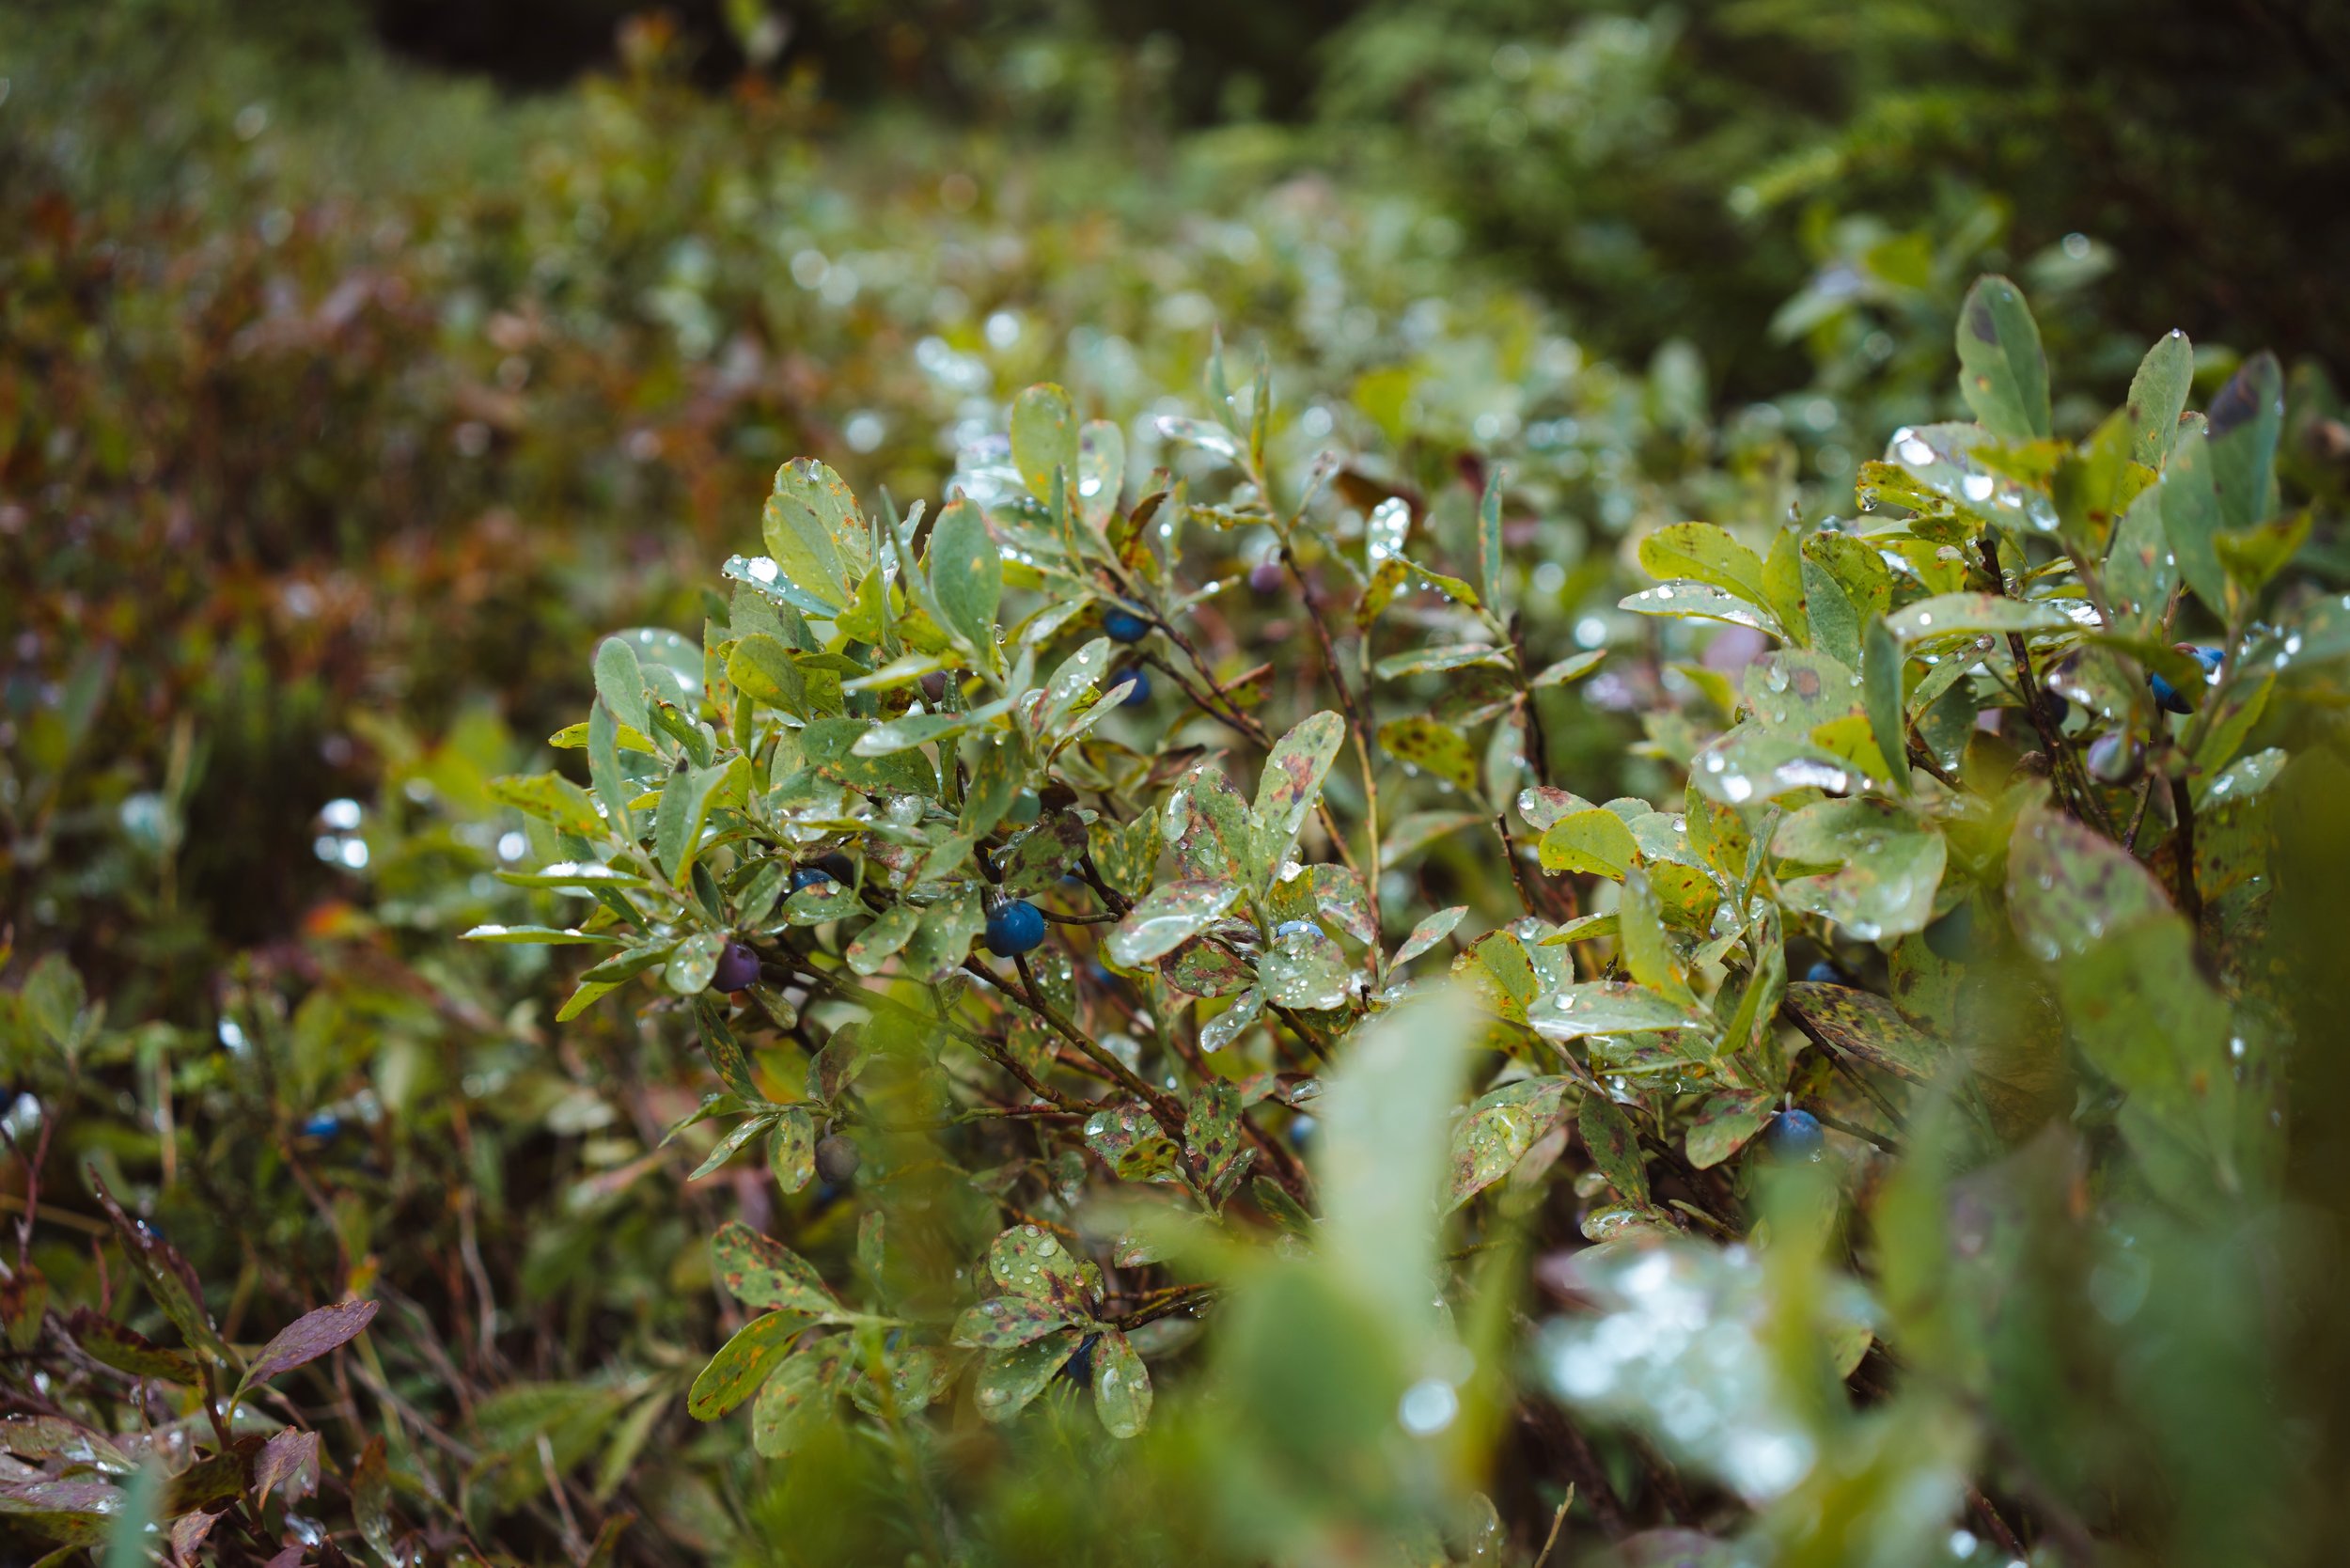
Next, the trail went through fields of blueberries – yum!! That was one of my favorite parts of hiking the Wonderland Trail in August: there were lots of blueberries to snack on. The trail then began a several mile downhill to North Puyallup River and at the crossing there is an incredible view of a cirque-like rock formation above. There was also a real bridge at the crossing, not a half-log situation, which made me happy (the logs make me nervous).
From the North Puyallup River crossing, I began the final ascent of the day to Klapatche Park. Unfortunately, the weather was pretty cloudy (and it even started hailing), but I could still tell that the views in this area are incredible. I couldn’t see Mount Rainier due to the clouds, but I imagine the view would be spectacular on a clear day.
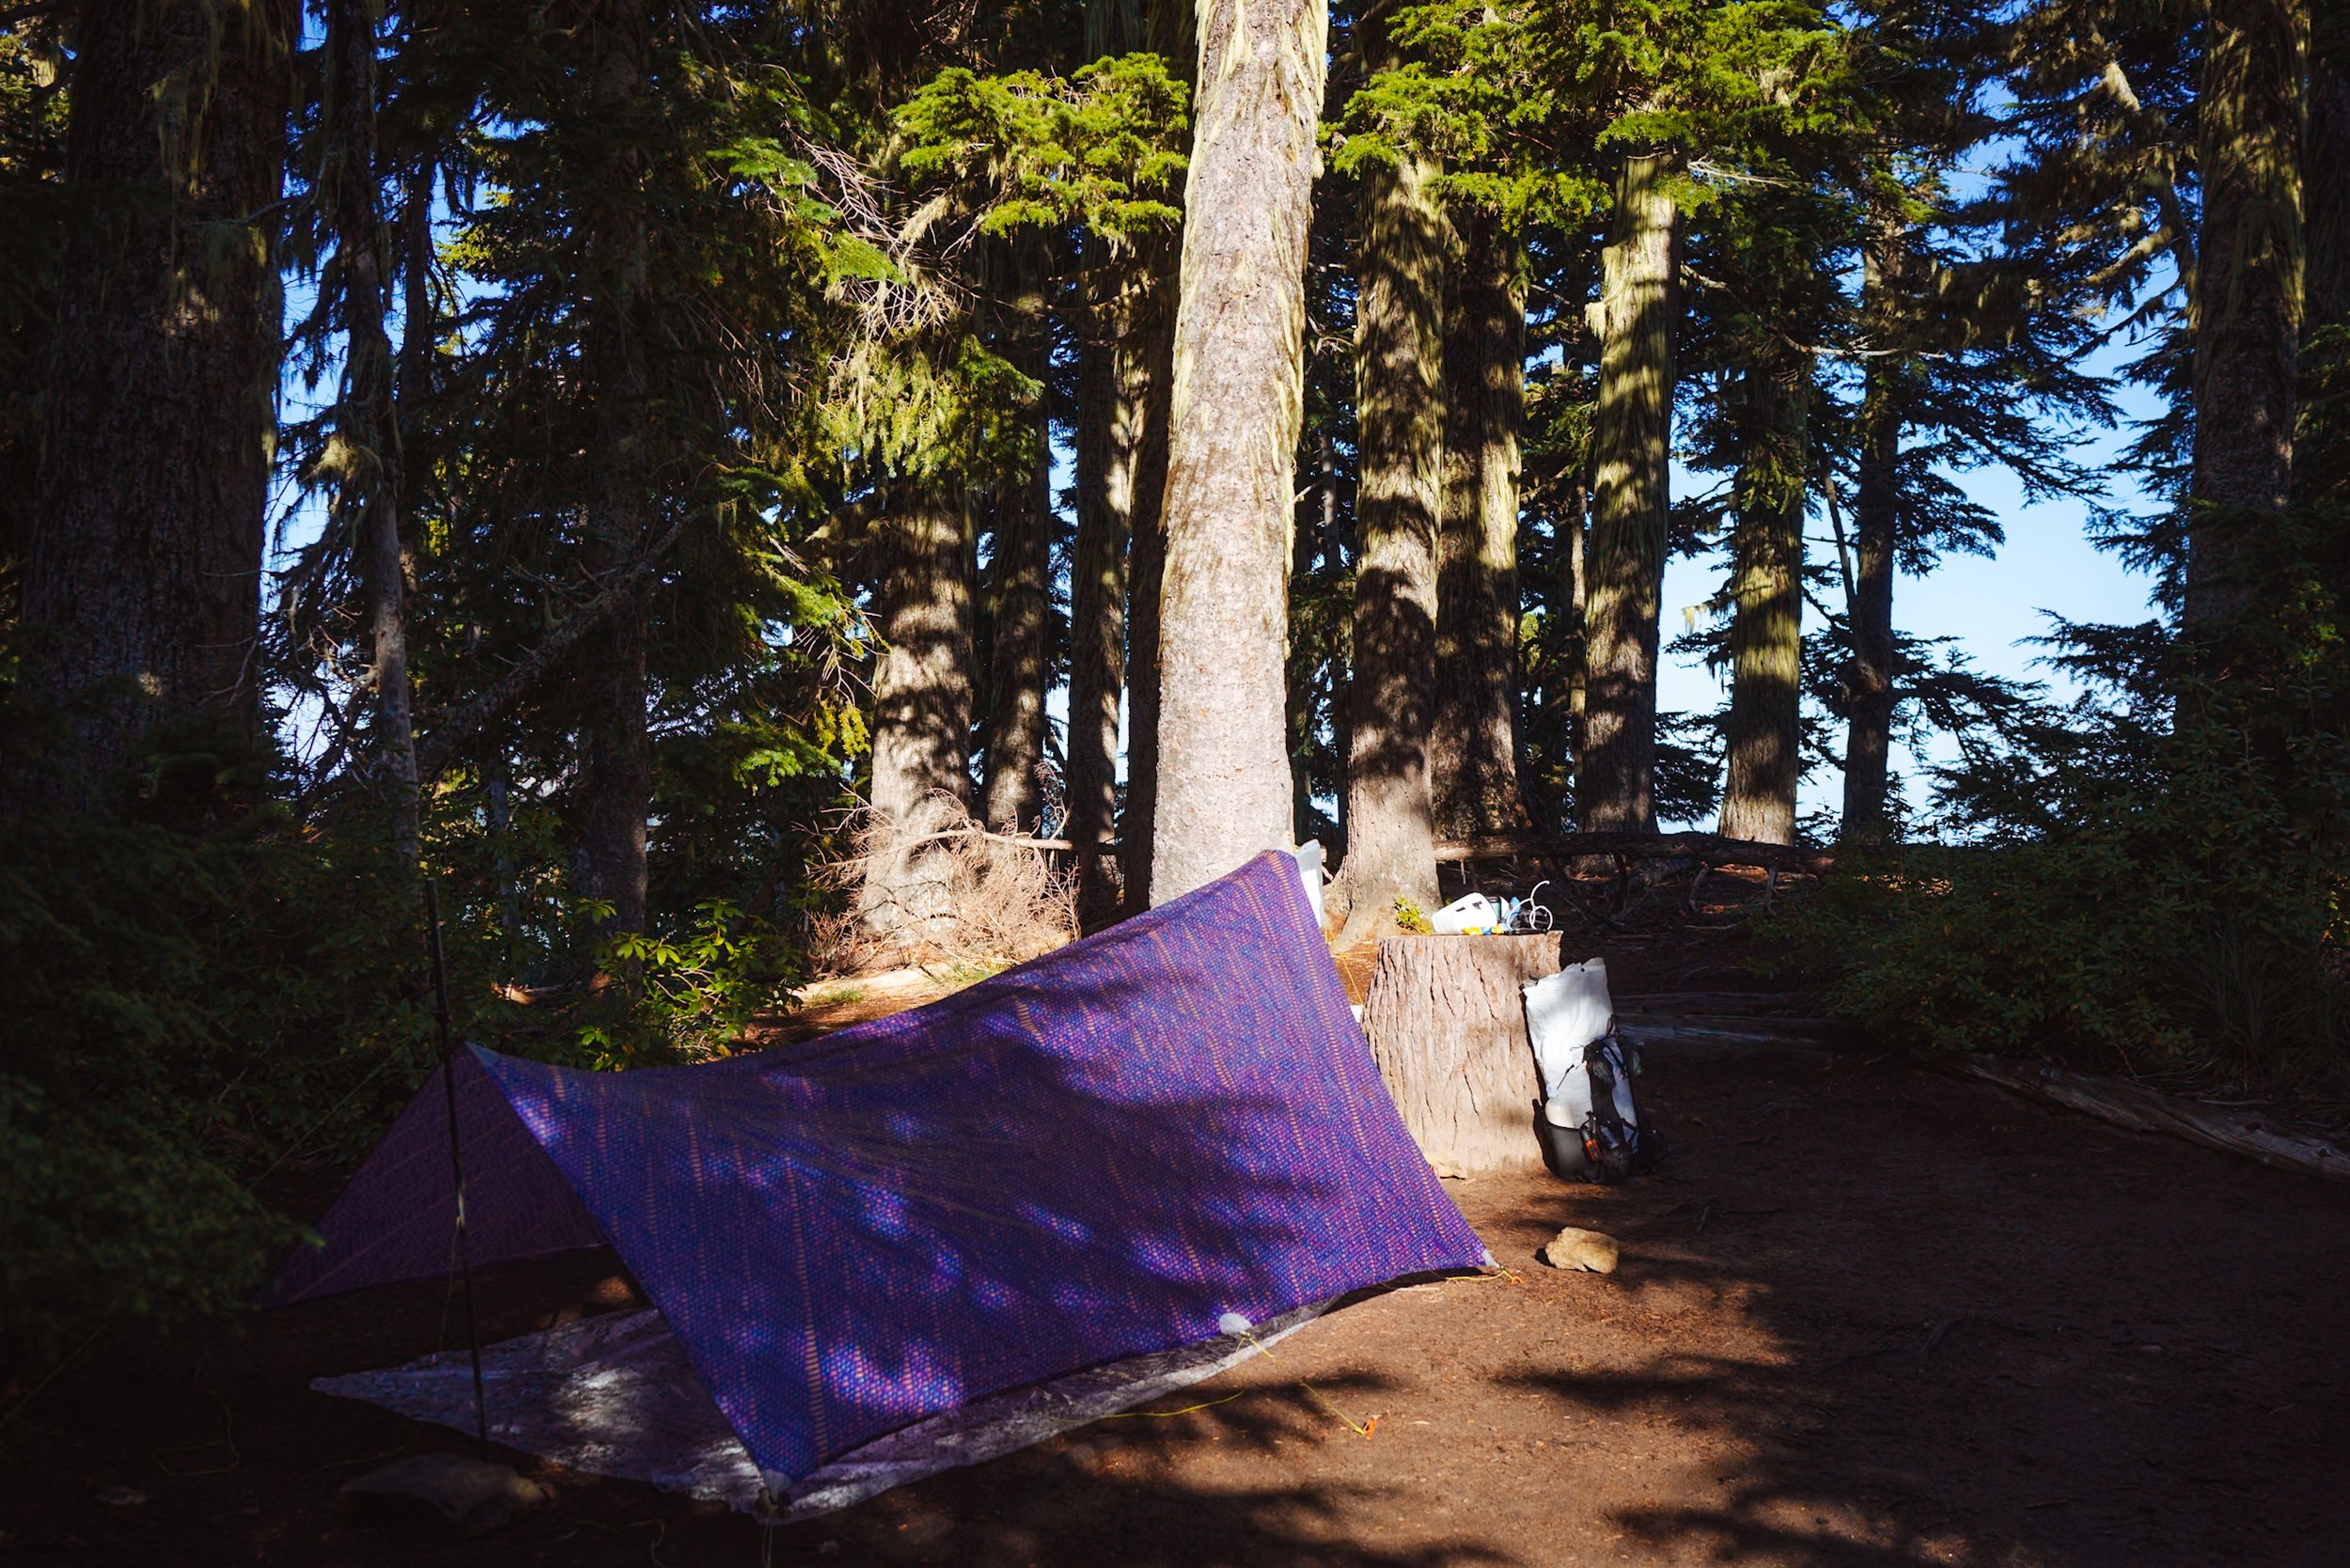
With the hail picking up, I quickly picked a campsite so I could pitch my shelter and hide from the storm.
Klapatche Park Camp:
Klapatche Park was the campsite I was most excited about and it didn’t disappoint. There are 4 campsites, a pit toilet, and like at other camps, there’s a pole from which you can hang your food bag. One of the campsites is closer to the trail, so it’s less private but has a view of Aurora Lake and Mount Rainier. The other three campsites are more private and sit along the outer ridge. On a clear day, you can see the Puget Sound and the Olympic Mountains far off in the distance. I chose Site 4, which was large, private, and offered views of the Olympics and the city.
Depending on the time of year, Aurora Lake may be present (it dries up later in the summer). I was lucky that there had been recent rain, so Aurora Lake was partially filled during my trip. When it’s clear, Mount Rainier is right in the background, and its stunning reflection can be seen in Aurora Lake – unfortunately, it was hailing and very cloudy when I arrived to camp.
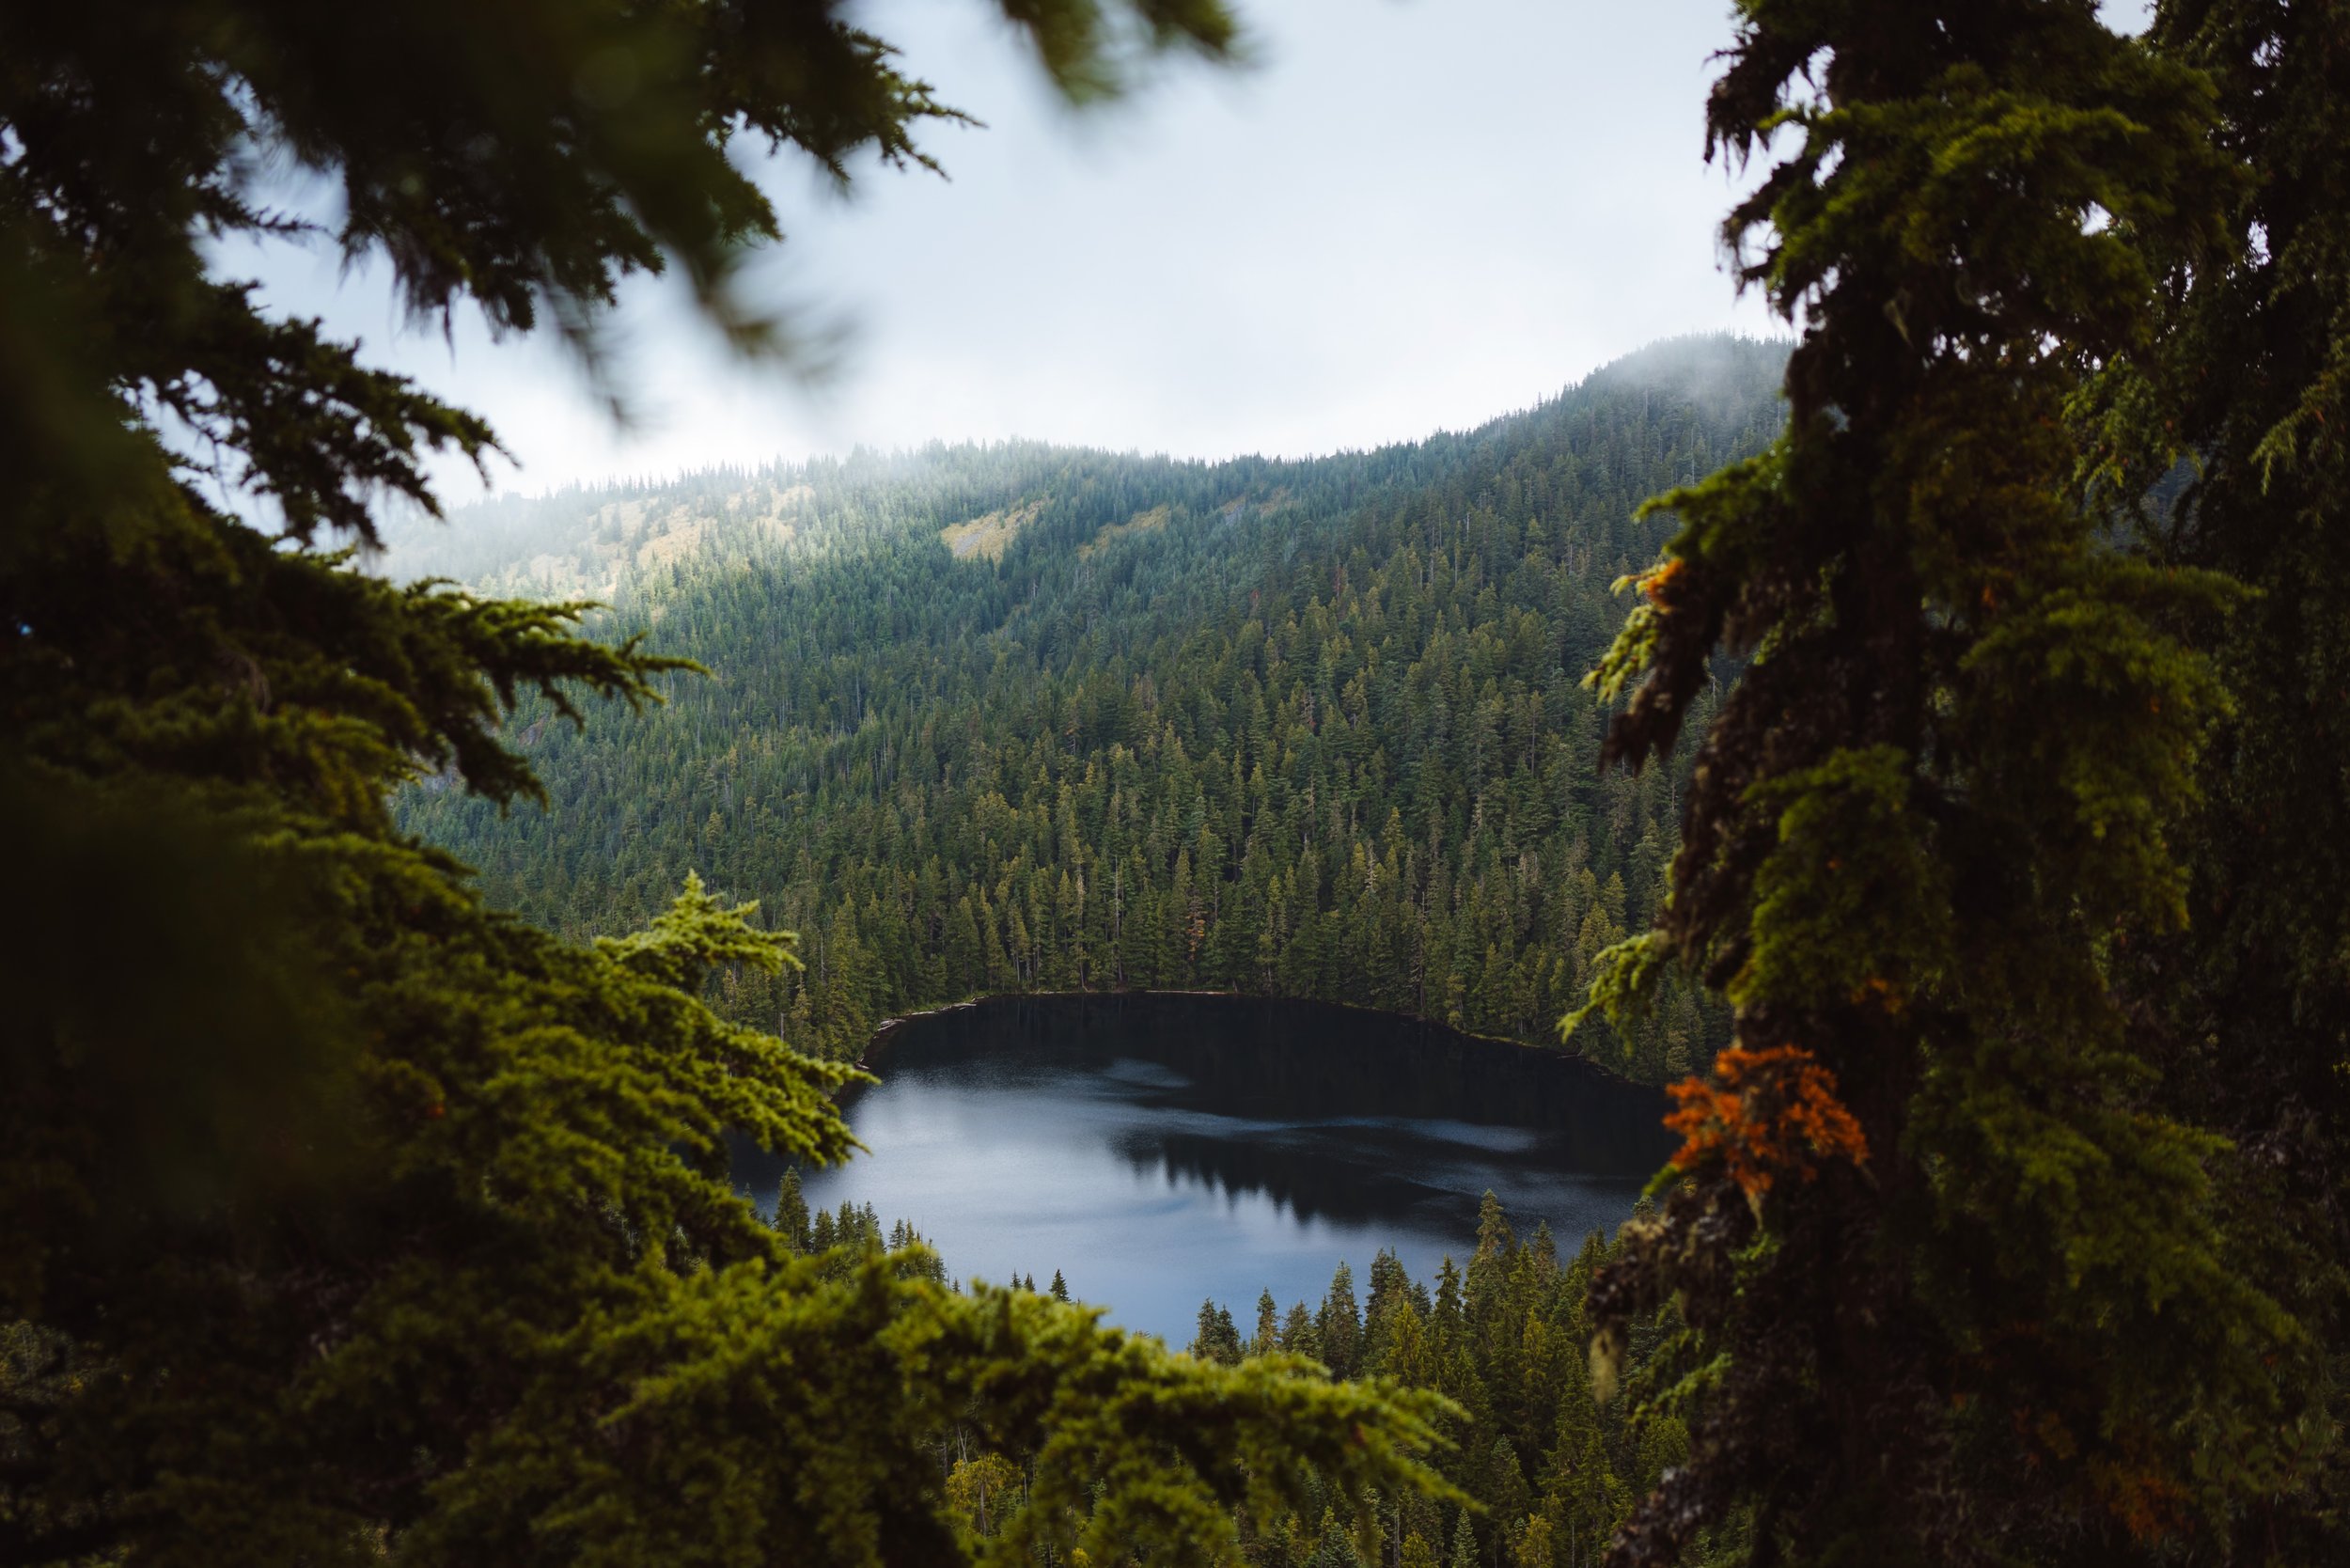
While Aurora Lake had water in it, it was pretty stagnant, which I personally don’t love for drinking, even after filtering. When Aurora Lake is dry (as it was supposed to be during my hike), the rangers recommend hiking 3/4 of a mile counterclockwise on the Wonderland Trail to St. Andrews Lake for water. Since I arrived at camp early (around 2:30 pm), I decided to take the hike to St. Andrews Lake to fill up my water. The hike was easy and the views were lovely, even though it started raining and hailing again.
The weather never cleared and it rained through the night, so I decided to eat my dinner early and head to bed. I went to sleep hoping for better weather the next day, with the spectacular views I knew were waiting behind the clouds.
Day 4: Klapatche Park to Pyramid Creek
Mileage: 13.1 miles
Elevation Gain: +3,600 ft
Elevation Loss: -5,400 ft
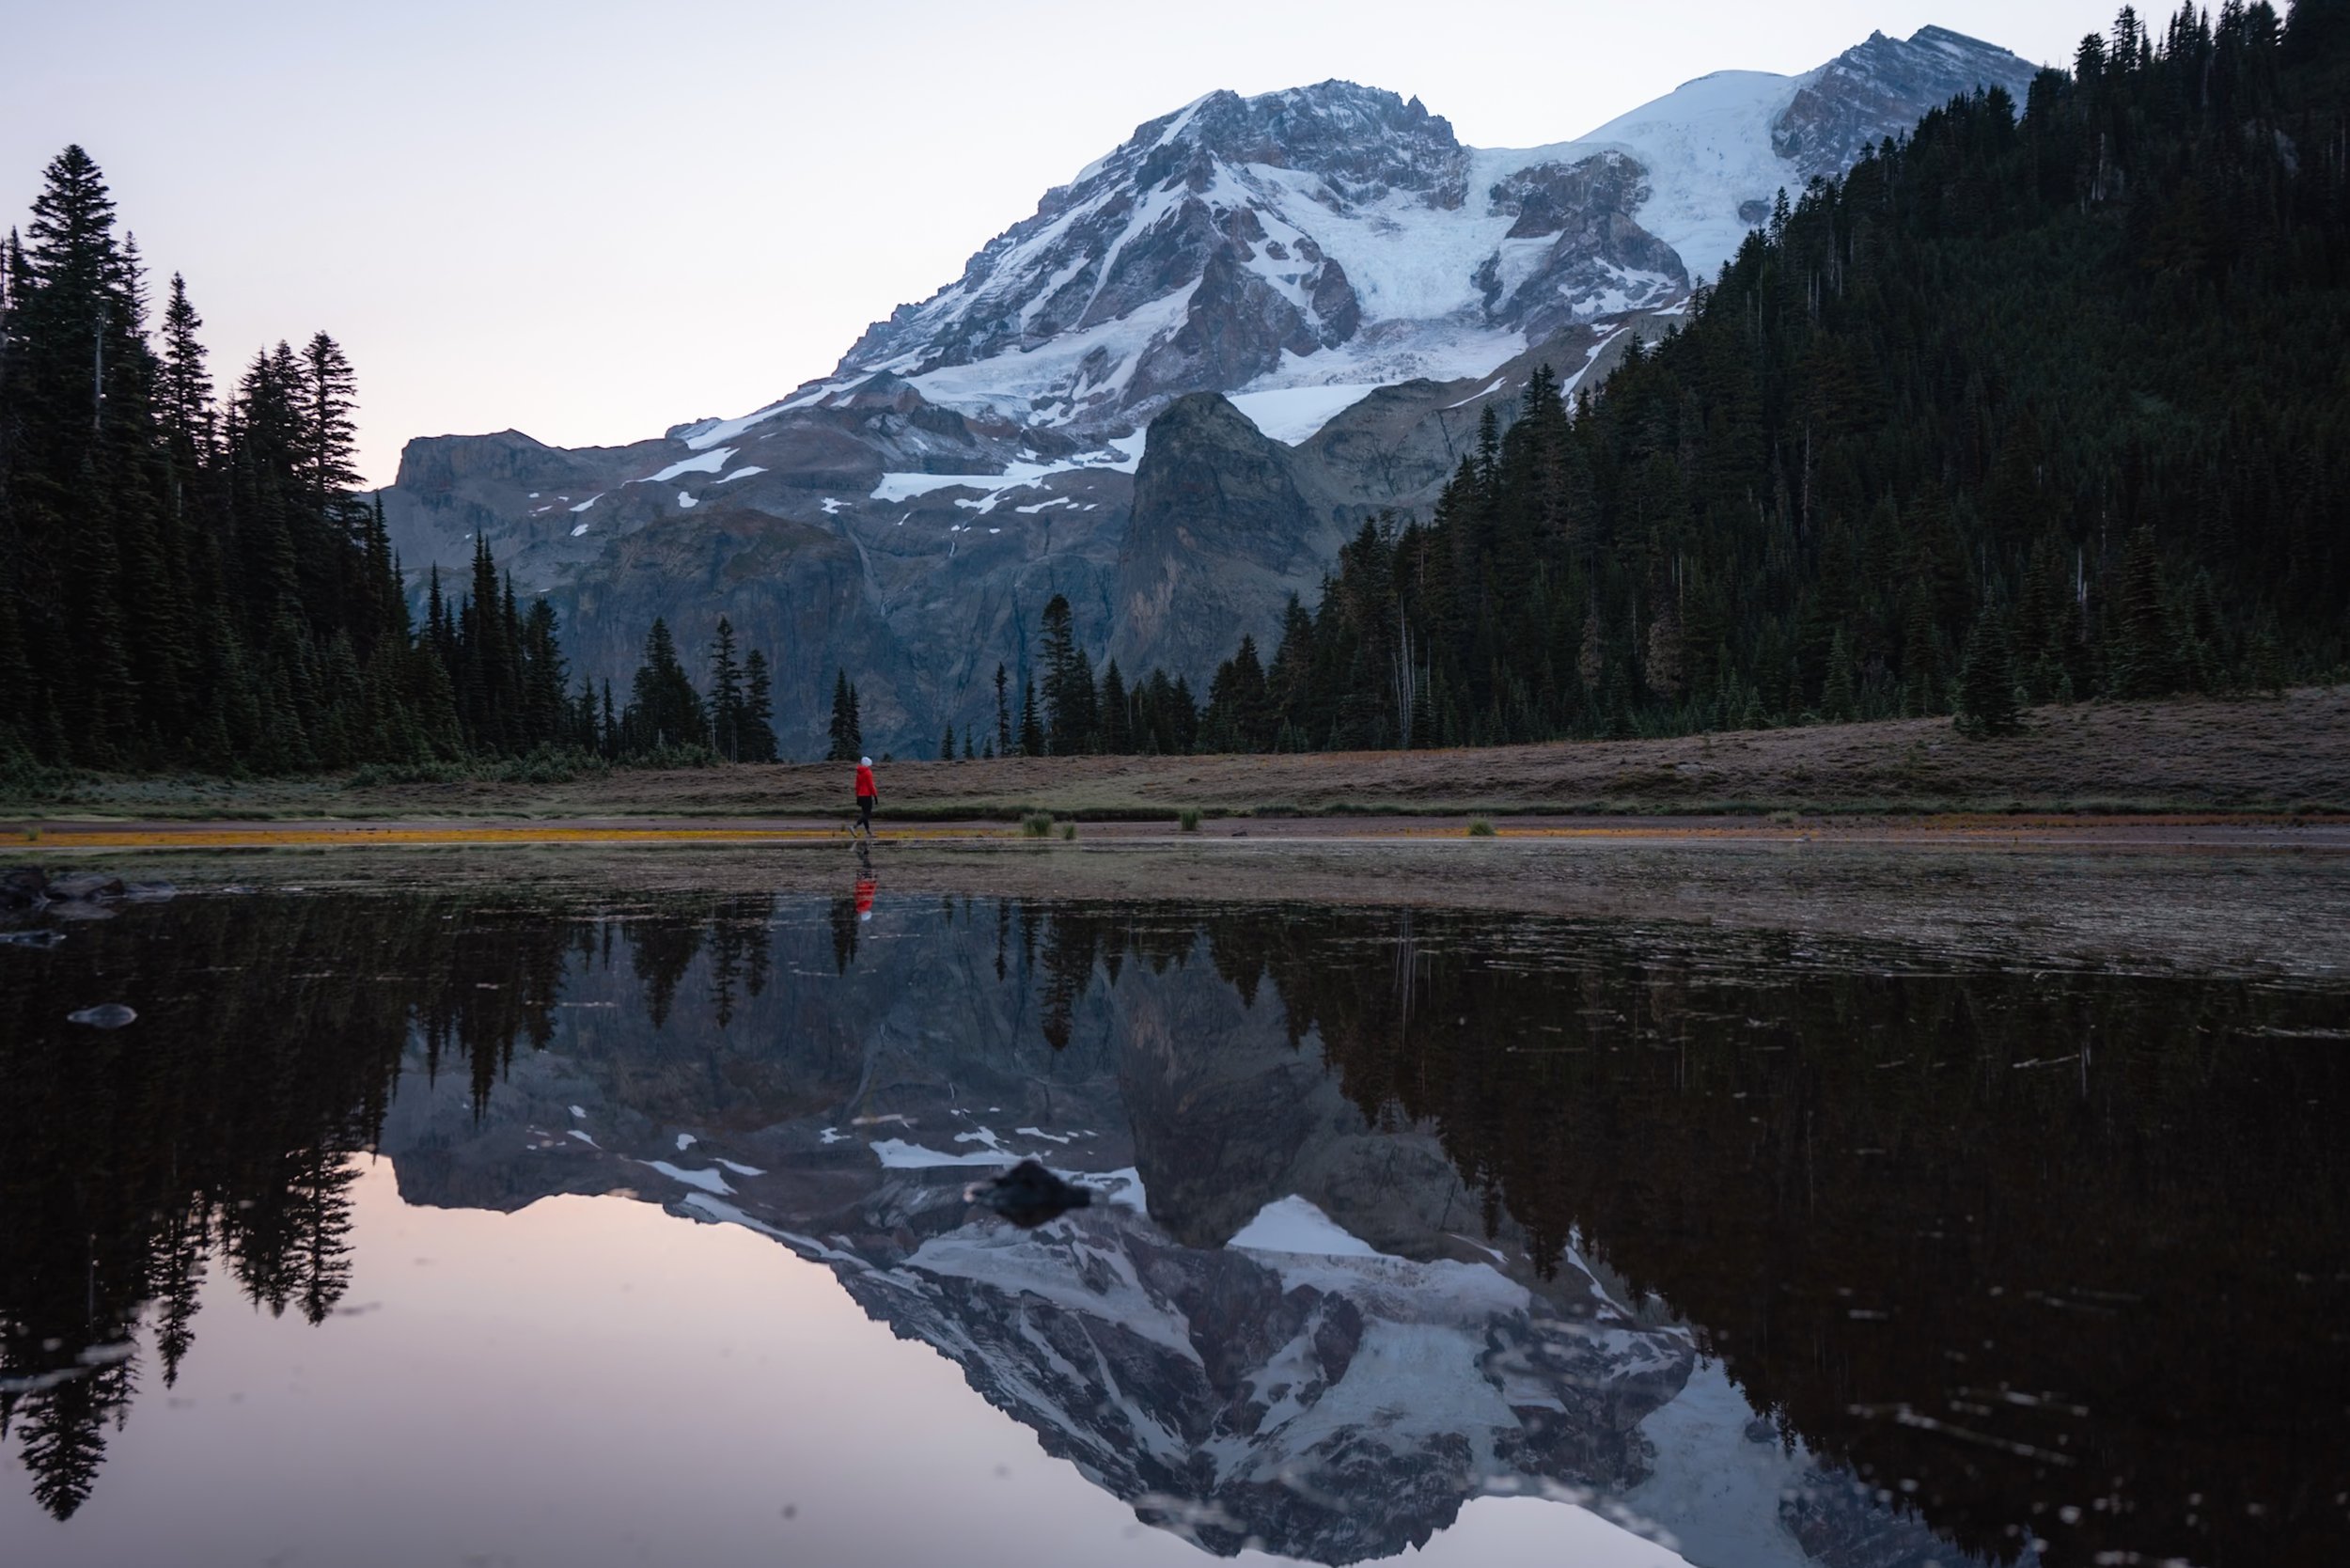
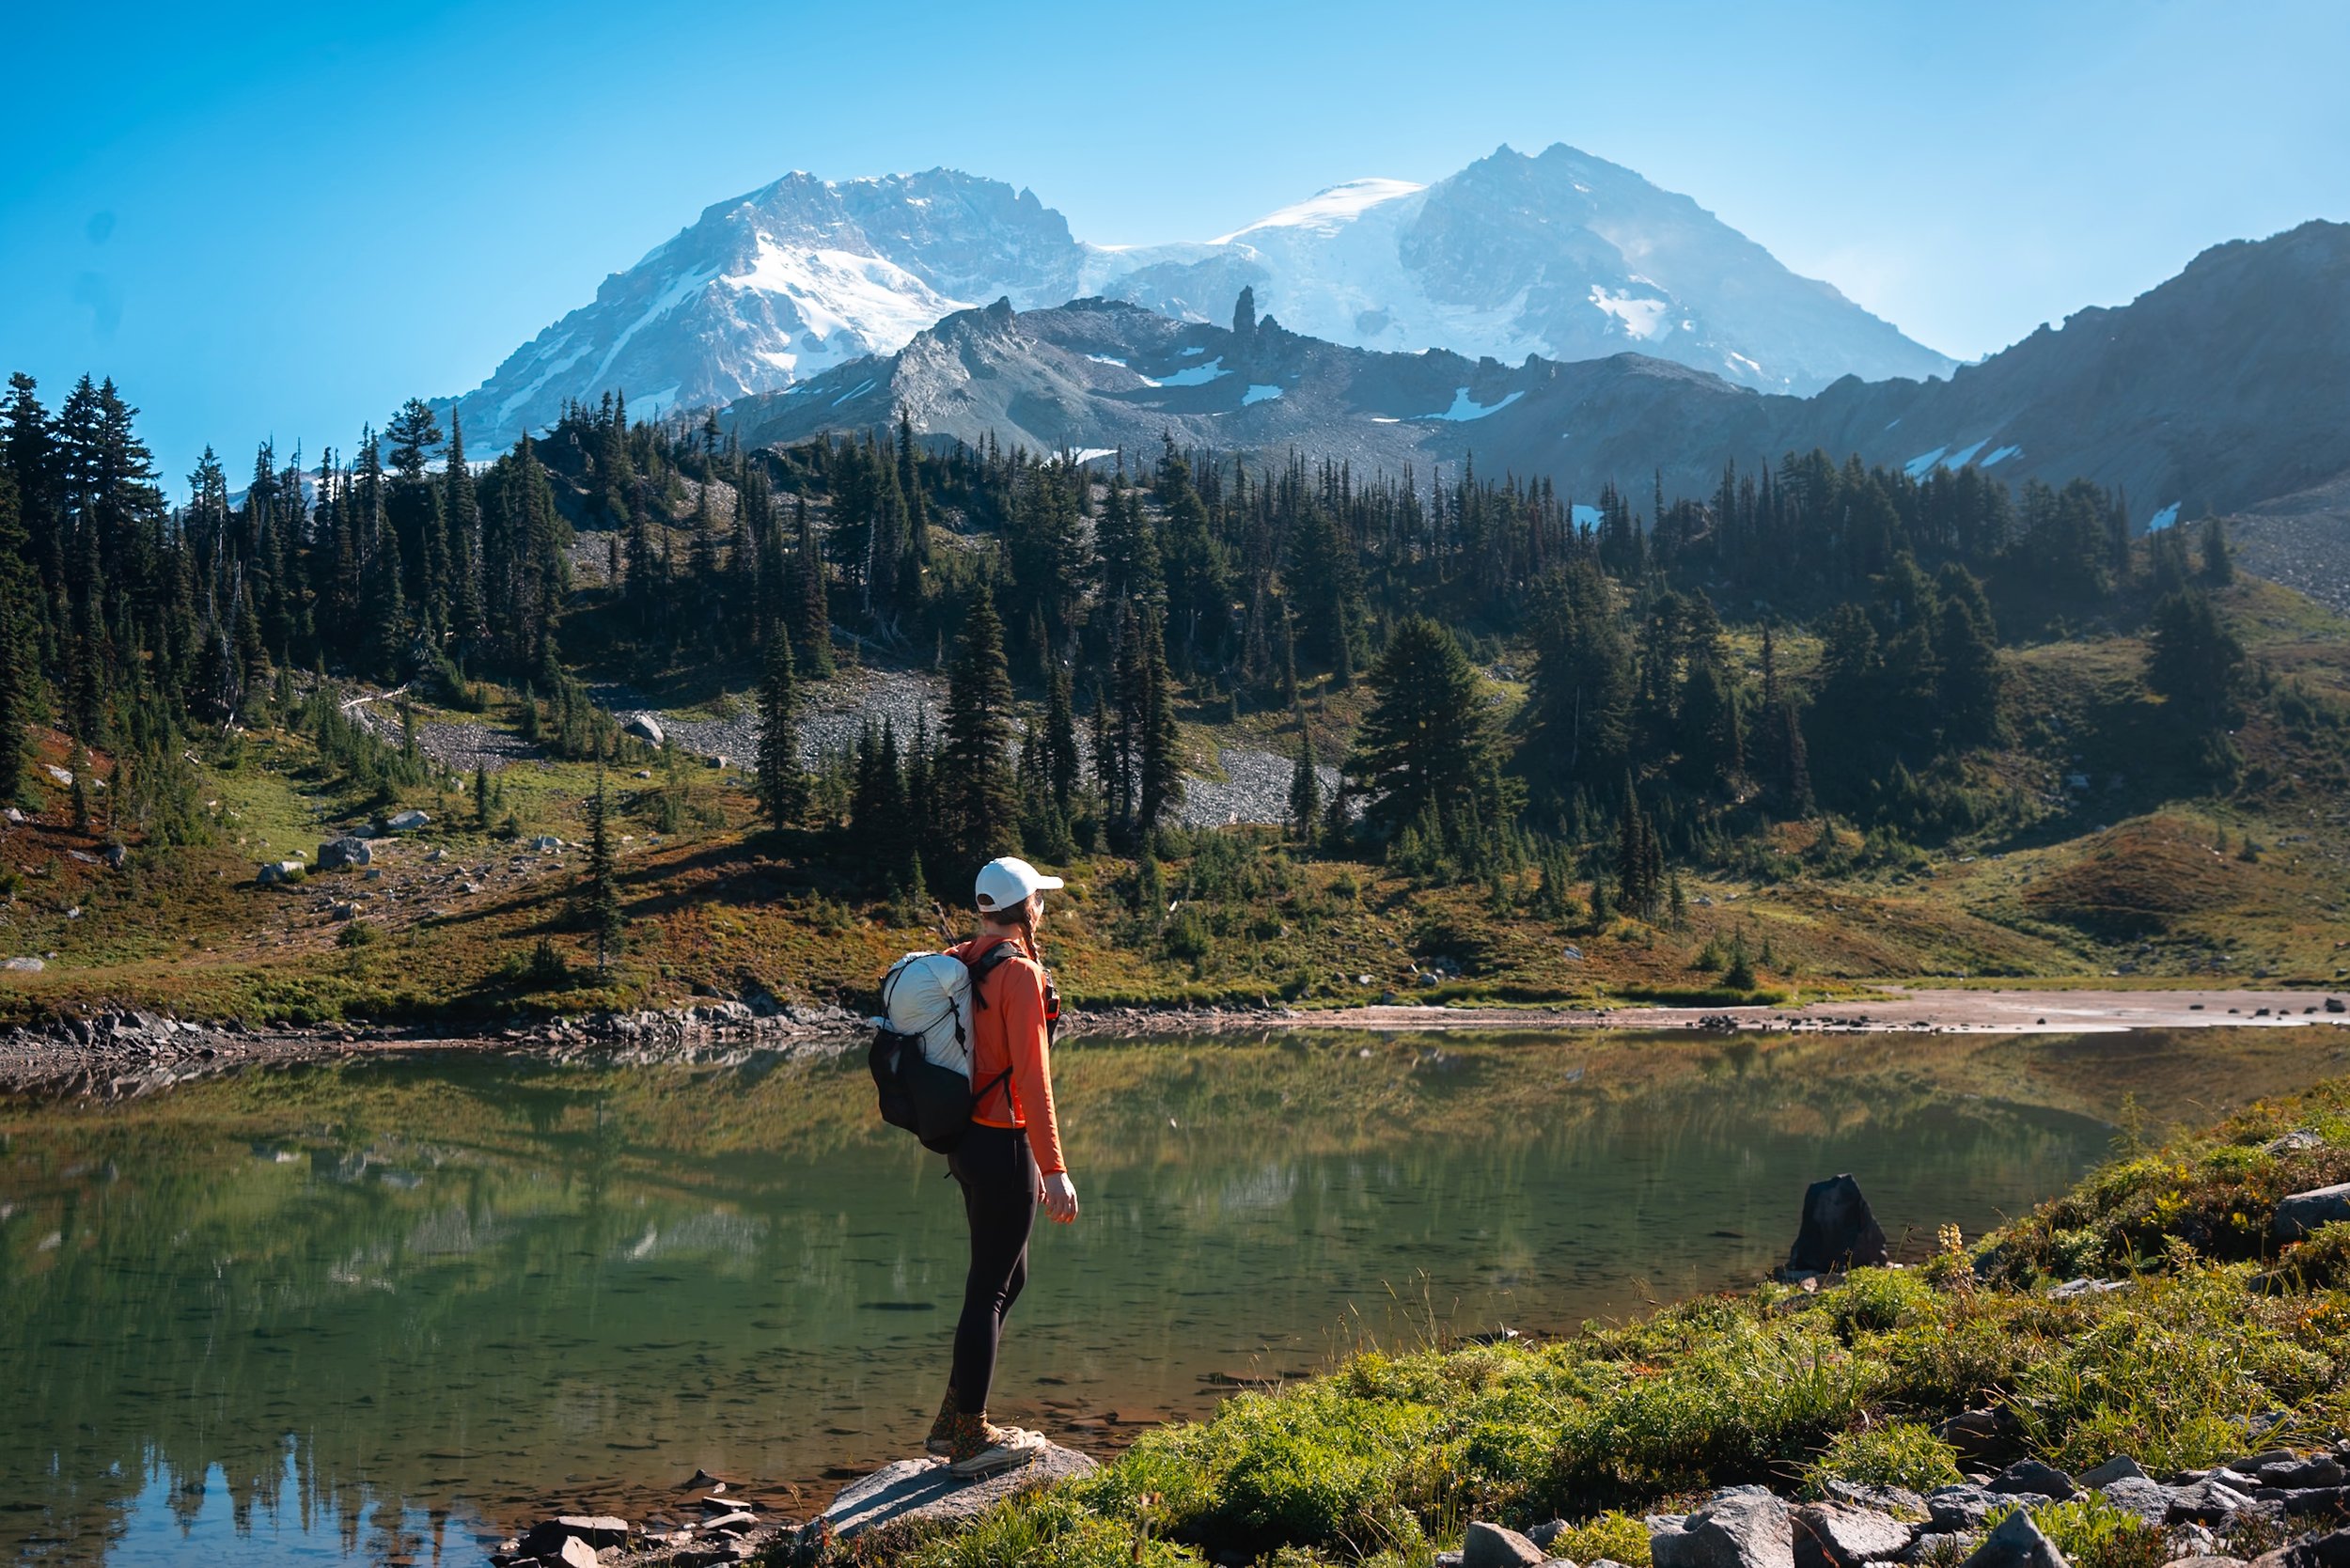
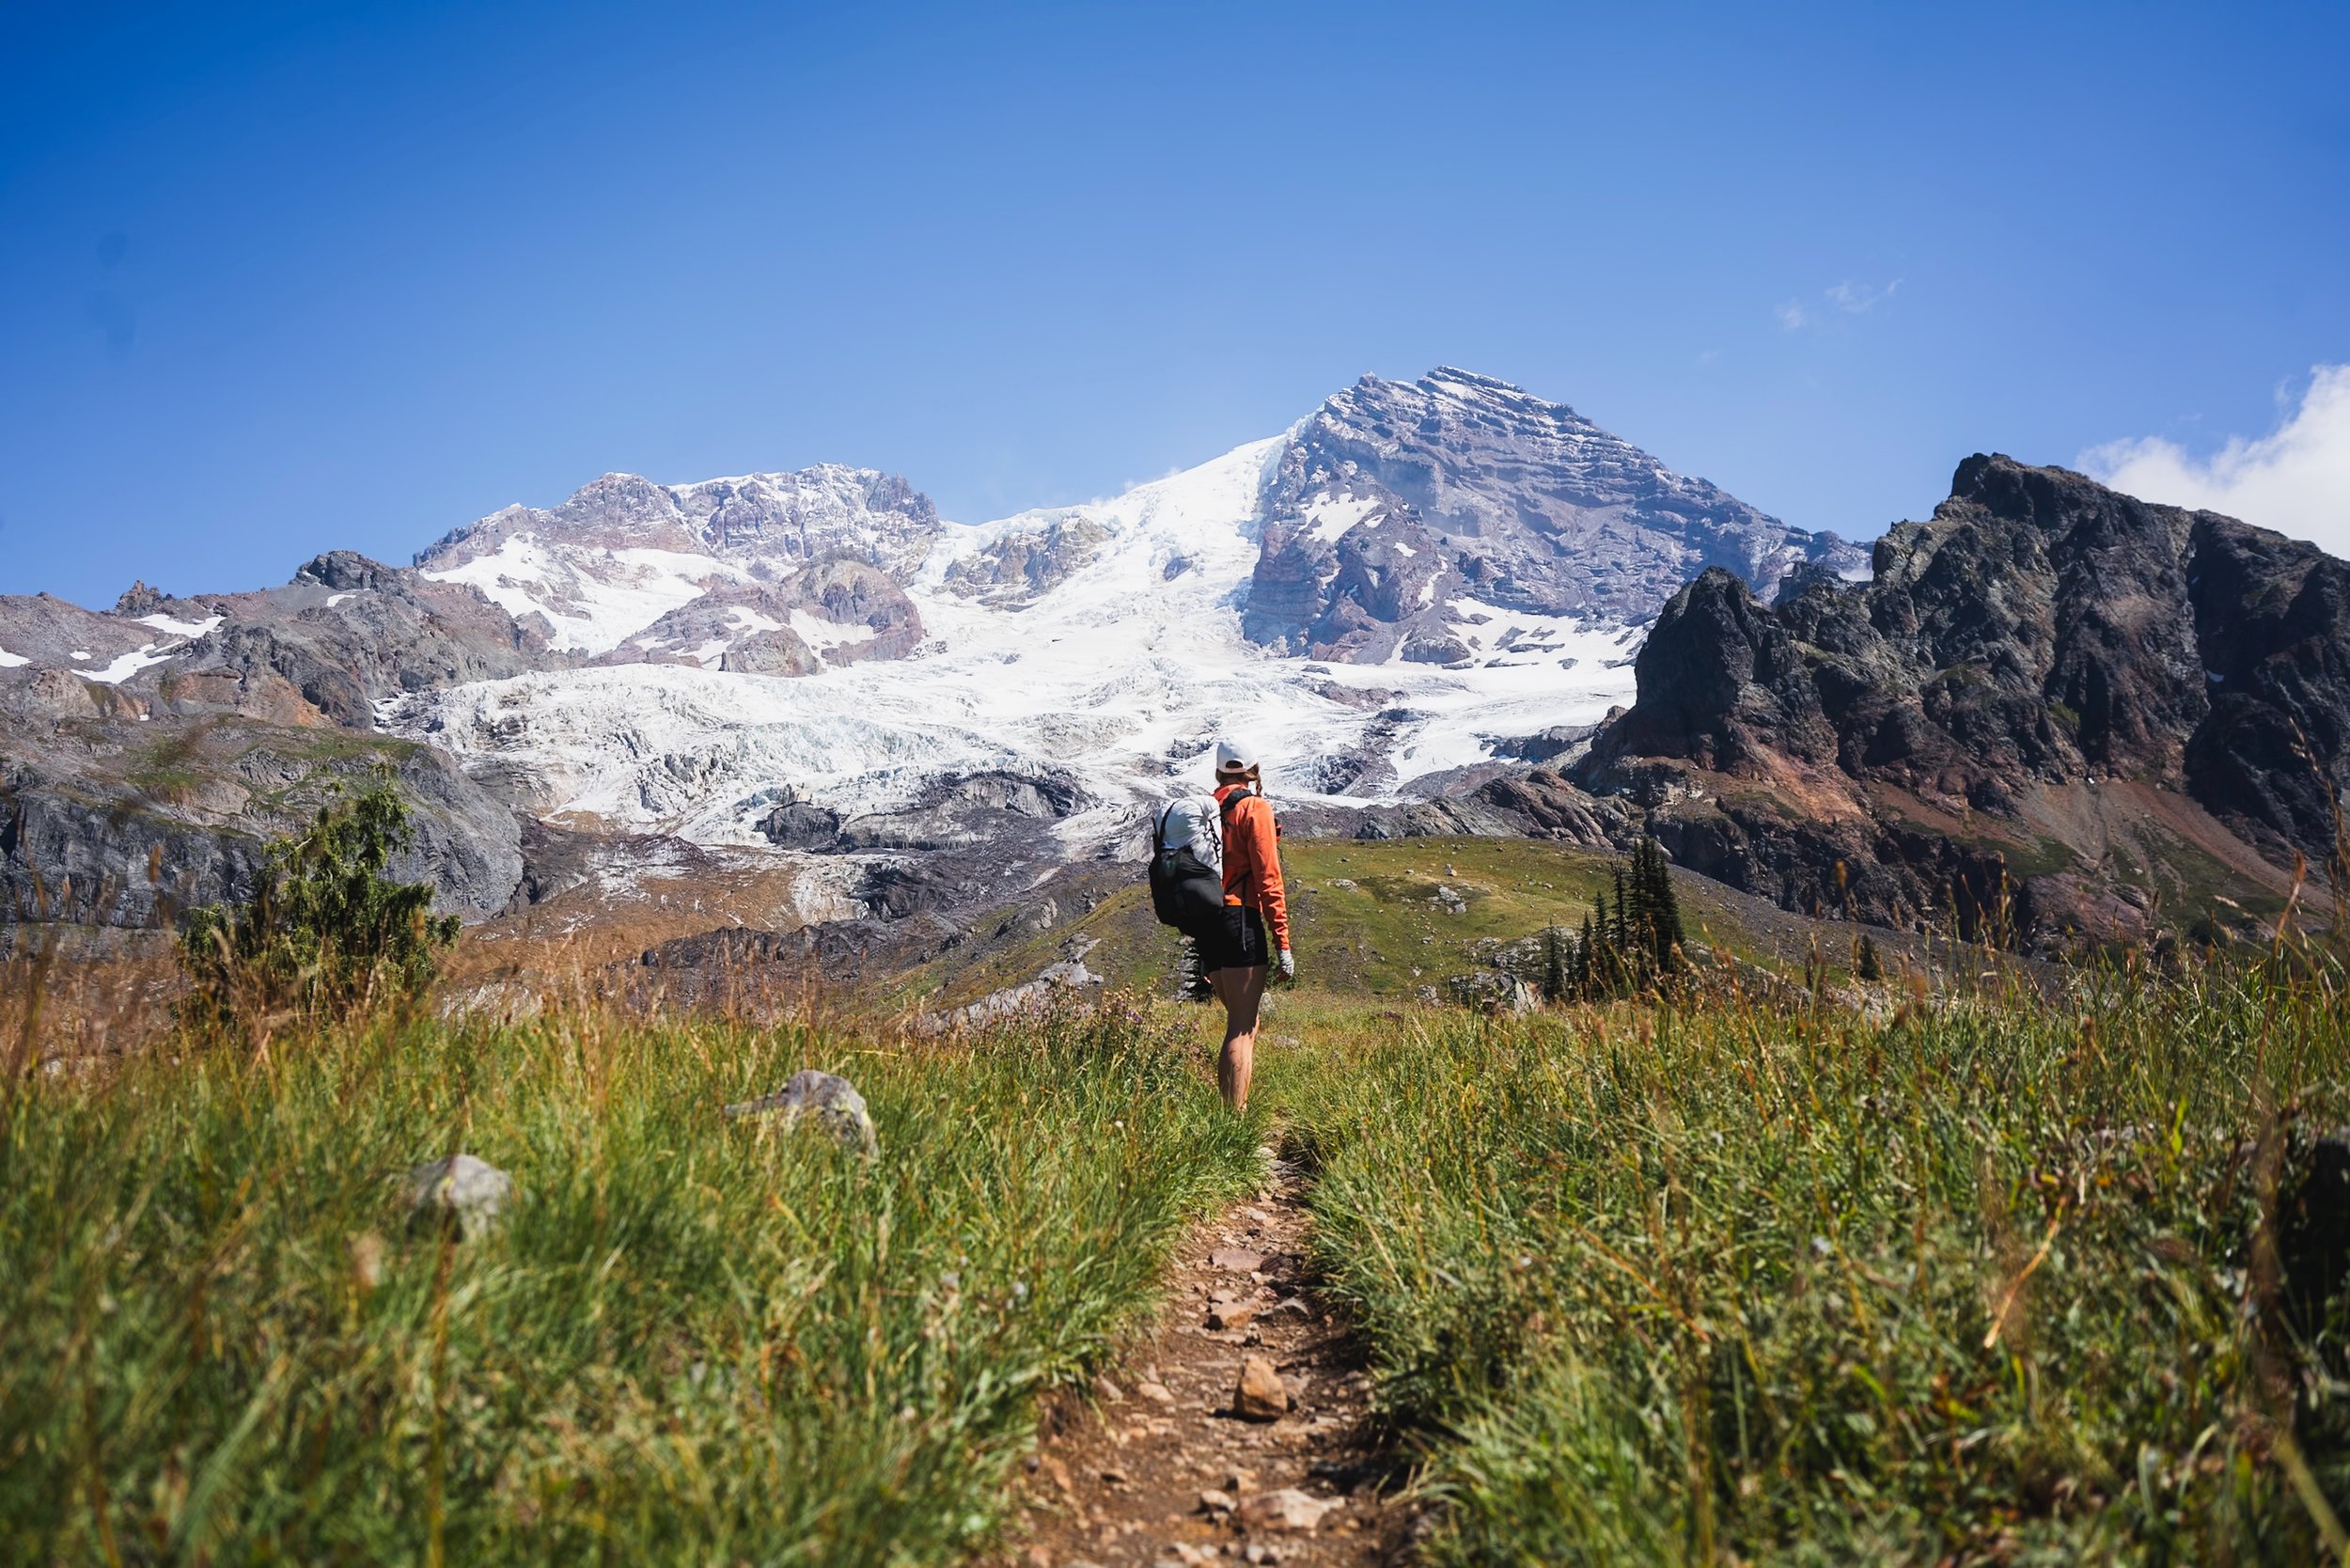
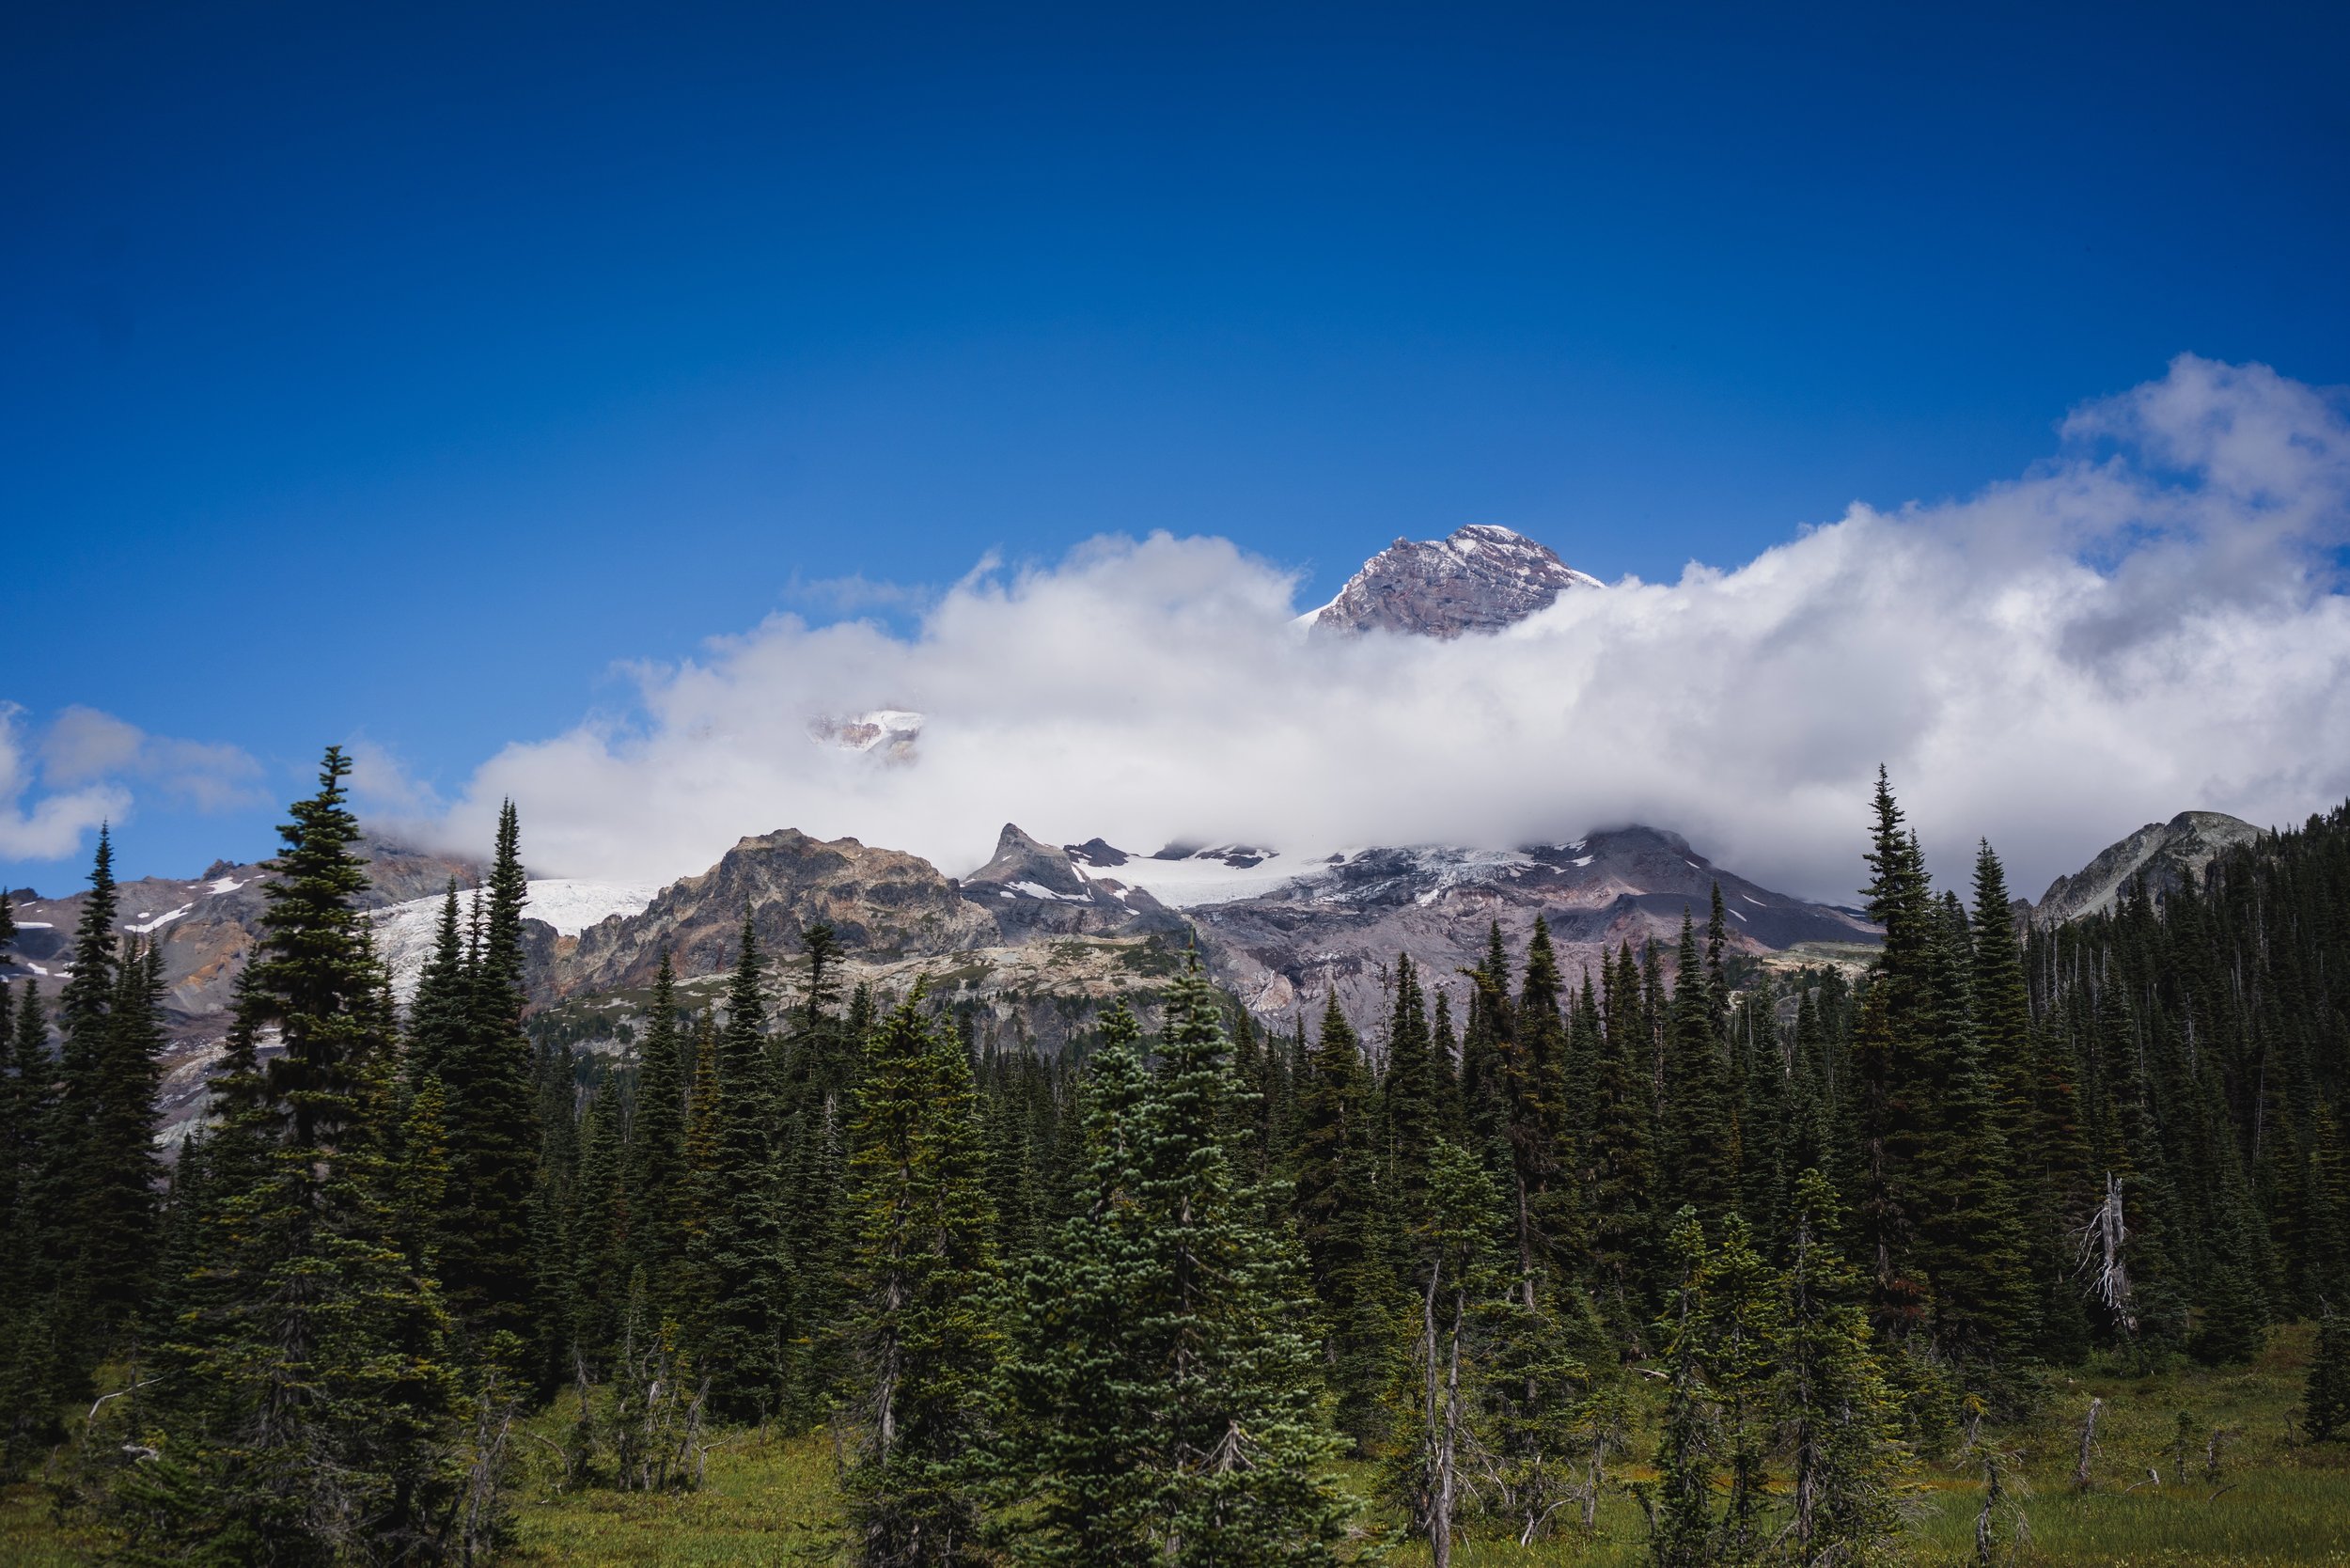
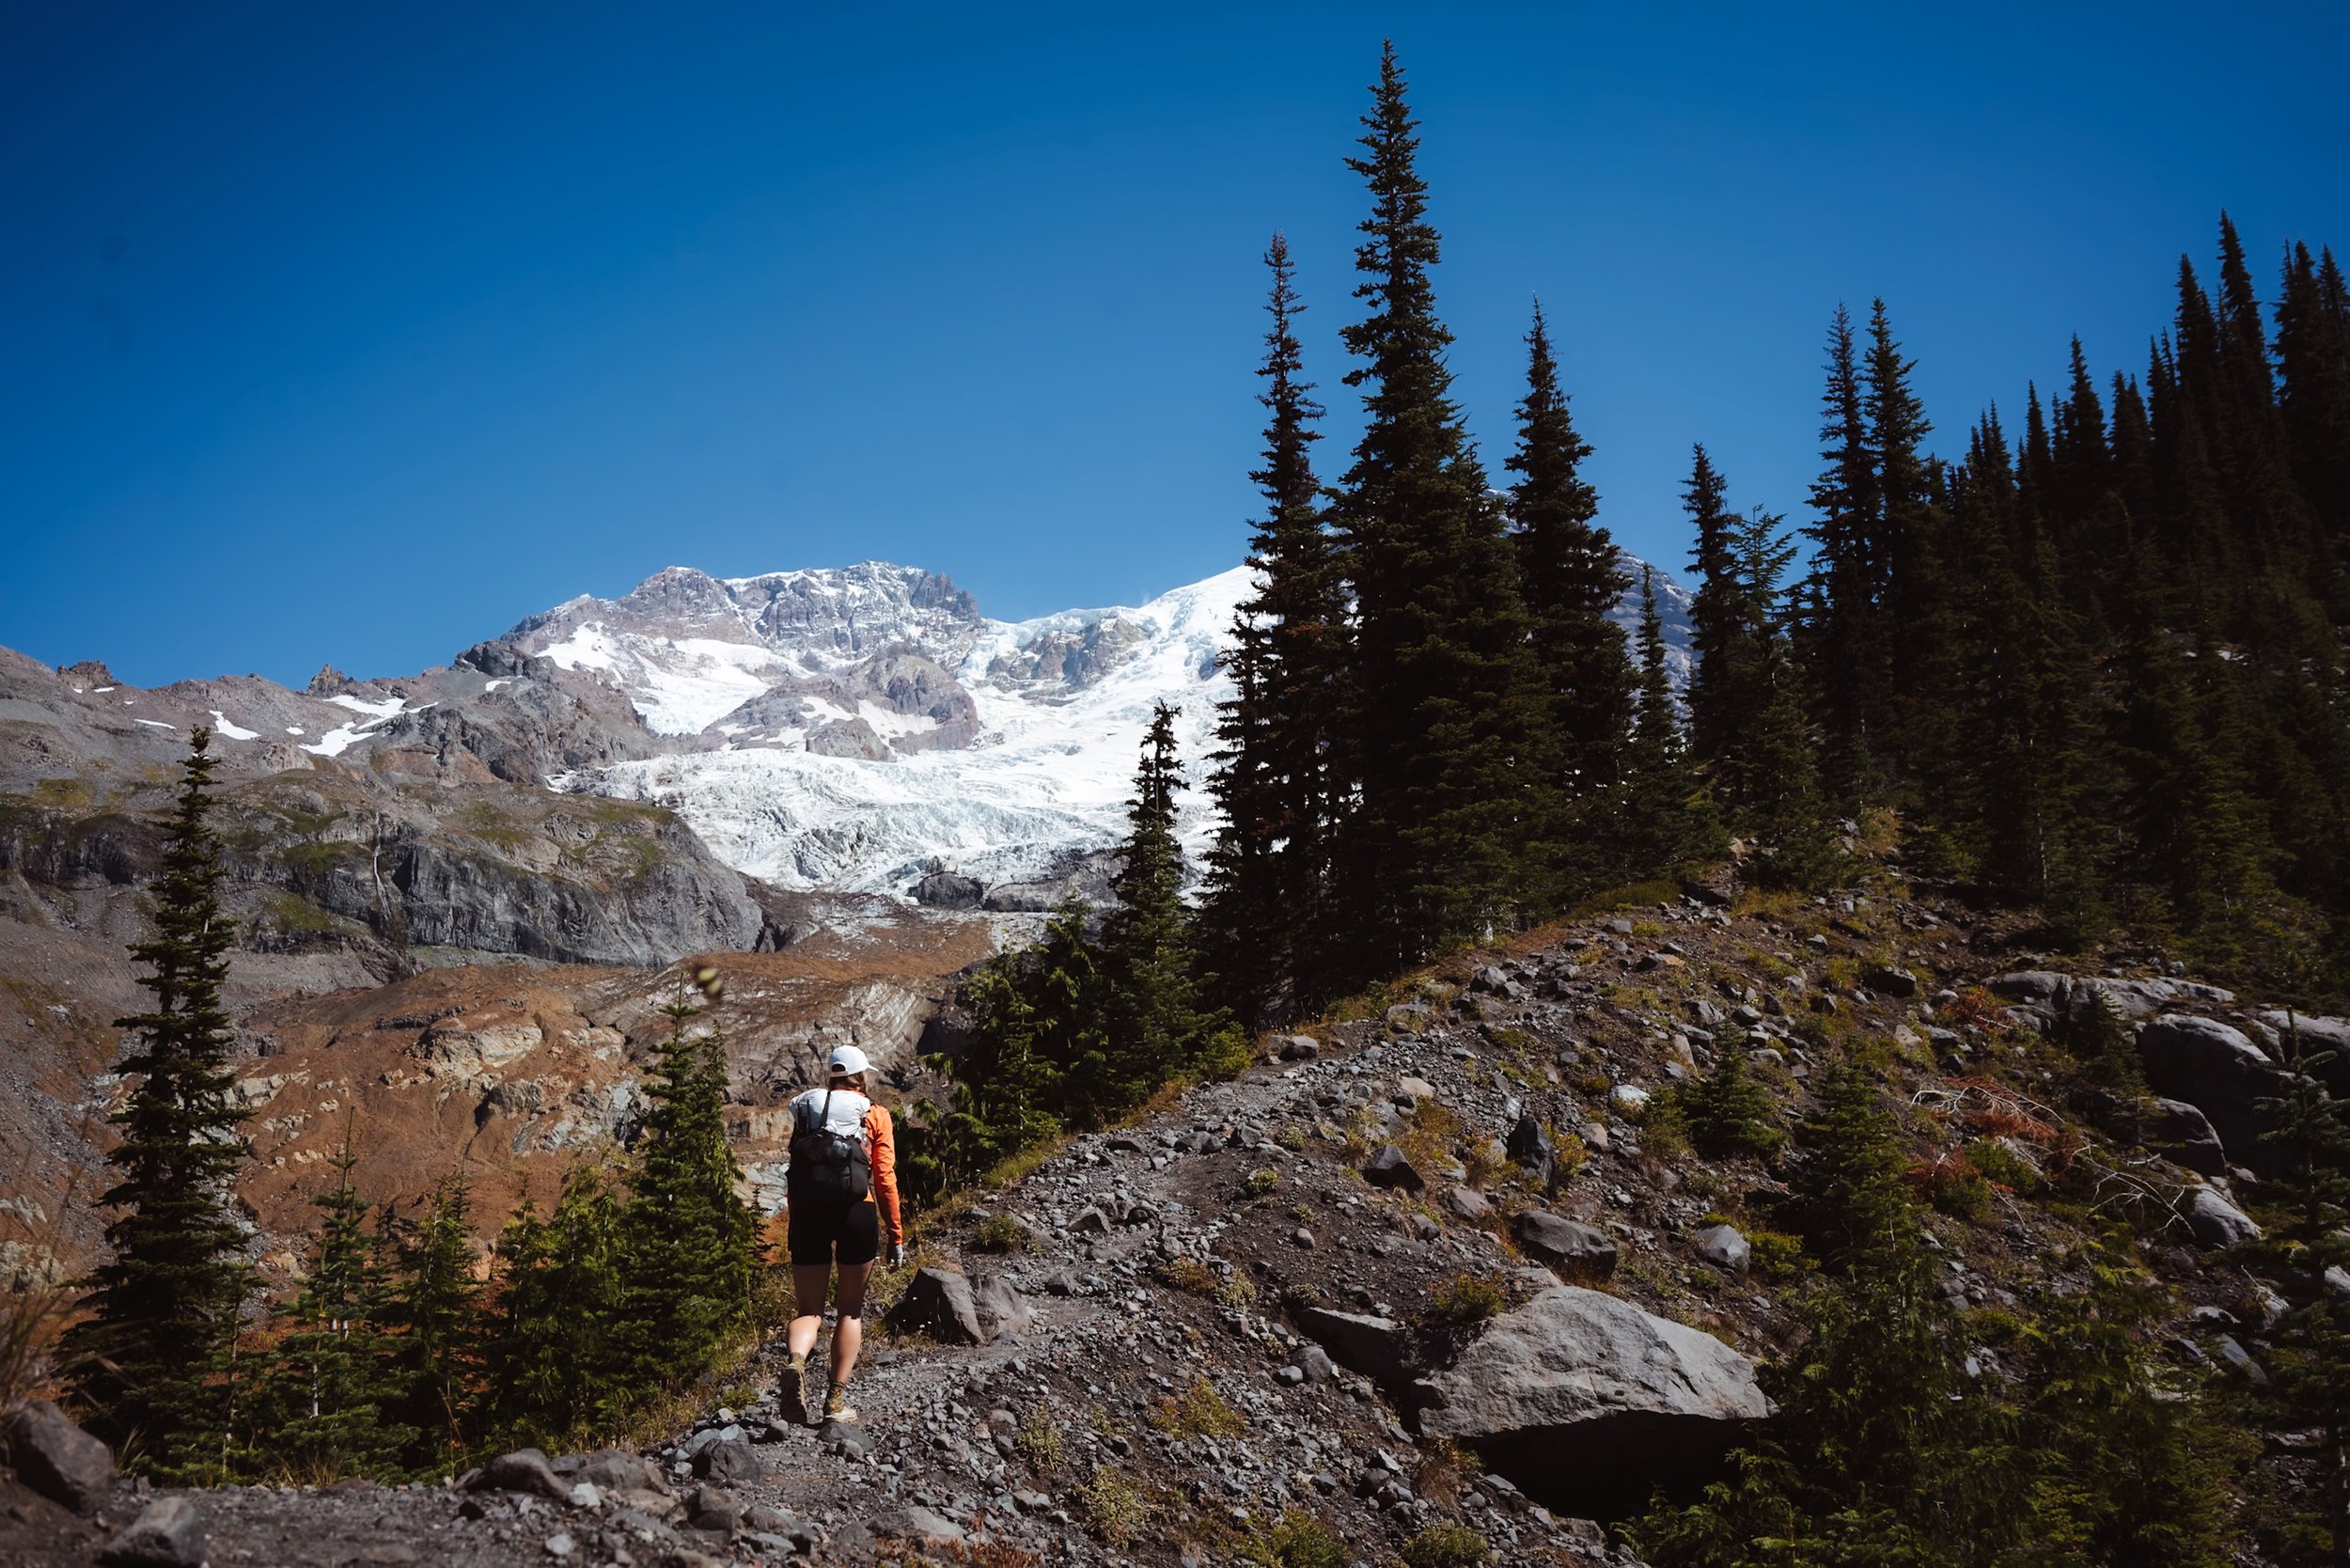
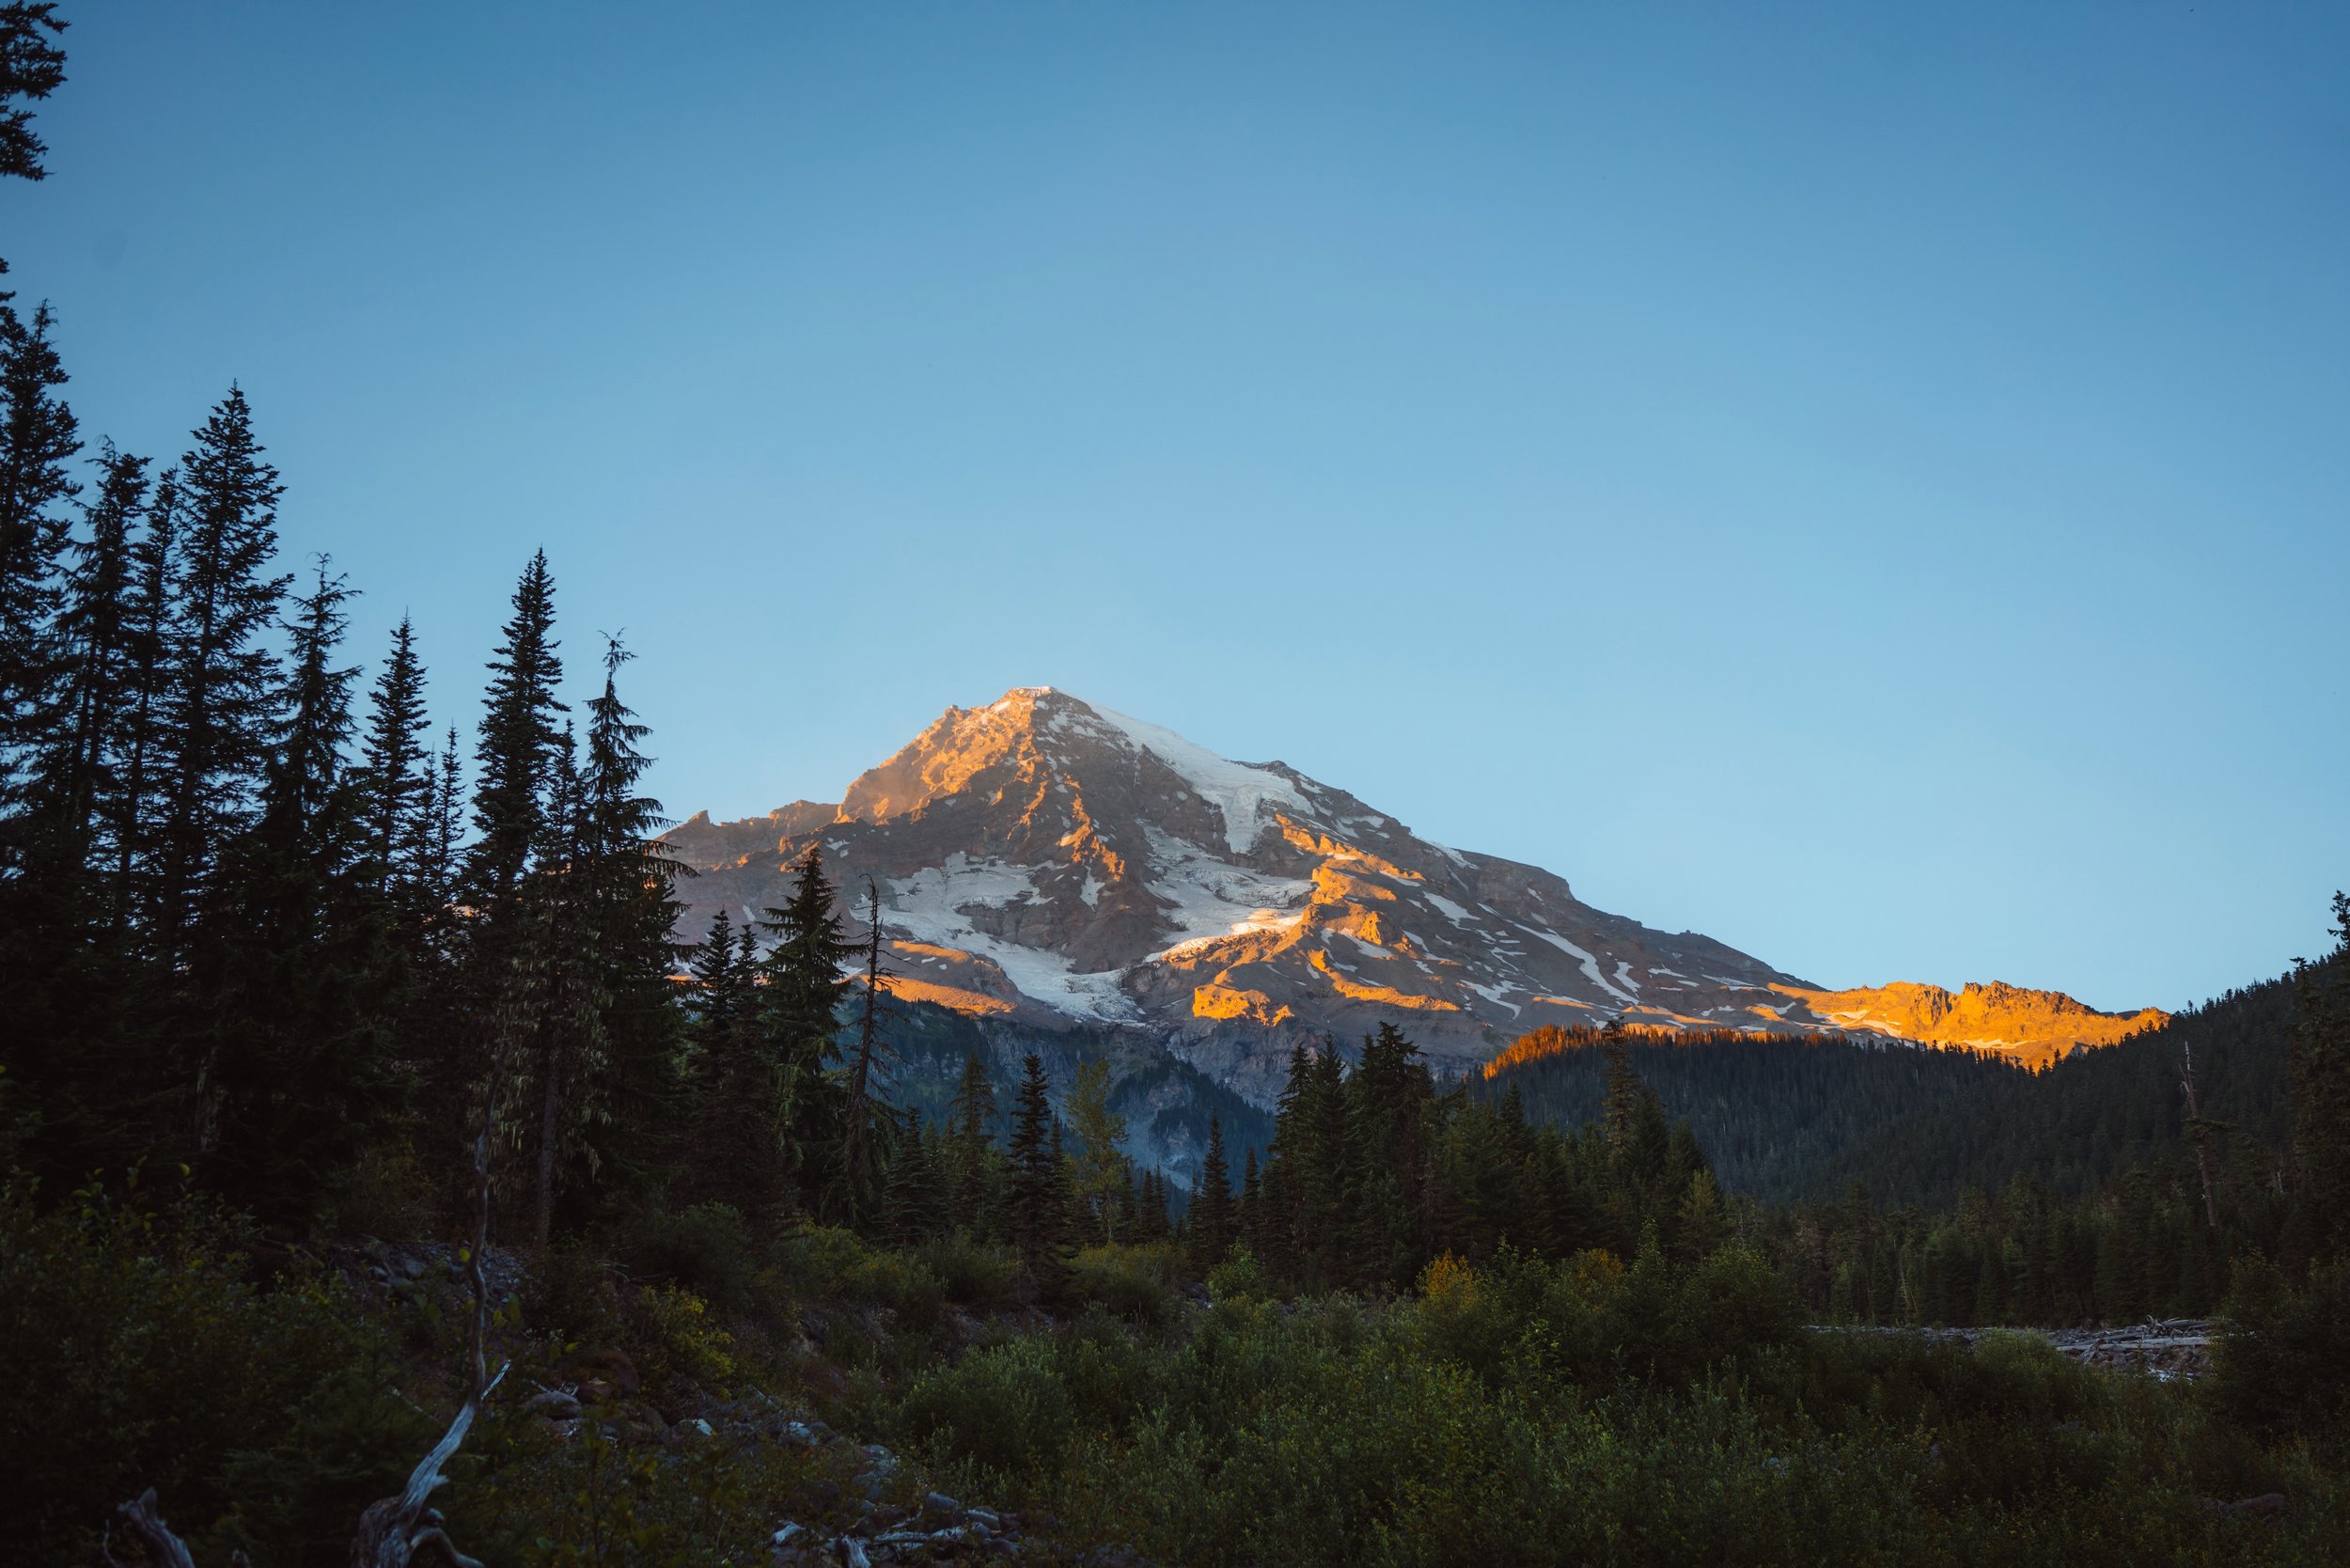
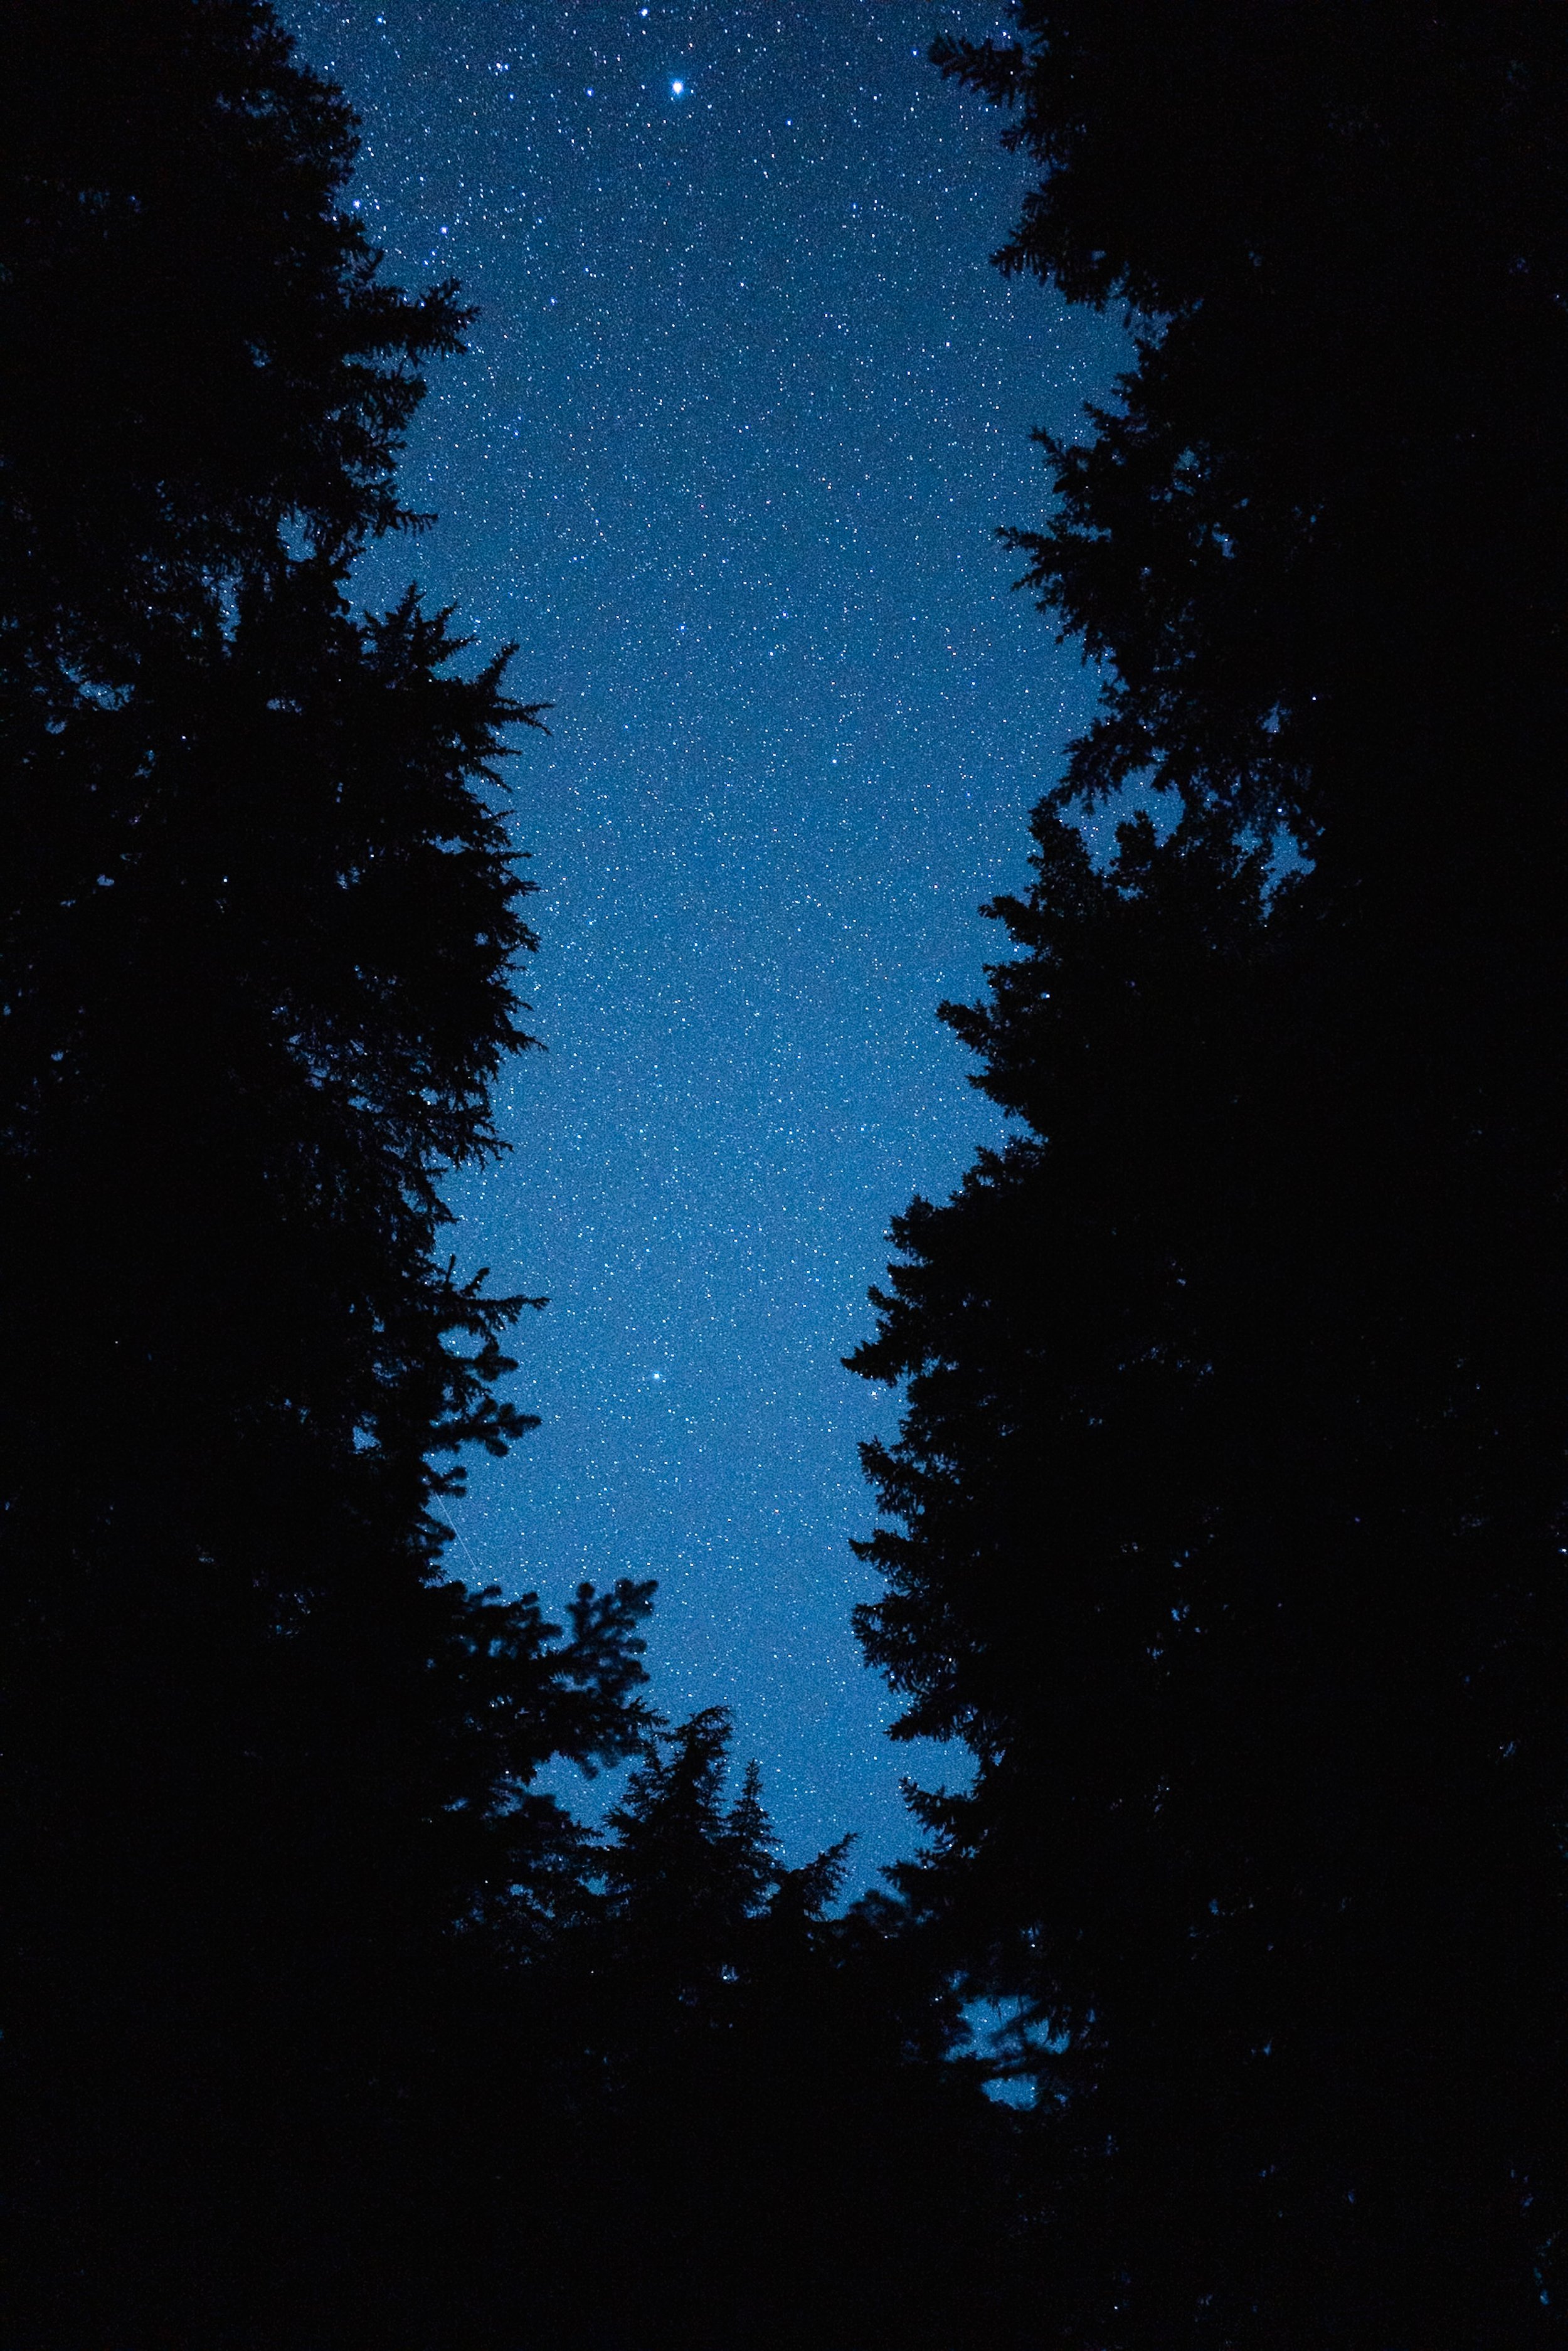
I woke up to perfectly clear skies and quickly made my way to Aurora Lake to catch the sunrise. I was absolutely stunned by how massive Mount Rainier was, perfectly reflecting on the still water of the lake. It was really cold (Klapatche Park is the highest elevation campsite I stayed at, about 6,000 ft). I took a ton of photos and made coffee while enjoying the views by the lake. As the sun crested over the ridge, it warmed me up immediately.
Morning at Klapatche Park by Aurora Lake on the Wonderland Trail, Gear in photo: backpack, leggings, down jacket, beanie, hiking shoes, gloves
Day 4 was a short hiking day for me, so I took my time and didn’t leave camp until around 9 am. Leaving Klapatche Park was tough – it was probably my favorite campsite of my Wonderland Trail hike – but I knew the day ahead promised incredible views and nice weather, which I was excited about.
I hiked by St. Andrews Lake again, since it’s only 0.75 miles counterclockwise from Klapatche Park, and stopped to enjoy the views there. After passing the lake, the trail goes through lovely meadows along a ridge, offering views of the Puget Sound, Mount St. Helens, and even Mount Adams on a clear day.
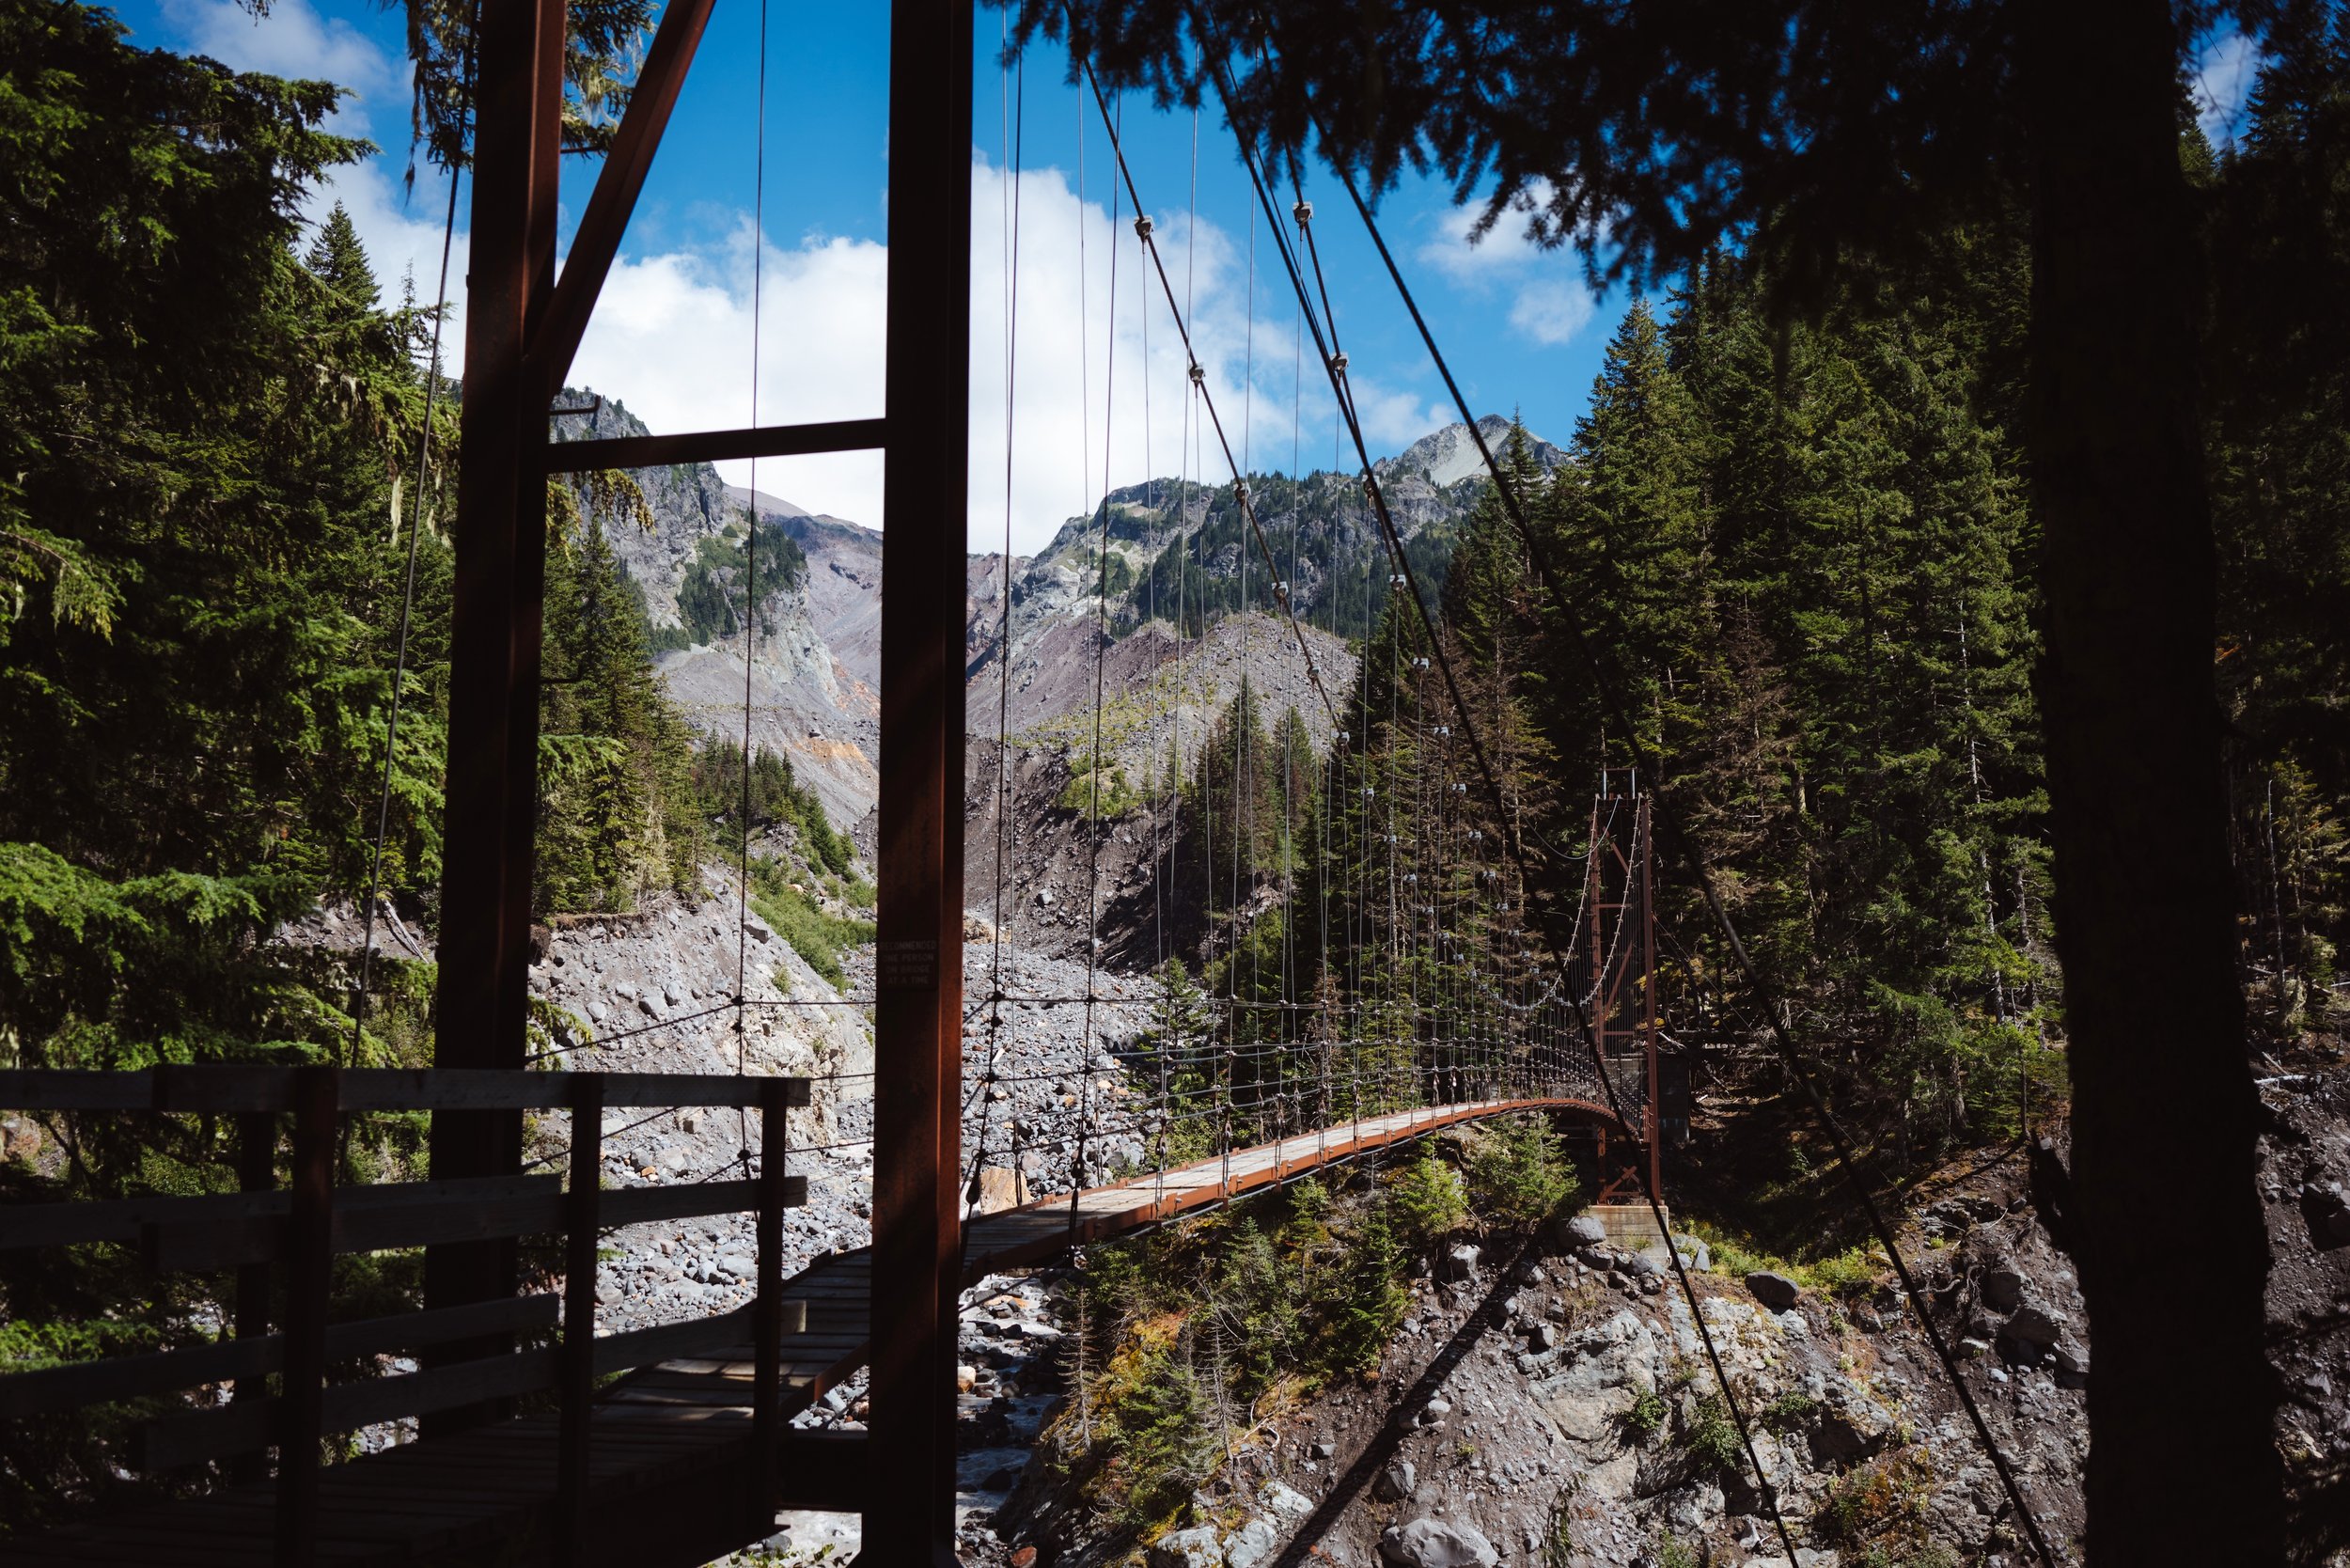
The trail then descends into a valley and crosses South Puyallup River, after which it climbs up to Emerald Ridge. I’d never seen Mount Rainier from this angle before and it was absolutely breathtaking – there are so many glaciers! After Emerald Ridge, the trail descends into another valley and crosses Tahoma Creek over a really cool suspension bridge. The next stretch of trail goes up to another alpine meadow, where there are beautiful views of Mount Rainier and a ranger cabin.
I passed by Devil’s Dream Camp, which has a reputation for being a mosquito hotspot earlier in the season. However, since I was hiking in late August, it seemed mosquito-free (or at least mostly so). It actually looks like a nice campsite, nestled in a beautiful forest on the side of a hill.
I continued downhill and arrived at Pyramid Creek Camp, where I’d be staying the night.
Pyramid Creek Camp:
Pyramid Creek has three campsites, a pit toilet, and a pole to hang food, just like at the other camps. It is a peaceful, forested camp, well-protected from the wind. All of the sites seemed nice and decently private.
Pyramid Camp ins’t fancy or super noteworthy, but it was a solid, quiet spot to camp for the night. If you hike about 0.25 miles counterclockwise on the Wonderland Trail, there’s a great view of Mount Rainier before you cross the next river. I ended my day watching the sunset from that spot.
Day 5: Pyramid Creek to Nickel Creek (with a resupply stop in Longmire)
Mileage: 17.8 miles
Elevation Gain: +4,100 ft
Elevation Loss: -4,600 ft





Pyramid Creek is about 3 miles from the Longmire Wilderness Information Center, which is where I dropped off my food cache with my last 2 days of food before starting my Wonderland Trail hike. On Day 5, I got up early and started hiking by 6:30 am so I could reach the Longmire Wilderness Information Center and pick up my resupply.
Coming Soon: For more info on resupply and food caches on the Wonderland Trail, check back soon for my blog post on How to Resupply and Cache Food on the Wonderland Trail.
View of Mount Rainier on the Wonderland Trail near Box Canyon Trailhead
I charged my electronics, grabbed a coffee from the National Park Inn, and packed my backpack with my new food. After a couple of hours, I continued on hiking for the day.
This section of the Wonderland Trail passes through one of the busier areas of Mount Rainier National Park, as it’s near the Longmire Visitor Center and takes you past Narada Falls and Reflection Lakes – both very popular spots, so expect crowds.
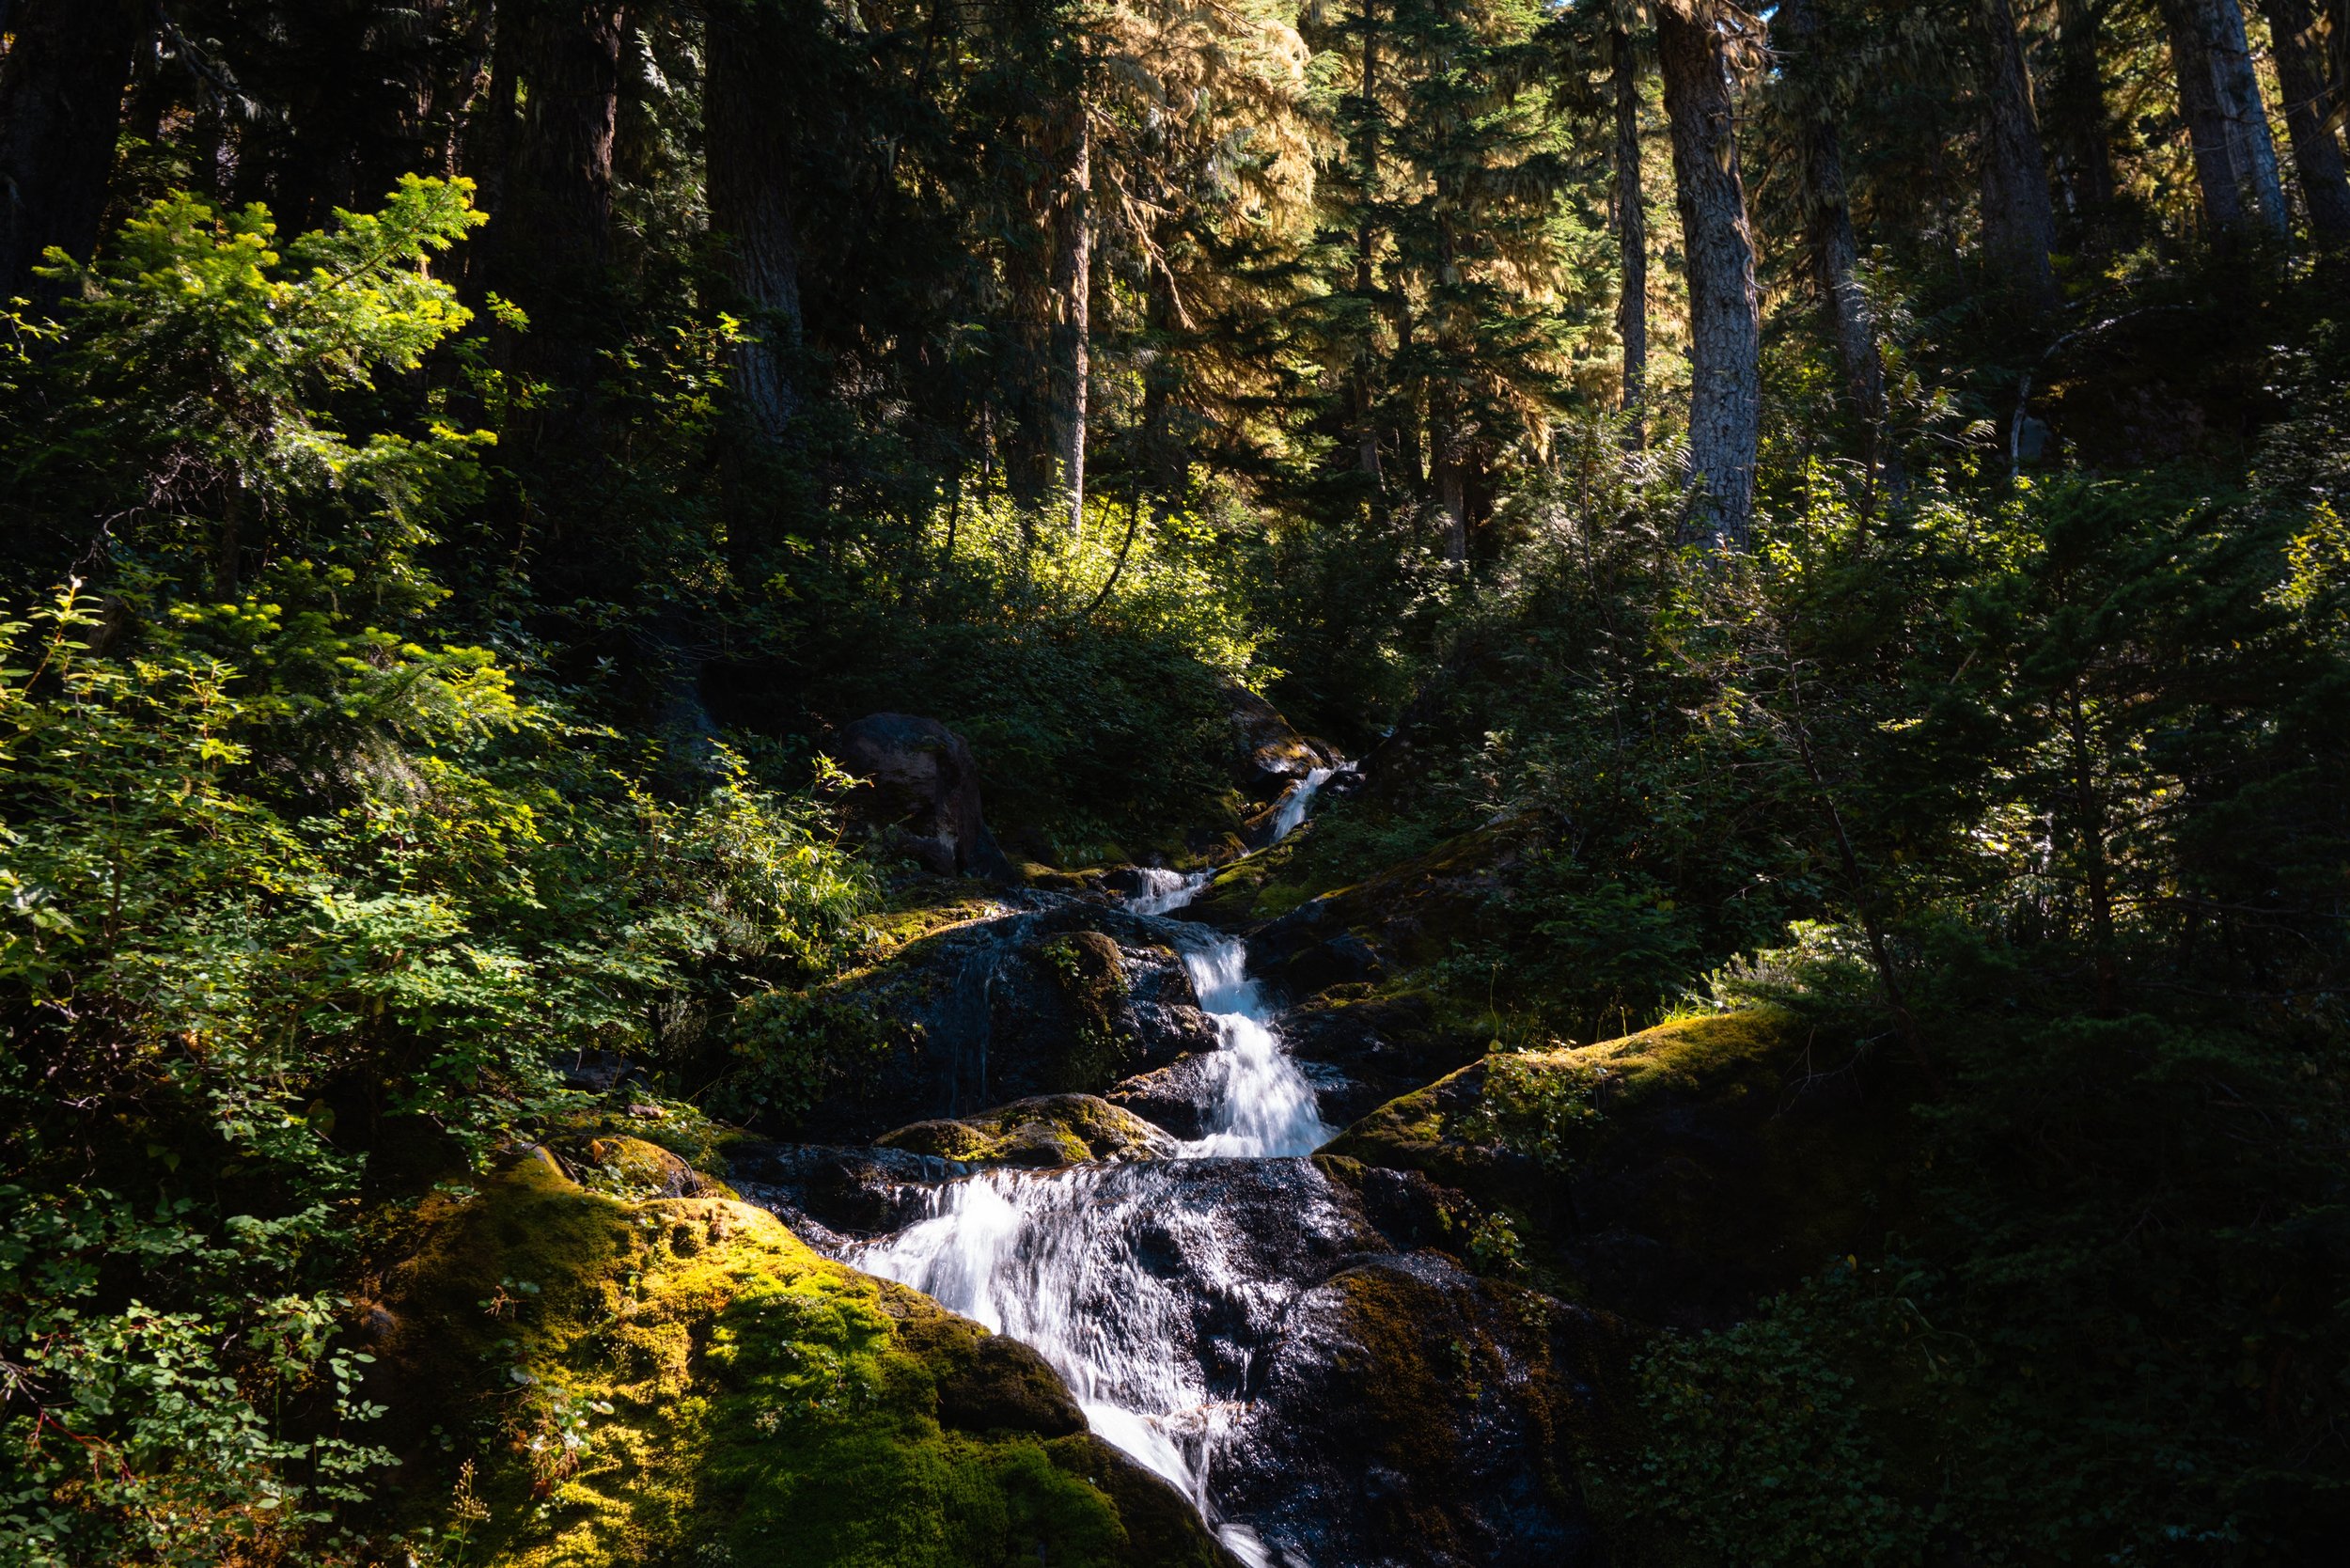
While it was busy, it was still incredibly beautiful. This section went by so many waterfalls and I enjoyed the change of scenery from the previous days.
Nickel Creek Camp:
Nickel Creek Camp has 3 campsites nestled in the woods, with the sound of a bubbling creek nearby. As with all the campsites, there was a pole to hang your food from and a pit toilet. Access to water is about .25 miles back on the trail, so I recommend grabbing enough water for the night and morning on your way to camp to avoid backtracking for water more in the morning. I found the campsites to be very private. I camped at Site 2, which had a tree trunk stump table and built-in log bench, which was perfect for eating dinner without sitting on the ground.
Day 6: Nickel Creek to White River
Mileage: 18.5 miles
Elevation Gain: +6,000 ft
Elevation Loss: -4,900 ft

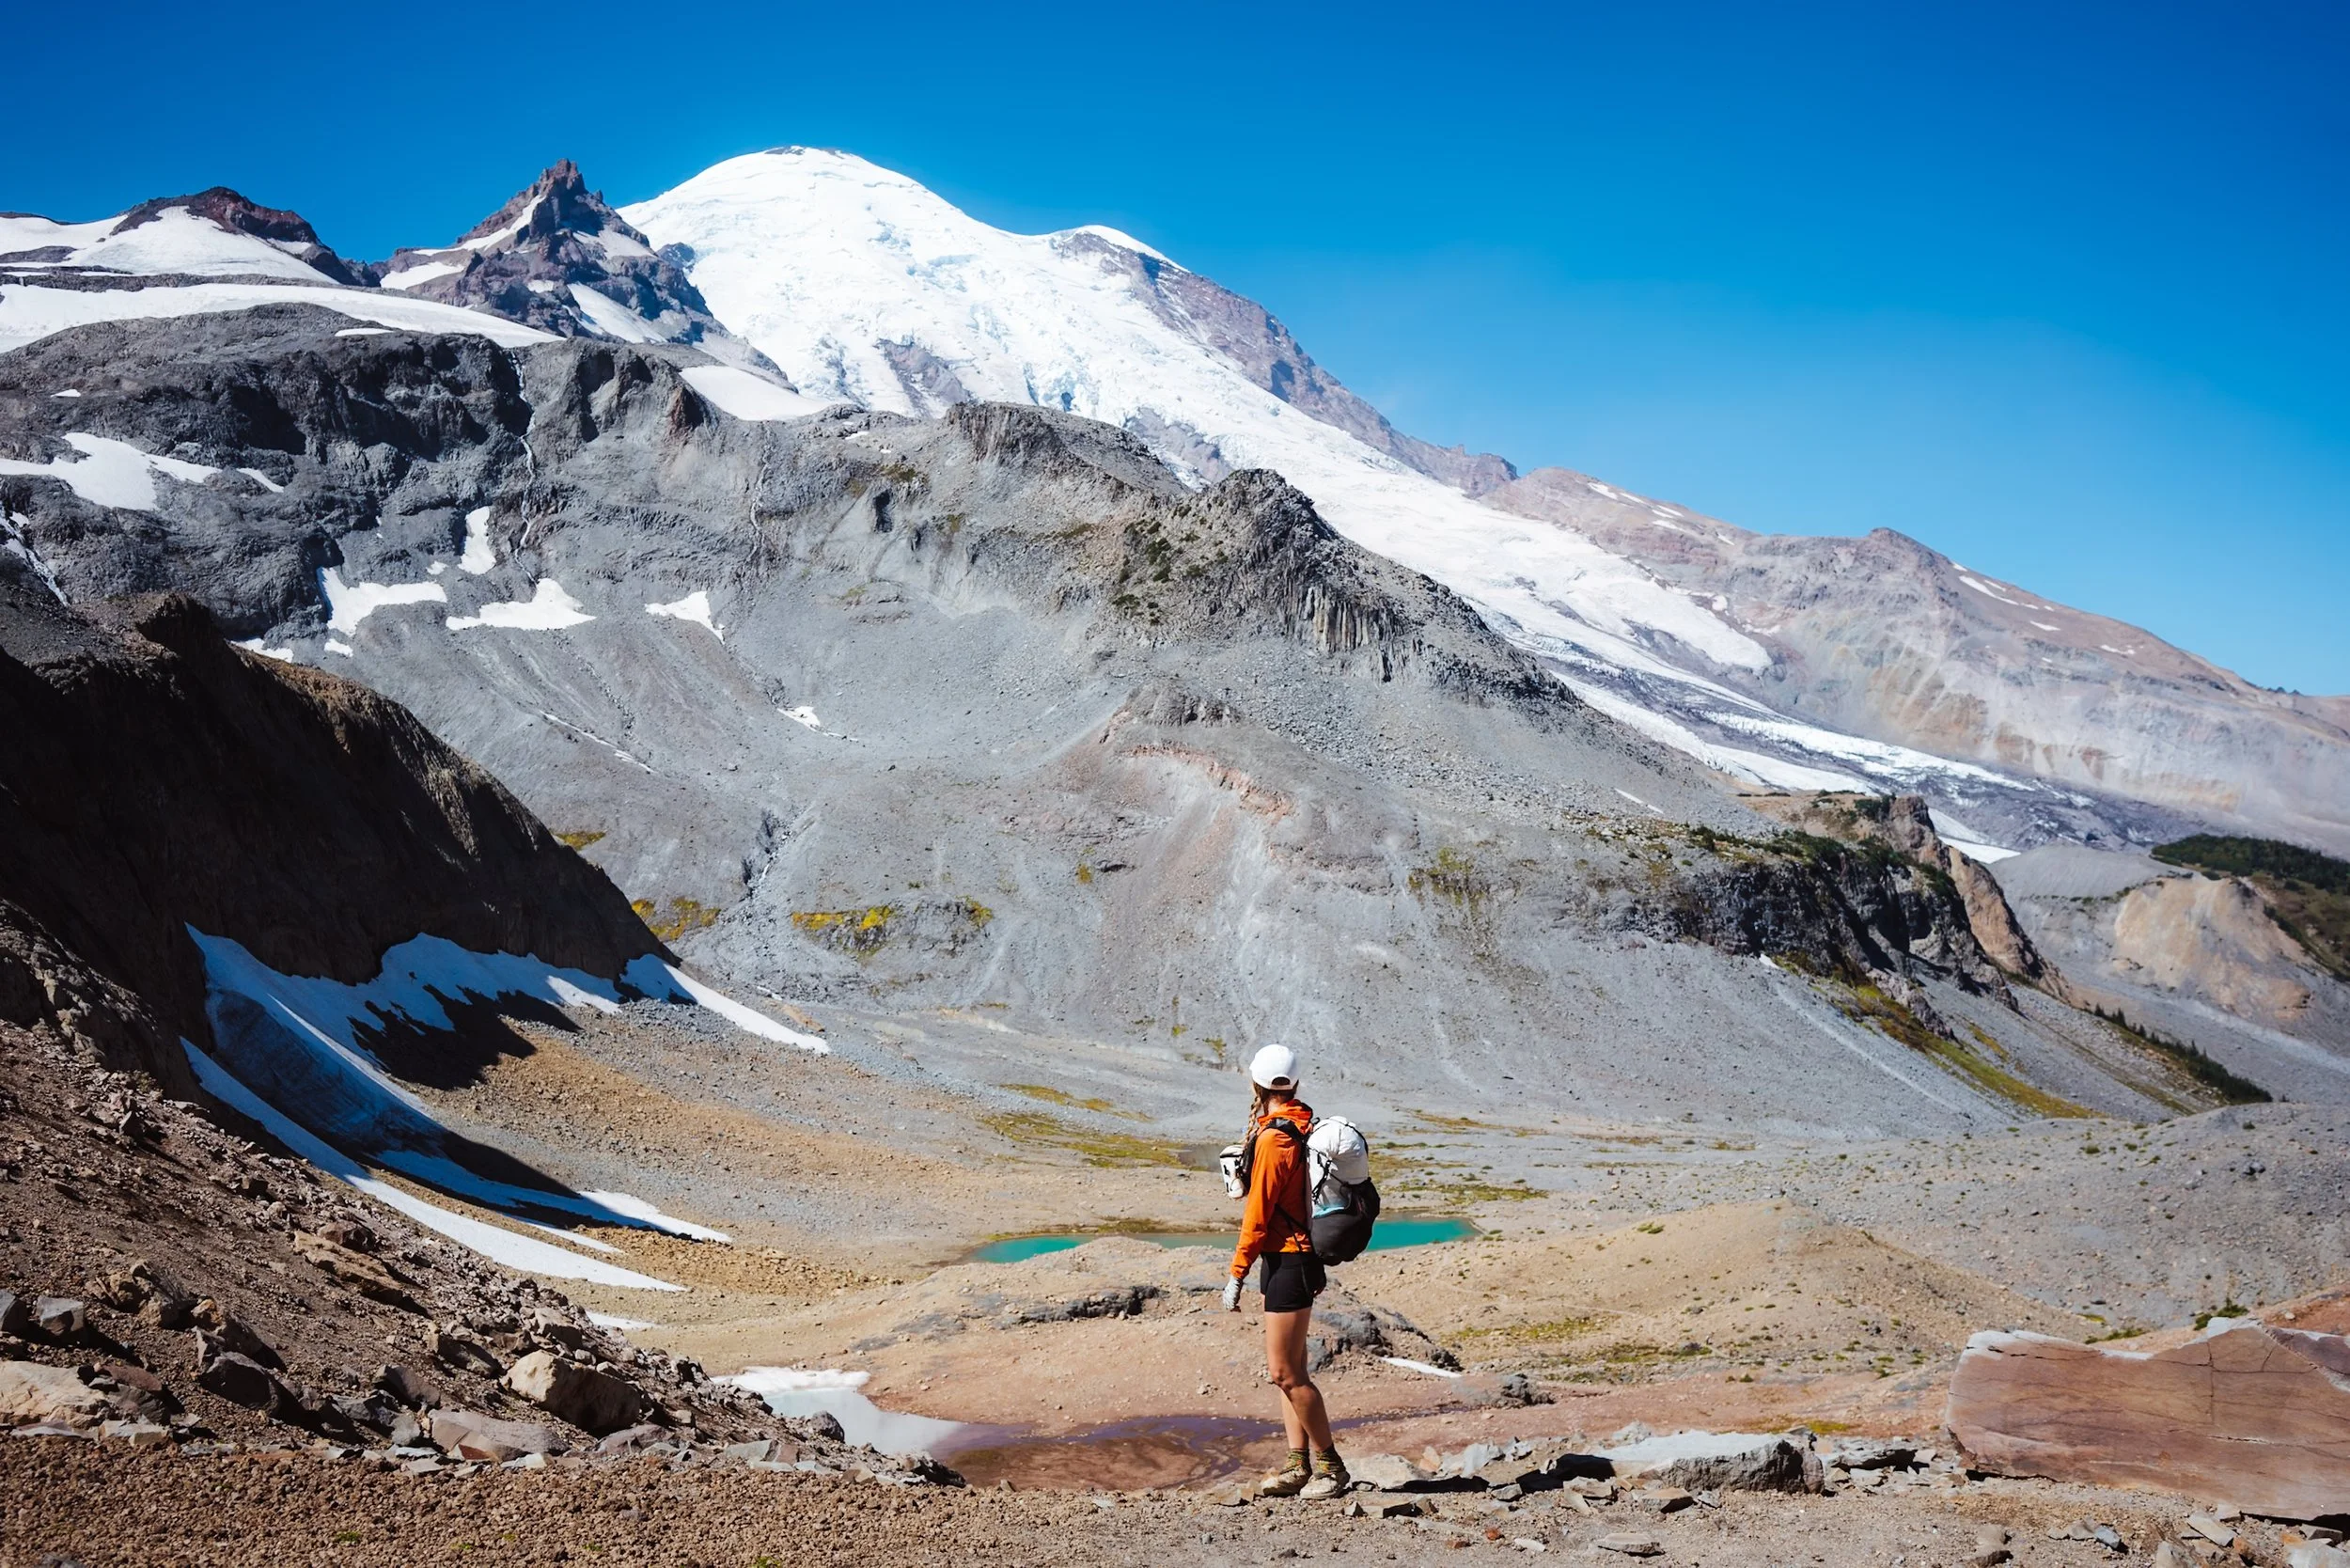


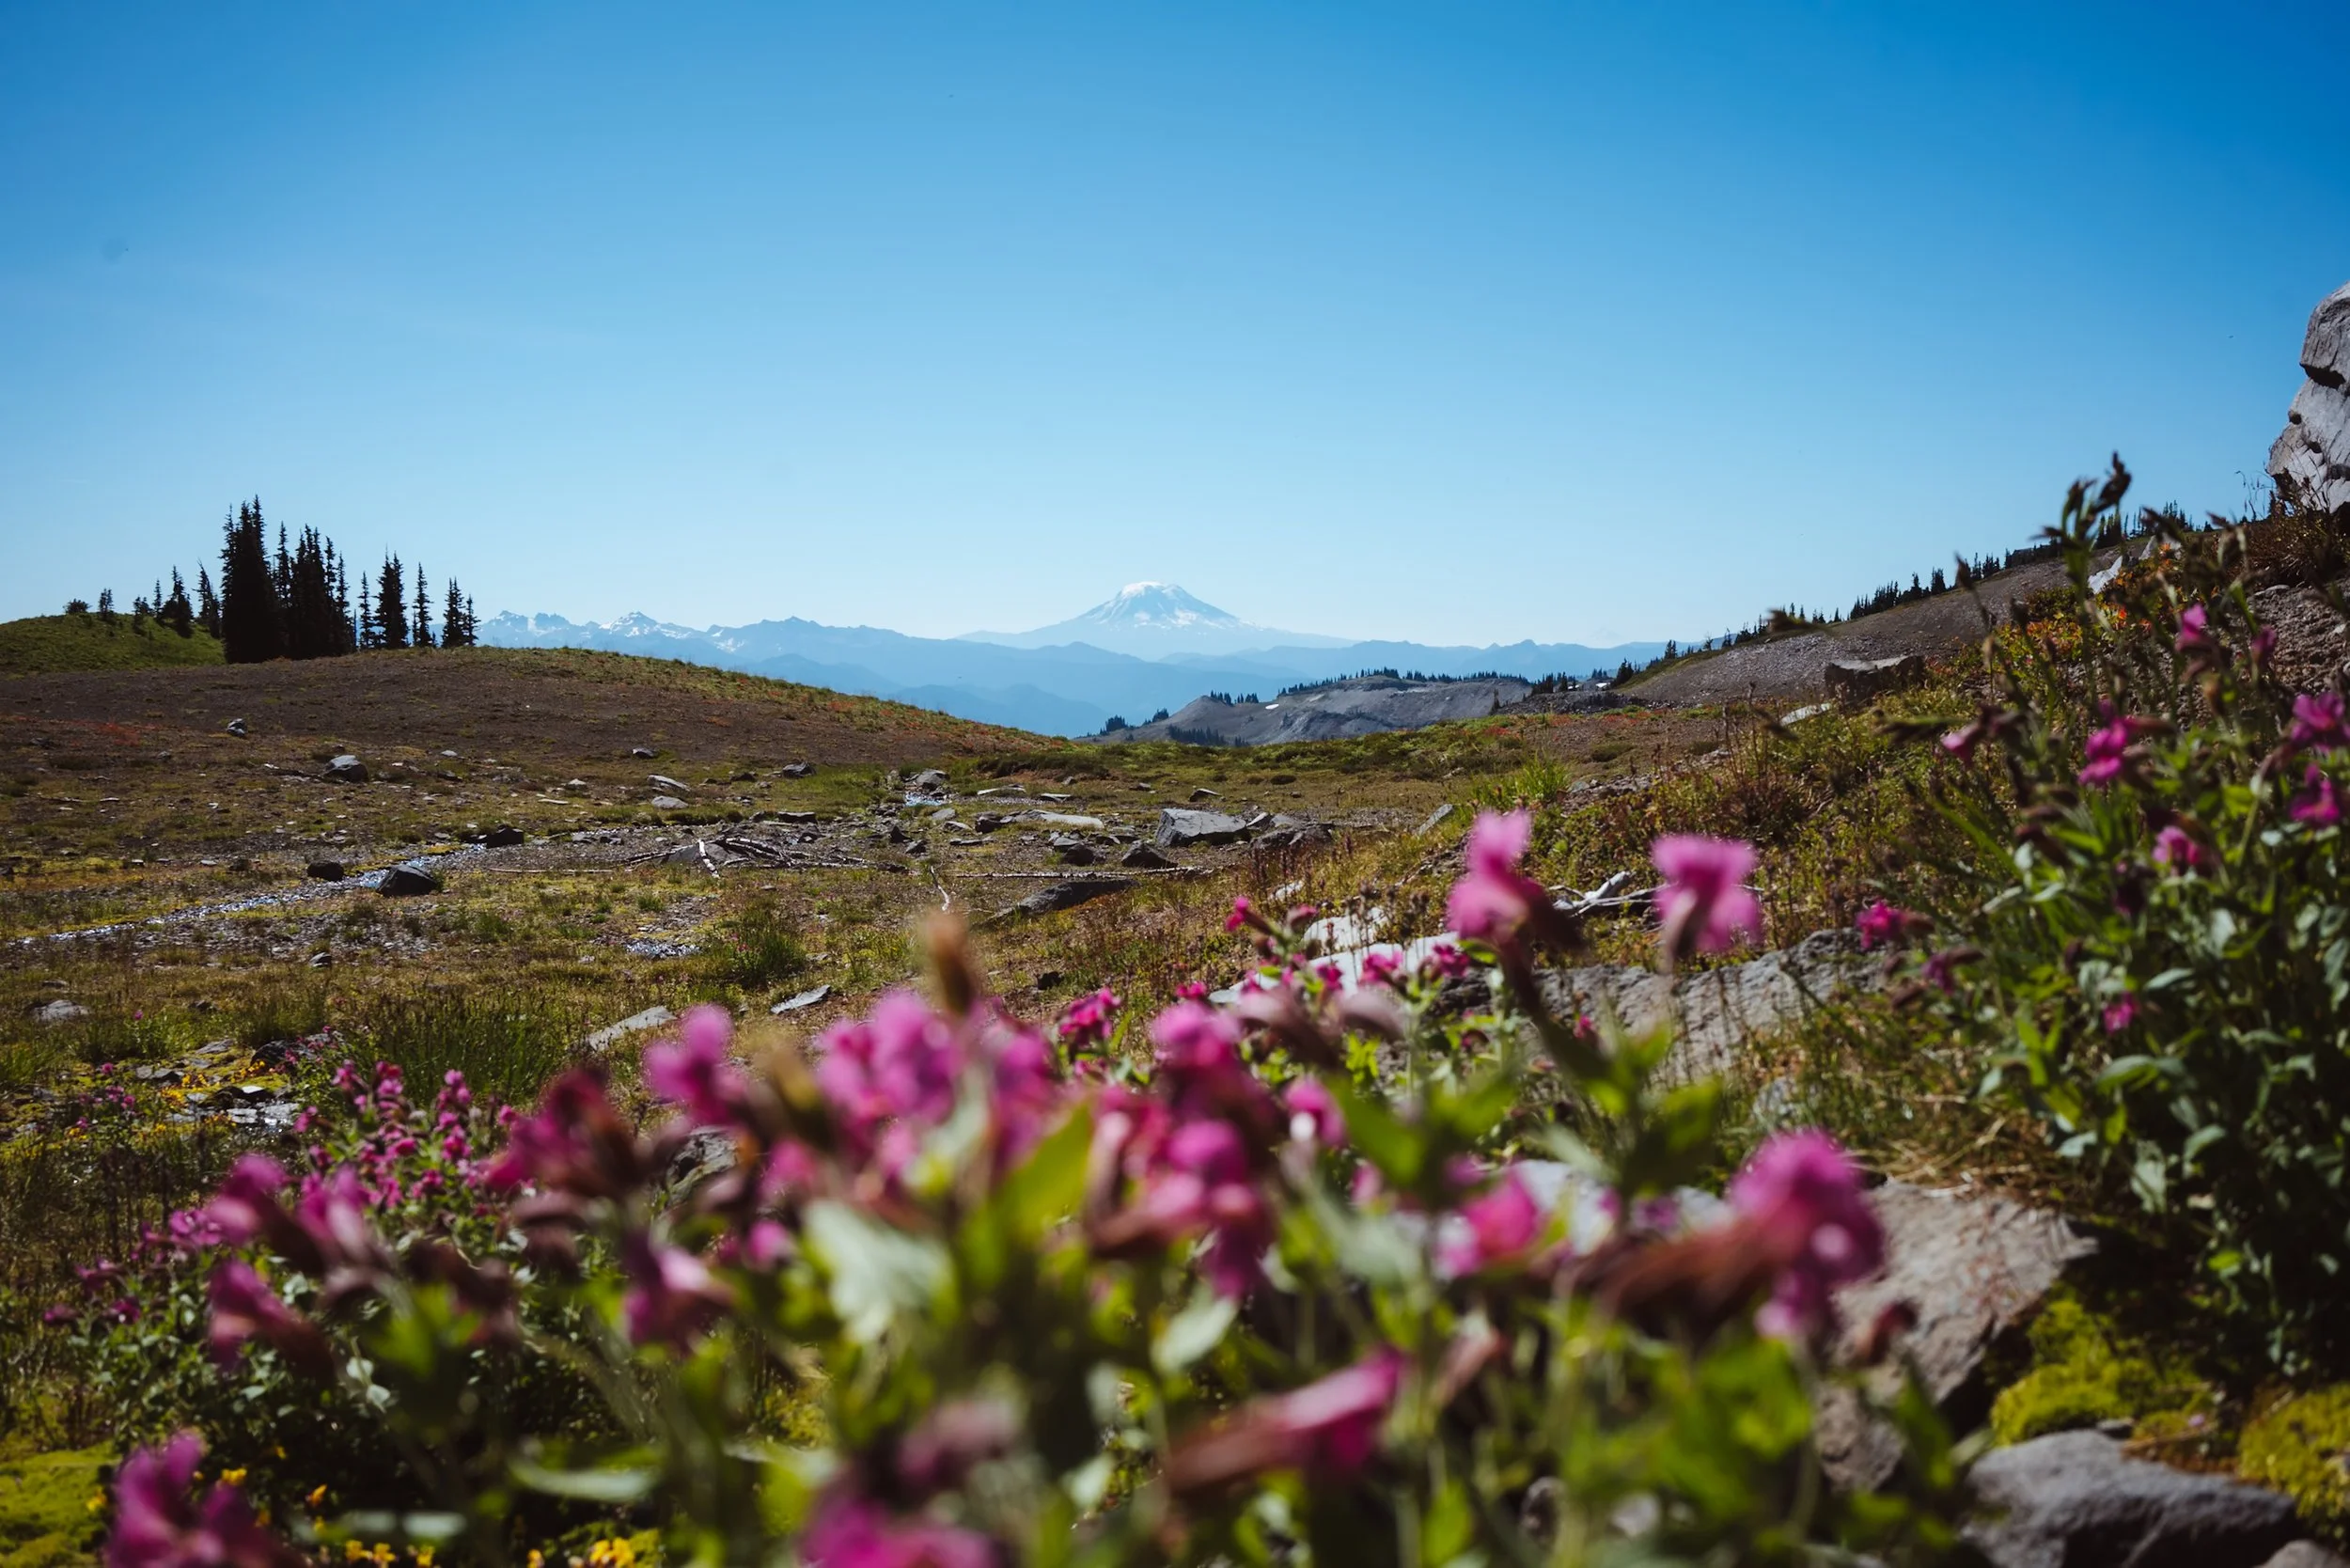
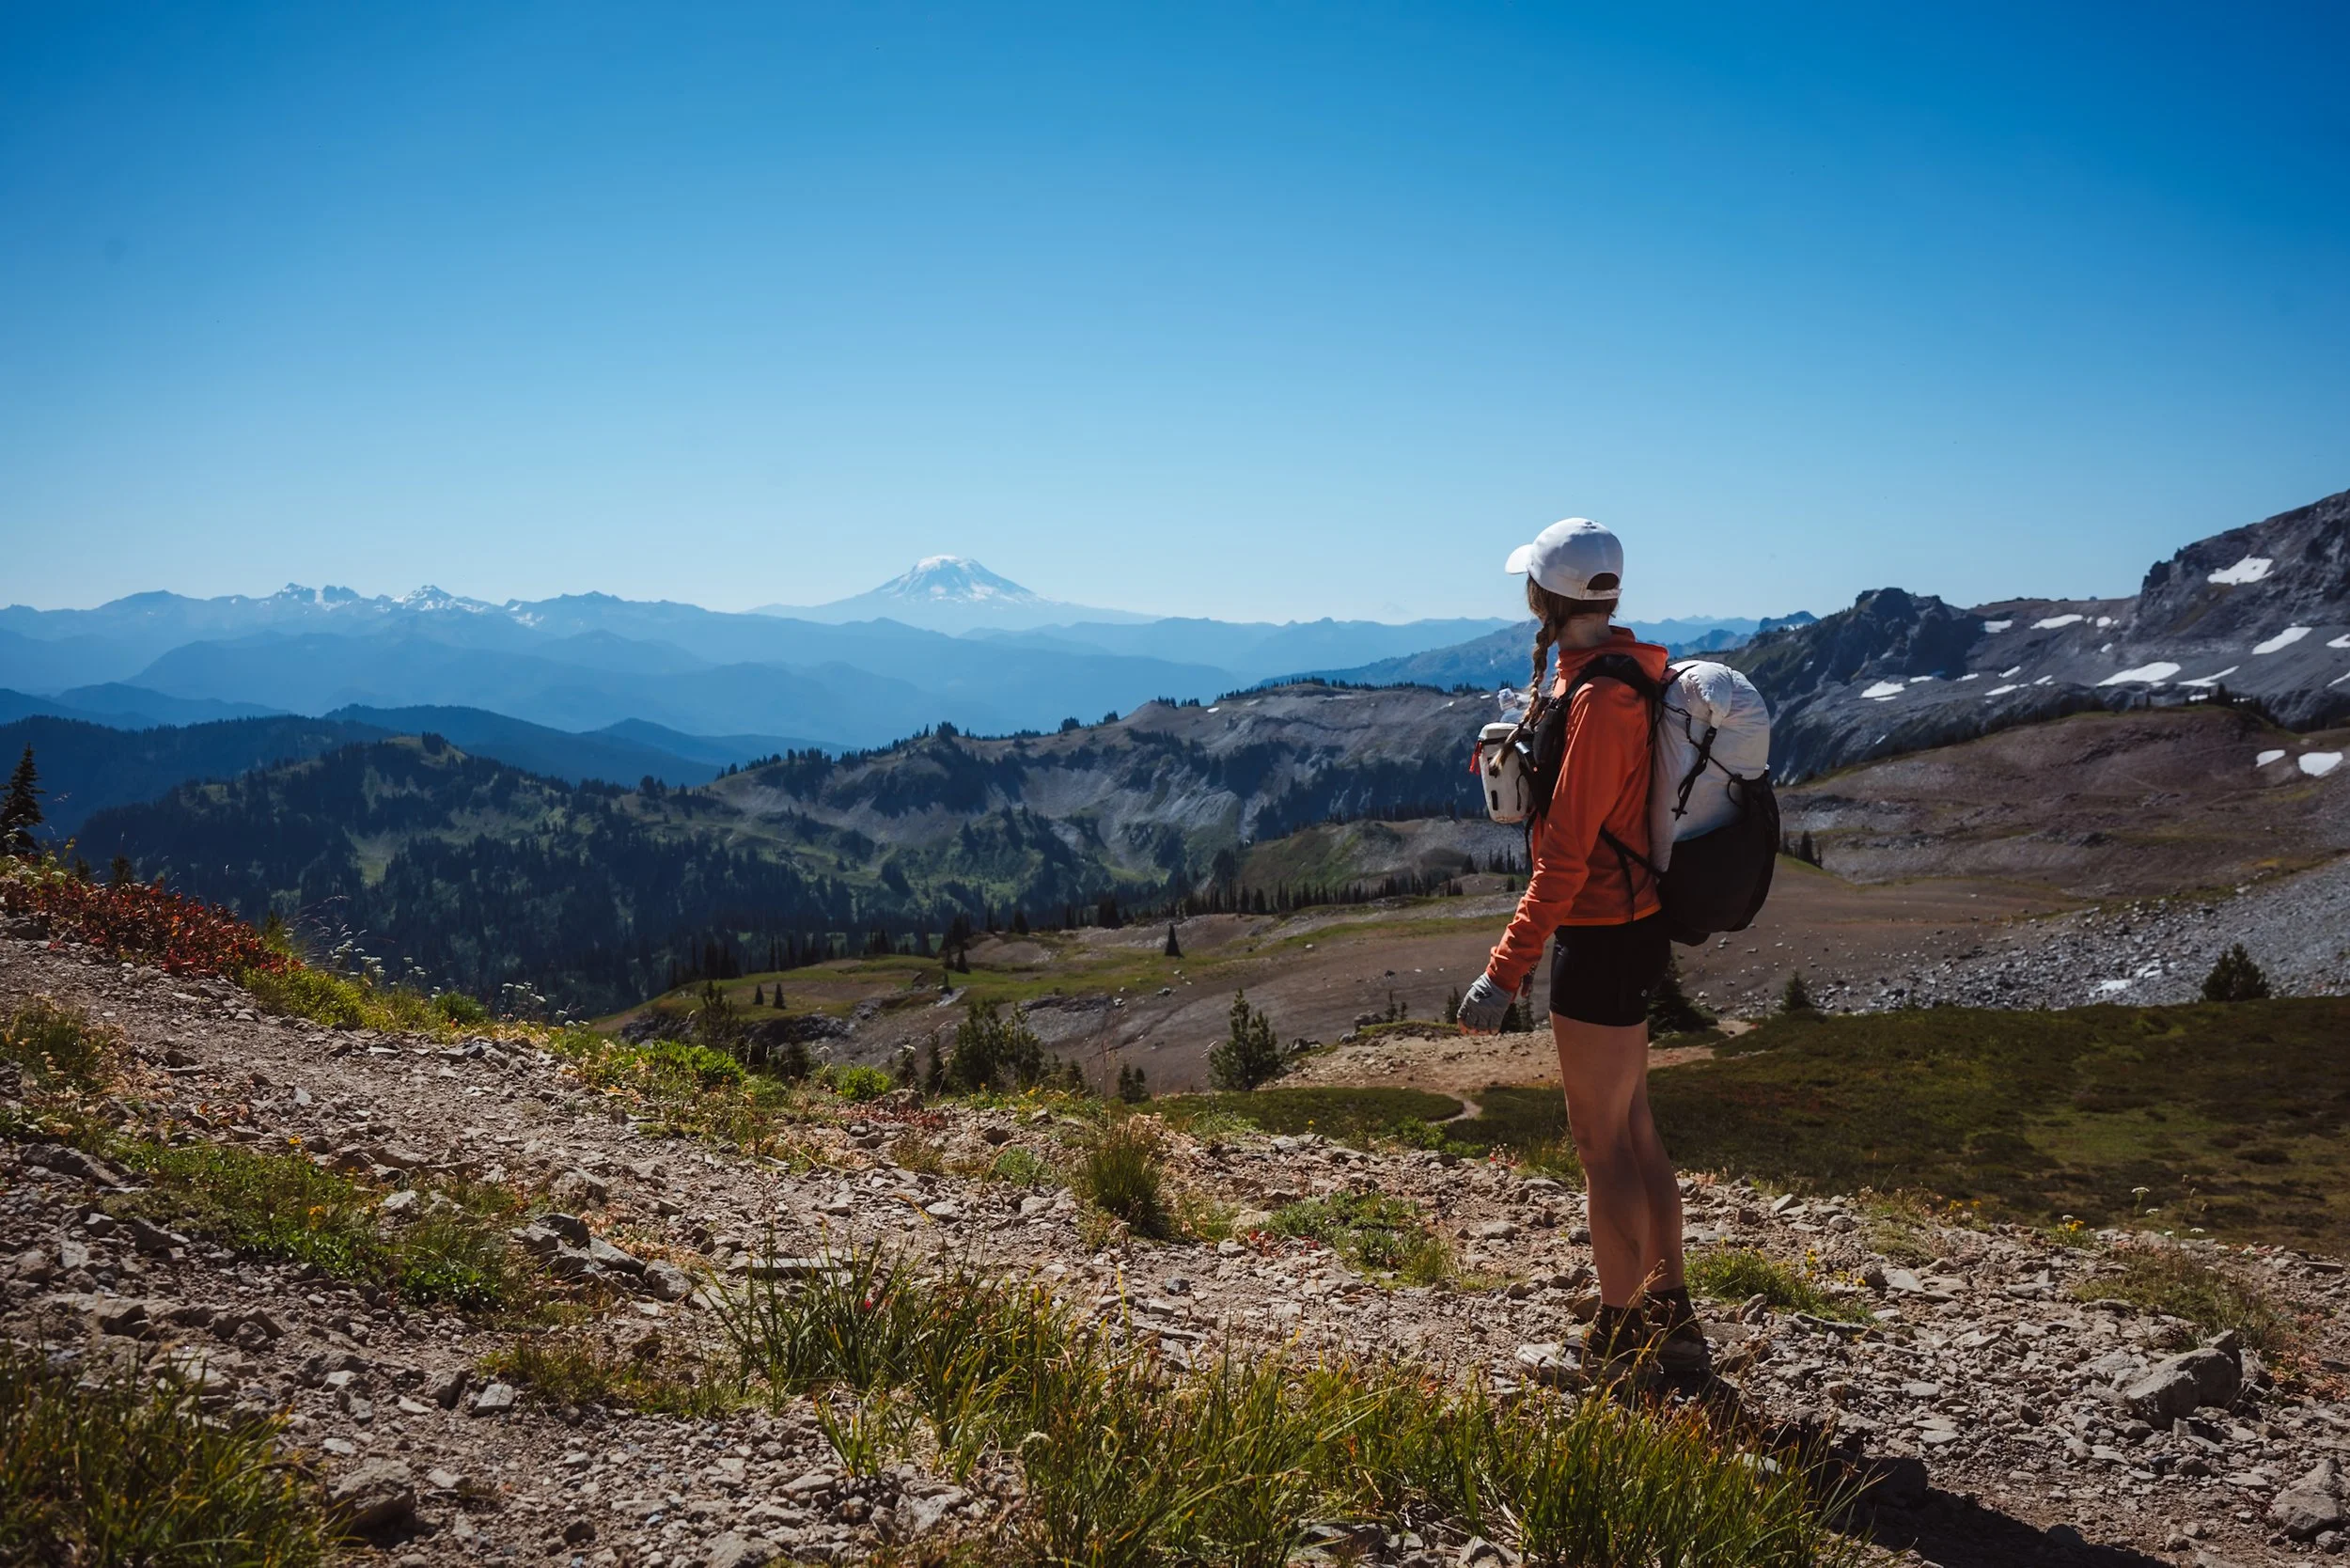
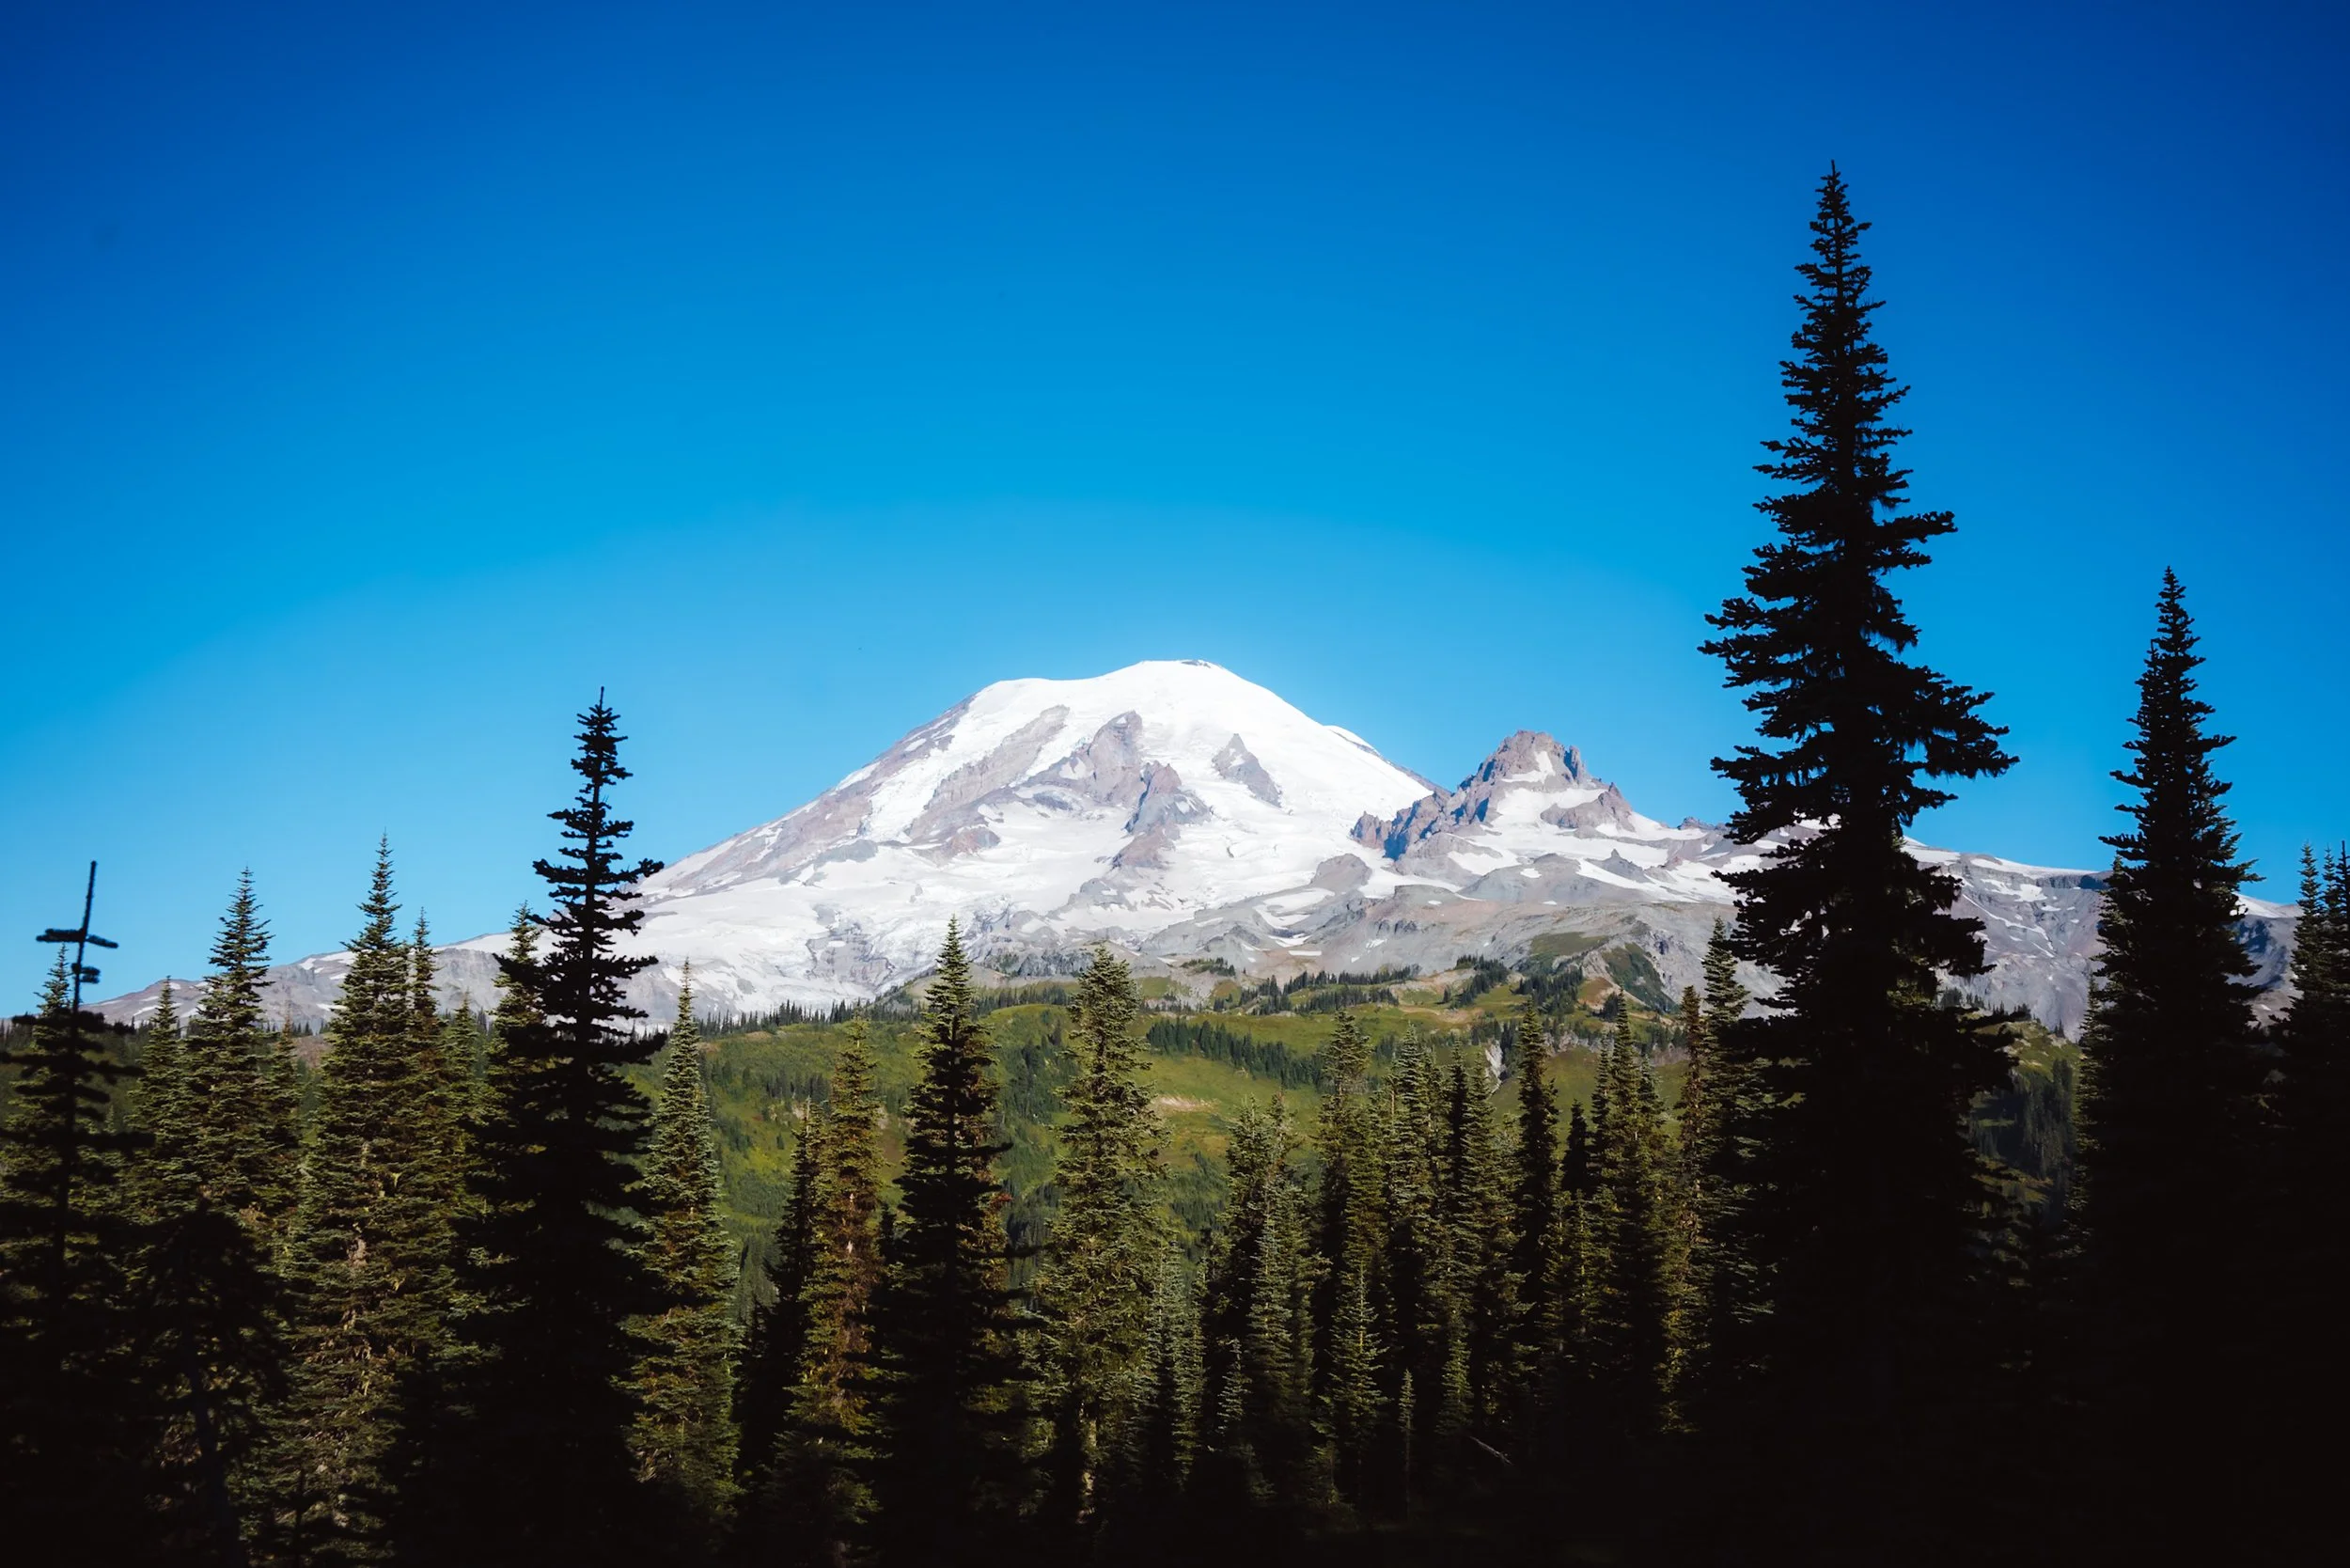
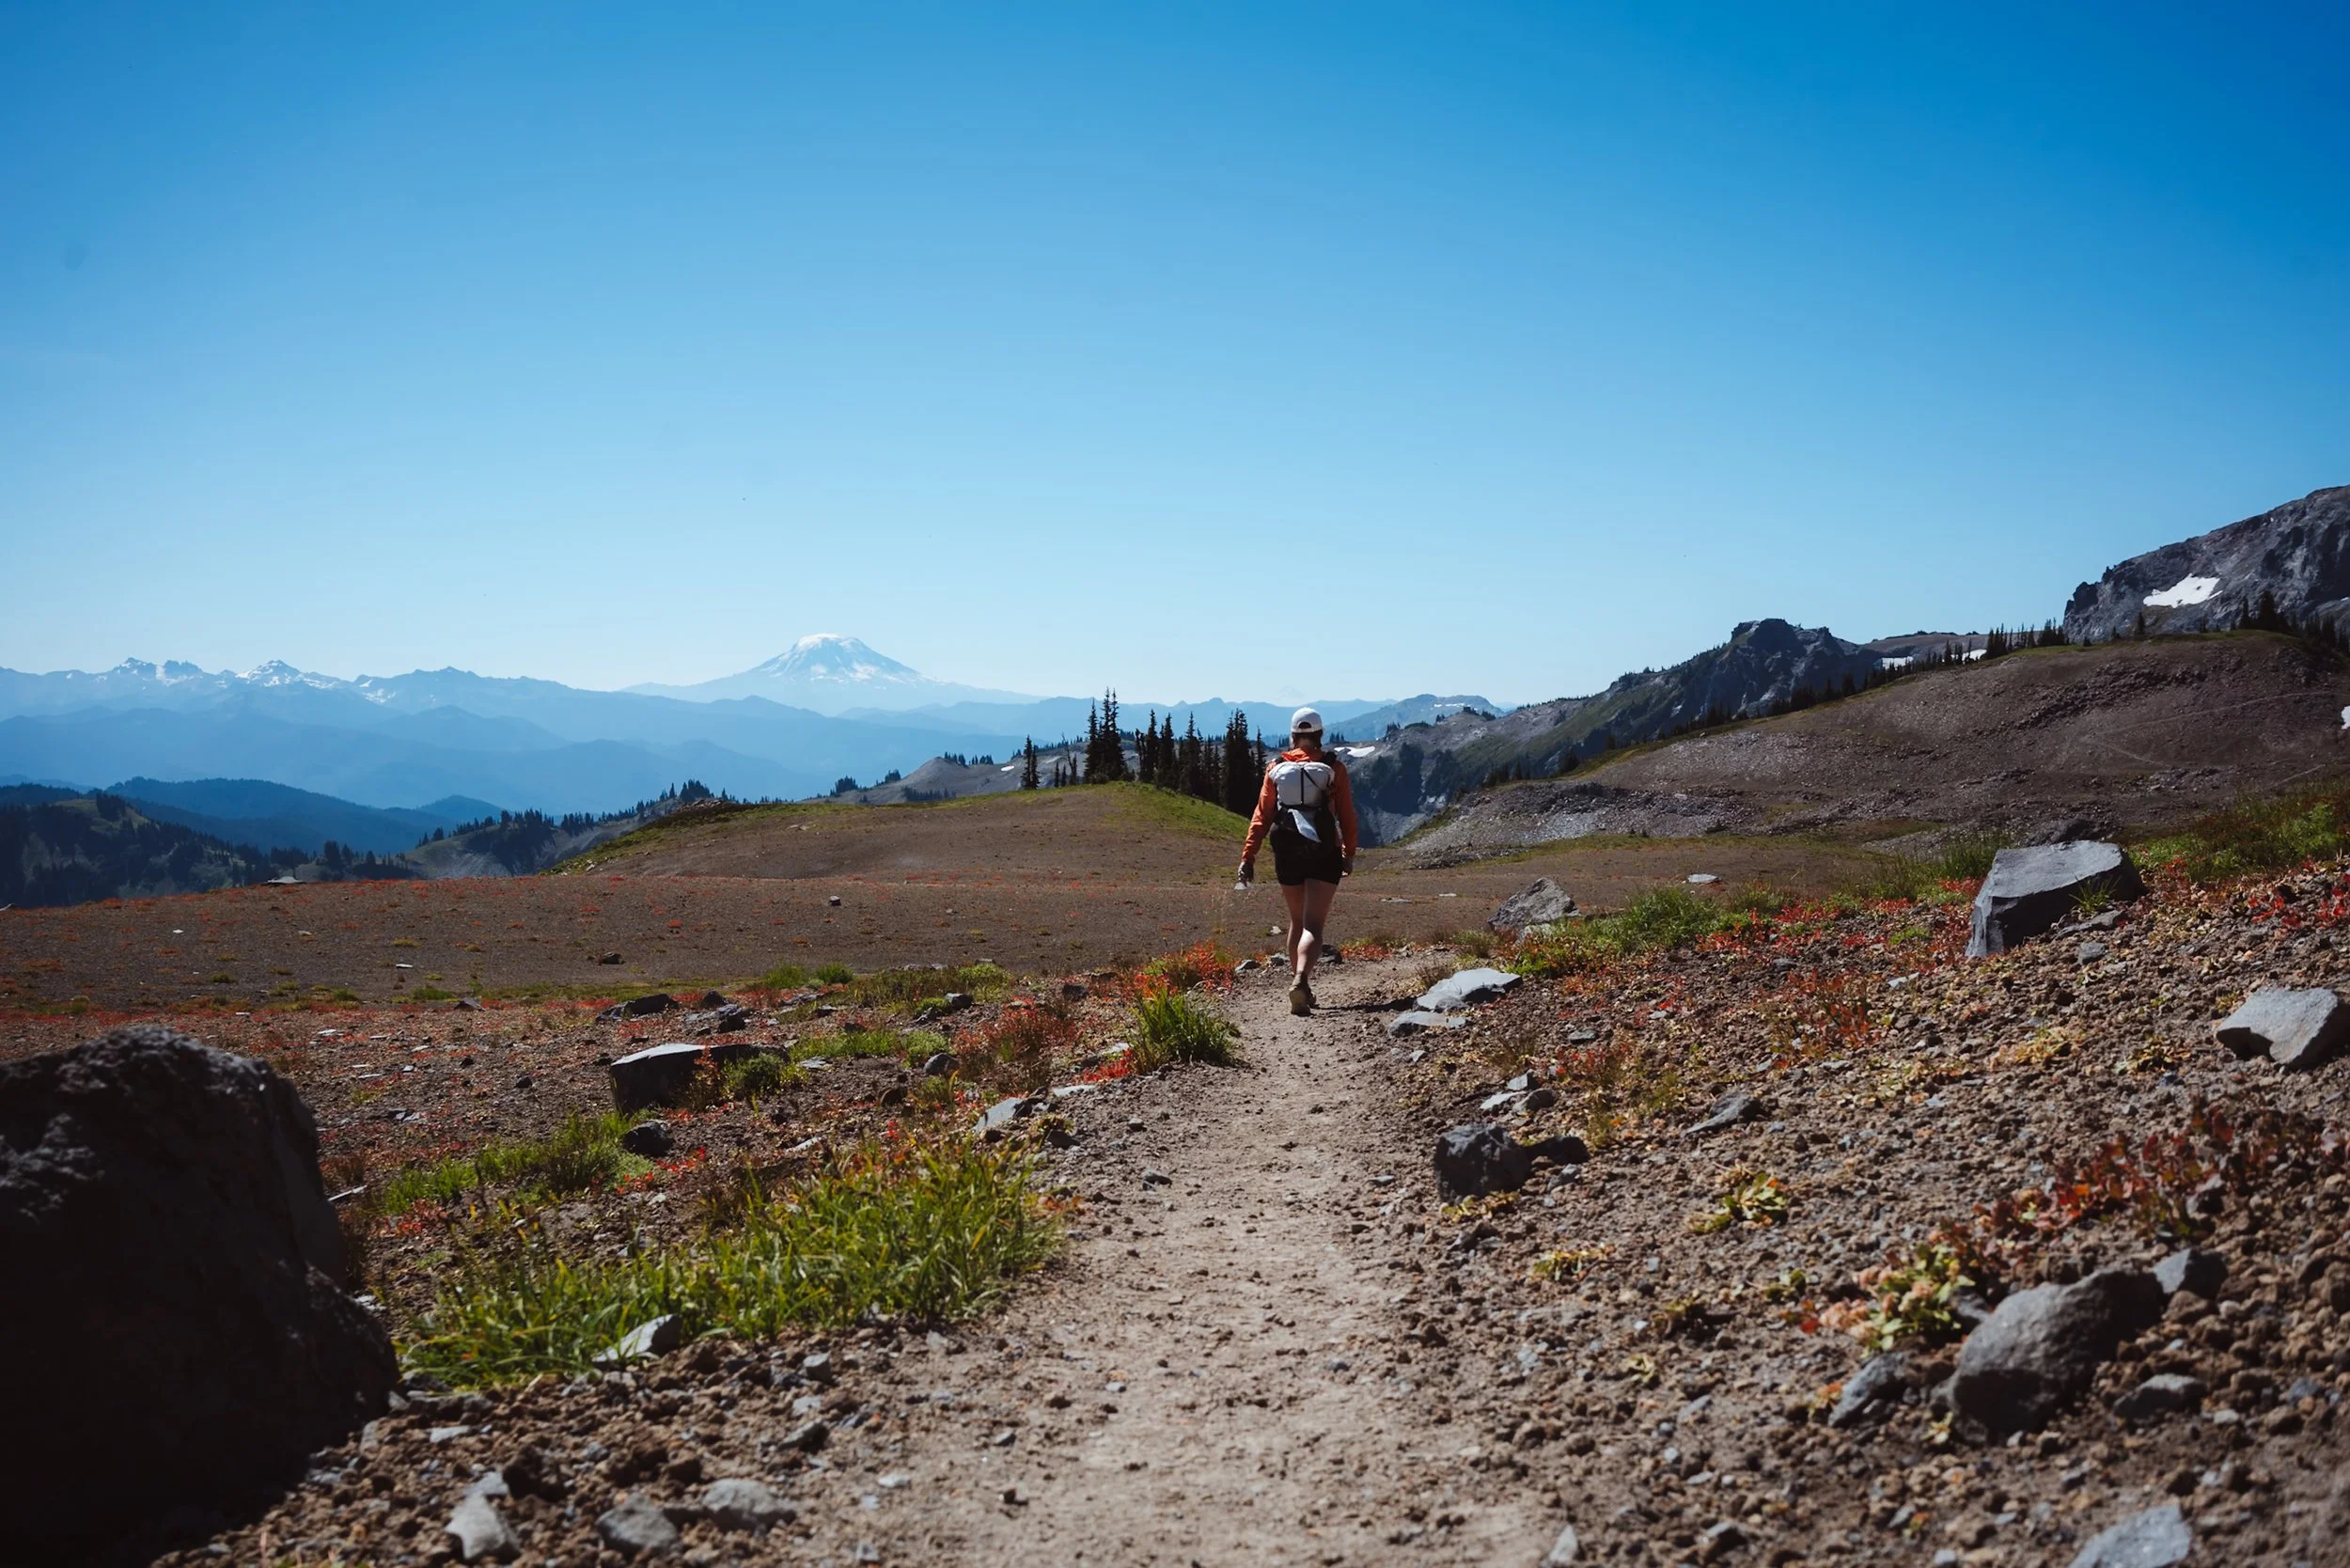


My last day hiking the Wonderland Trail! Today was both my longest mileage-wise and the day with the most elevation gain in a single day for me, making it a tough one.
My morning began with a gradual ascent through the woods, eventually leading into beautiful meadows with breathtaking views of Mount Adams since it was a clear day. It was truly stunning. I even think I could see Goat Rocks in the distance, which is part of the Pacific Crest Trail and it brought back memories of my PCT thru-hike.
View of Mount Rainier on descent from Panhandle Gap on the Wonderland Trail
This section of the Wonderland Trail passed through some of the most beautiful parts of the trail: Indian Bar and Summerland – two highly sought-after campsites. Unfortunately, I didn’t get permits for either of them because they were already full due to their popularity.
Indian Bar looks incredible and I’d love to camp there someday if I can get a permit for it. The views are unique compared to all the other campsites. The climb out of Indian Bar up to Panhandle Gap (counterclockwise) was tough, though. It was steep, and the day had gotten quite hot under the sun with no clouds.
Panhandle Gap had some of my favorite views on the Wonderland Trail, which is understandable since it's the highest point on the trail. Since it was a clear day, I could even see Mount Hood in Oregon! I loved the descent from Panhandle Gap – it felt like a high alpine lake area and reminded me of the Sierra. The views were breathtaking. Eventually, I hiked through the meadows of Summerland, which also has incredible views of Mount Rainier. I can see why Summerland is such a popular campsite – the sunrise over Rainier must be amazing.
After Summerland, the Wonderland Trail descends into the forest, which I was happy for because the afternoon sun had become harsh and hot.
The trail briefly pops out of the forest where you cross the White River, which lead me to the parking lot where I started my Wonderland Trail thru-hike. I had officially hiked 93 miles around Mount Rainier!
I was sad to be done but so happy to have completed it. I know I’ll hike the Wonderland Trail again someday.
Amazing view of Mount Rainier on descent to Indian Bar on the Wonderland Trail
Conclusion
Hiking the Wonderland Trail was truly an amazing experience. From the beautiful alpine views to the forested campsites, every day was so beautiful. Hiking this trail was a great reminder to myself that I can experience that same feeling of accomplishment and fulfillment I get from long thru-hikes on shorter trails – that you don’t have to completely uproot your life to enjoy thru-hiking.
If you’re considering hiking the Wonderland Trail, I highly recommend it. If you're looking for a short thru-hike to experience what it feels like or to see if you like thru-hiking, this is a great trail to do so. I know I’ll be back one day to hike it all over again.
Make sure to check out my other Wonderland Trail Resources to help plan your hike! This includes my Wonderland Trail Gear List and How to Get a Wonderland Trail Permit: The Ultimate Guide.


