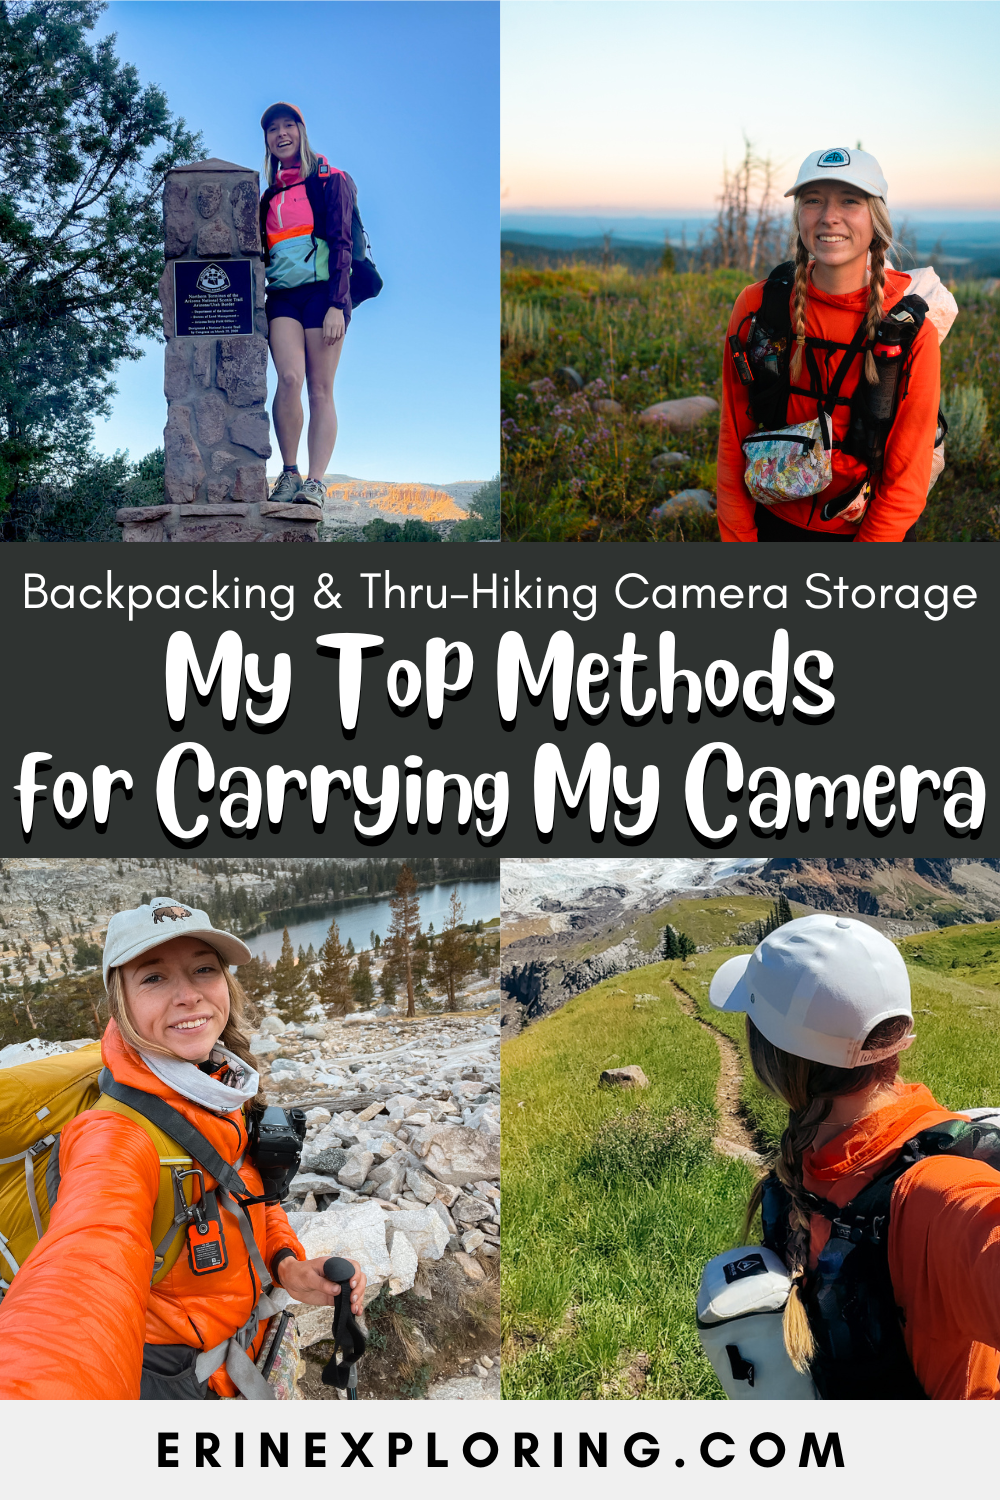
How to Carry Your Camera Backpacking and Thru-Hiking: My Top 4 Methods for Carrying and Storing My Camera
Over the years, I’ve backpacked and thru-hiked over 6,500 miles, all while carrying my full-frame Sony A7RIII mirrorless camera with either the Sony Sonnar T* FE 35mm f/2.8 ZA Lens or the Tamron 17-28mm f/2.8 for Sony E Lens. I’ve tried various ways of carrying my camera when thru-hiking and backpacking – some I wish I’d known about sooner, which I why I’m making this blog post. Here’s a breakdown of the different ways I’ve carried my camera while backpacking, thru-hiking, and hiking, along with their pros and cons.
Click below to jump ahead:
Affiliate Disclosure: This blog post contains affiliate links, which means that if you click on a link and make a purchase, I receive a small percentage at no additional cost to you. This helps me continue to provide free resources for you! Thank you so much for supporting my work and helping me keep these resources available. You can read more about my affiliate policy here.
Let’s Connect: Instagram • TikTok • YouTube • Join My Newsletter | Enjoy This Post? Ways to Support this Blog
How to Carry Your Camera Backpacking and Thru-Hiking:
Hyperlite Mountain Gear Camera Pod
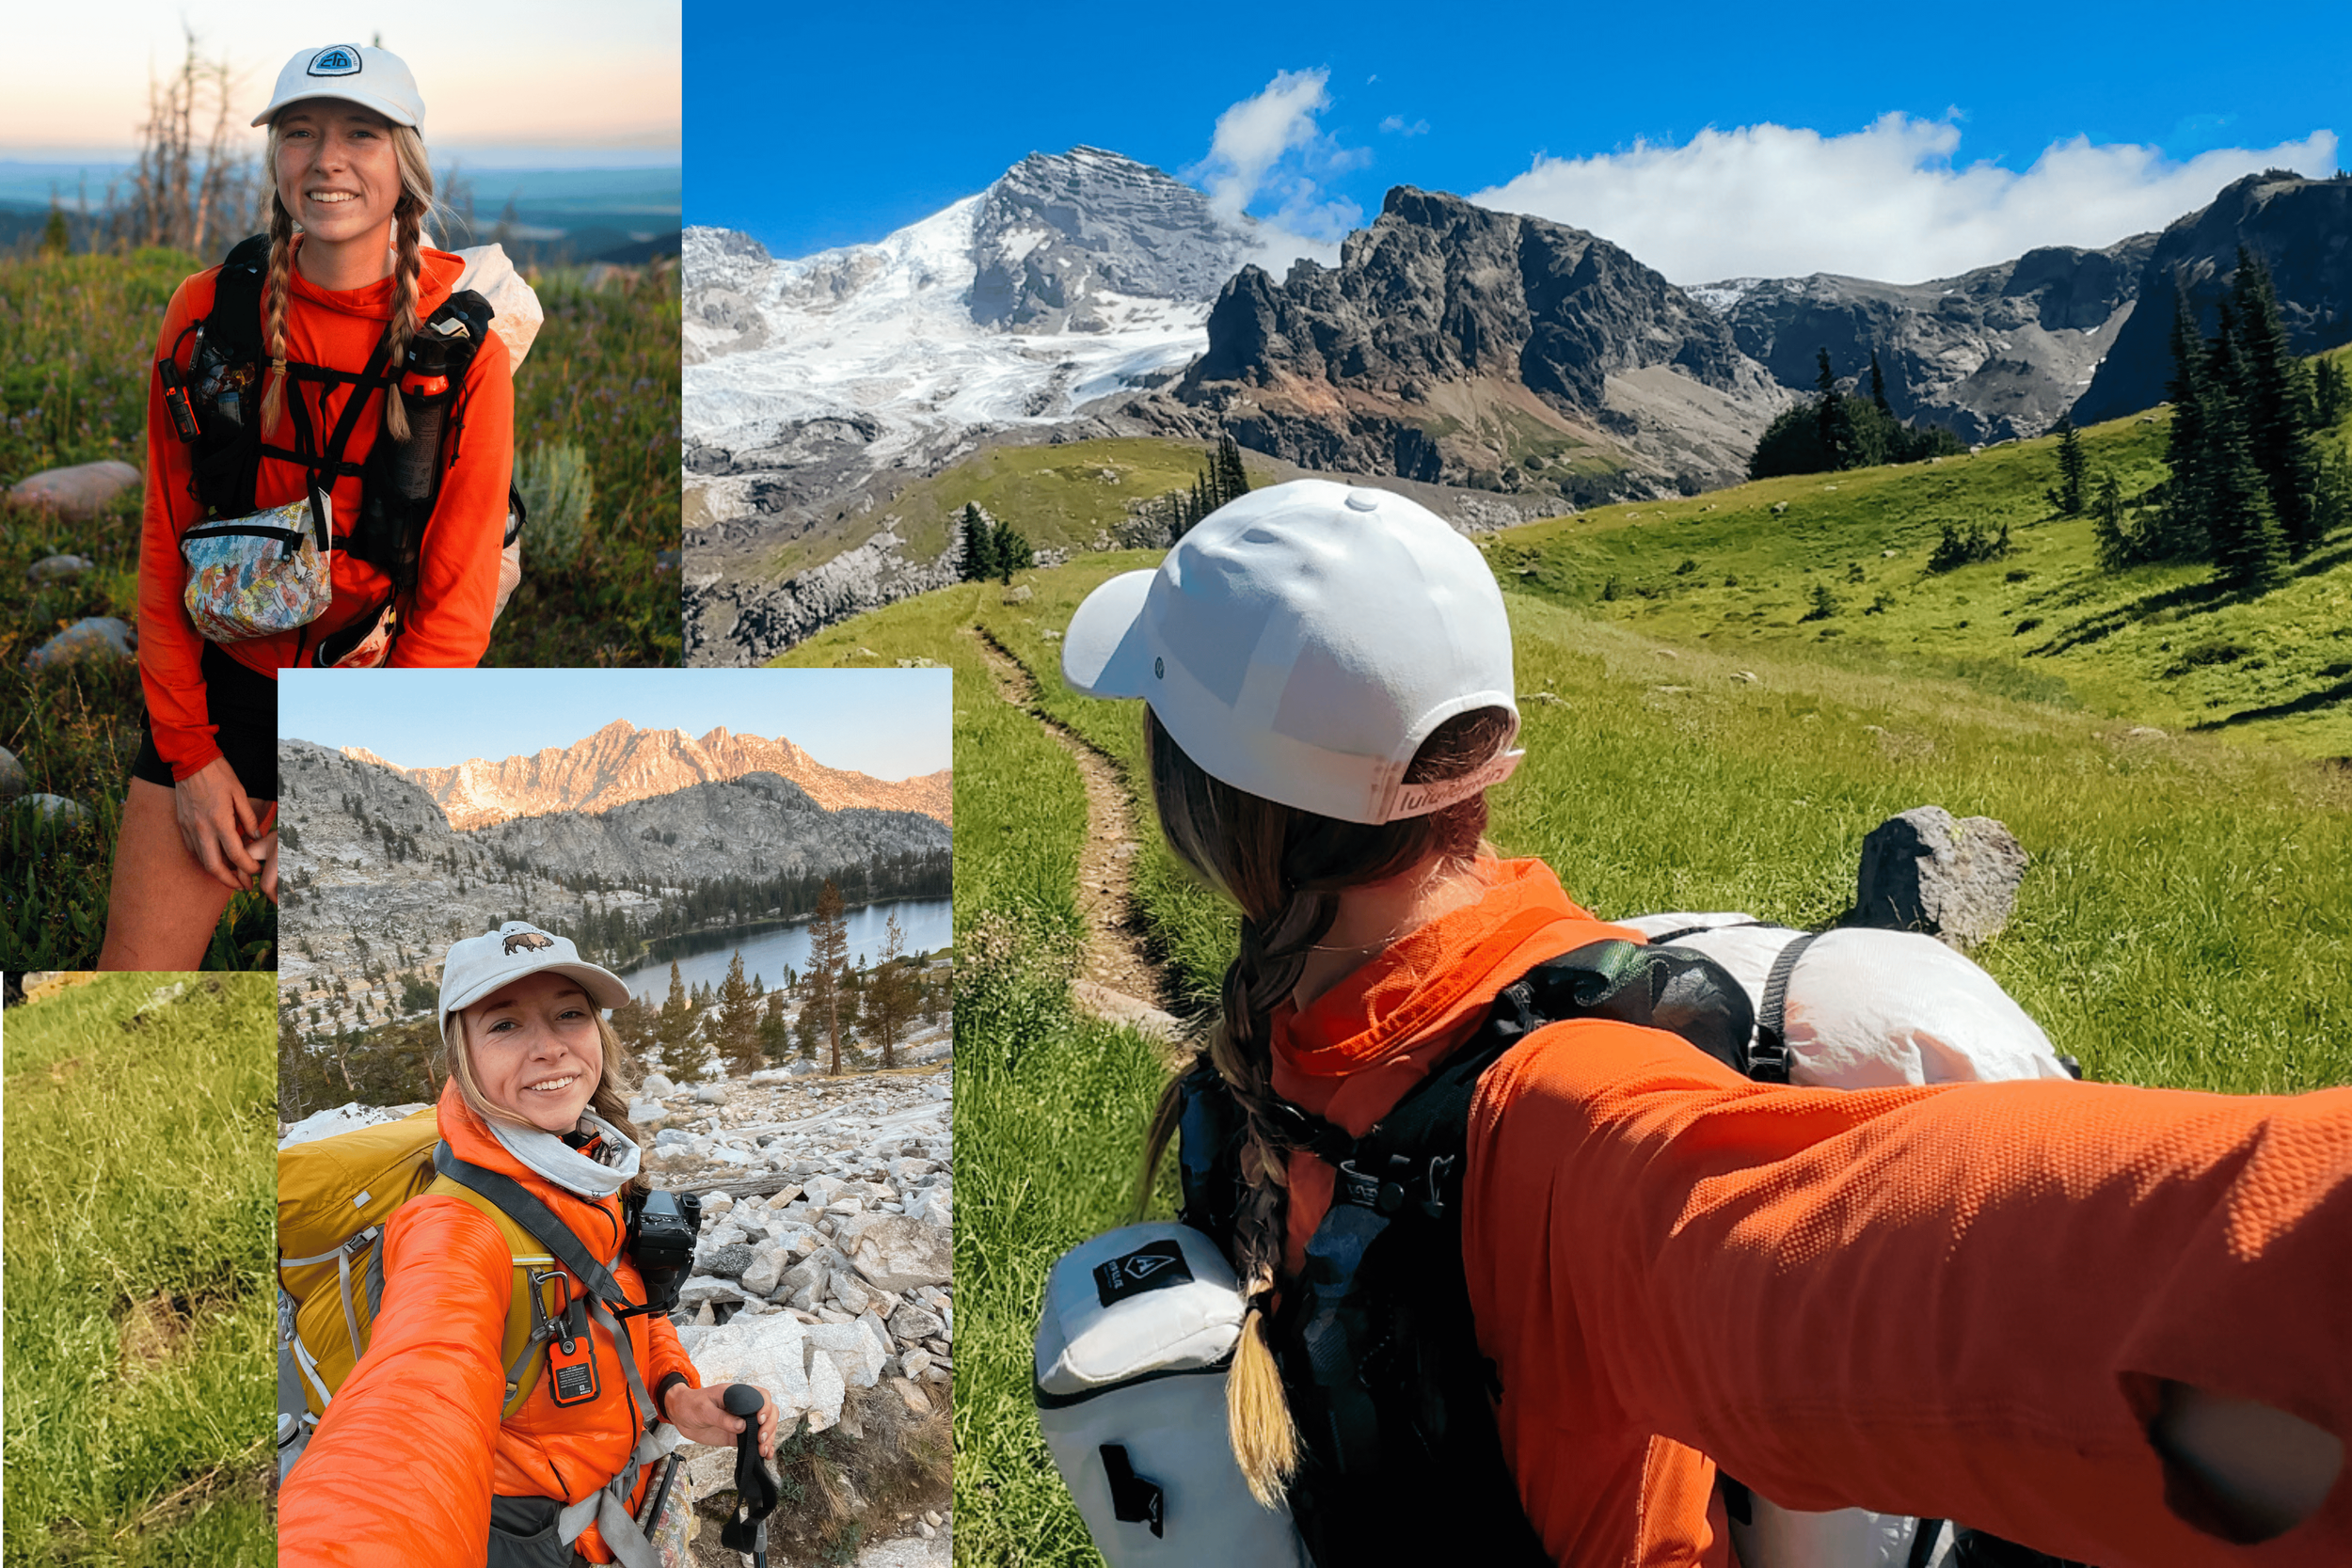
The Hyperlite Mountain Gear (HMG) Camera Pod is a weatherproof, accessible, and durable camera storage option that attaches to your backpack’s straps for easy access of your camera while hiking. This past summer (2024), during my 93-mile hike of the Wonderland Trail, I finally decided to try the HMG Camera Pod for the first time. By the end of my hike, I was kicking myself for not using it on all of my past thru-hikes. Ever since I started using this Camera Pod, I’ve taken it with me on every single backpacking trip I’ve been on because I like it so much.
The HMG Camera Pod comes in two different sizes (Regular or Large), so you can choose the appropriate size for your camera gear.
Pros:
Weatherproof: This HMG Camera Pod is made out of a waterproof material, Dyneema® Composite Fabric (DCF), which keeps your camera dry during rain, hail, and snow. It also has an extremely water resistant zipper. The zipper is positioned at an angle that doesn't face upward toward the sky (like on fanny packs), so if it rains, water hasn’t seeped in, in my experience. I’ve used the HMG Camera Pod in both rain and hail, and there was no moisture at all inside and my camera was completely dry.
Easy Access of my Camera: Easy to grab my camera and put away while hiking, which has helped me take more photos when hiking and backpacking.
Protection: In addition to protection from rain, hail, and snow, I love how this camera bag also keeps dirt off my camera and provides better protection when I set down my backpack. I found that with the Peak Design Capture Clip, my camera got some scratches and dirt on it since it was just hanging from my shoulder strap unprotected.
Easy to Attach to My Backpack: I like how the HMG Camera Pod can hook directly onto the daisy chains on my Nashville Pack Cutaway backpack shoulder straps, which also have a daisy chain attachment system, so I can choose the exact height I want the camera bag to hang. The camera bag also has additional loops if you want to attach it at more than two points.
Ultralight: This camera bag weighs just 2.8 oz (Regular size) or 3.7 oz (Large size).
Cons:
Bulkier than a Clip: It can be a little more cumbersome compared to the Peak Design Capture Clip.
Limited Storage: The HMG Camera Pod is designed for storing your camera with a single lens attached, so you can't carry additional lenses unless you bring a separate bag. Plus, you are limited to certain lenses that will fit in the camera pod.
Takeaway: The combination of weatherproofing, easy access, and protection of my camera makes the HMG Camera Pod the best camera storage option I've used for long distance hikes. It’s so practical that I wish I’d had it on my previous thru-hikes. I’m sure my camera would probably be in much better condition if I had used it on past thru-hikes. The HMG Camera Pod is now my go-to camera carrying method for all my future backpacking trips and thru-hikes.
For more details on the HMG Camera Pod, check out my full review: Hyperlite Mountain Gear Camera Pod Review.
Peak Design Capture Camera Clip
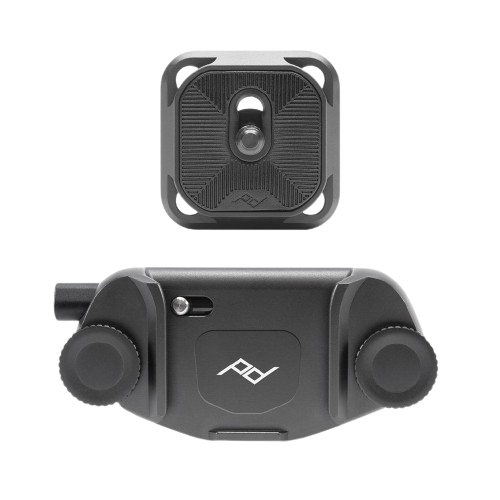
The Peak Design Capture Clip is a camera clip that attaches your camera to your backpack shoulder strap for quick and easy access while hiking. This was my primary camera-carrying solution for years. I used it on my thru-hikes of the John Muir Trail in 2021 and Pacific Crest Trail in 2022, along with numerous shorter hikes. I still use the clip occasionally, but it has its limitations, which I’ll discuss below.
Capture Clip on backpack strap with camera attached during my JMT thru-hike
Capture Clip on backpack strap without camera attached during my PCT thru-hike
Capture Clip on backpack strap with camera attached during random backpacking trip
Pros:
Easy Access: The Peak Design Capture Clip attaches to your backpack’s shoulder strap, making it easy to grab your camera on the go without having to remove it from your pack.
Durability: My Capture Clip has held up since 2019 and thousands of miles of backpacking.
Lightweight & Compact: It is lightweight and doesn’t take up much space (84g/3oz).
Cons:
Lack of Protection: The clip leaves your camera vulnerable to rain, dirt, and scratches. When it starts raining, I have to stash my camera in my backpack. I tried using a camera cover with this clip, but it felt finicky and hard to easily get on and off. I’ve also tried wrapping a waterproof bag around it when it rains, but it’s hard making sure there are zero gaps where water can get through.
Comfort Issues: Over time, the clip can dig into your collarbone or shoulder, especially with a heavier camera.
Difficult to Attach to Backpack: The Capture Clip can be hard to squeeze onto thicker shoulder straps. If your backpack has running-vest style straps with a lot of pockets, there usually isn’t space to attach the clip properly while still being able to use all of the pockets.
Damage to Shoulder Straps: The pressure required to attach the clip can potentially damage your shoulder straps over time. This was one of the reasons why I stopped using the Capture Clip for thru-hikes after switching to a backpack with specialty running-vest style shoulder straps.
Takeaway: For day hikes or backpacking trips without rain, this remains a solid option for carrying your camera. I still use it occasionally.
Fanny Pack
On my thru-hike of the Continental Divide Trail in 2023, I carried my camera in a 2-liter DCF fanny pack. While it worked better than the Peak Design Capture Camera Clip in terms of protection, it still had a couple of limitations.
I loved the fanny pack I used (it’s still my favorite fanny pack), but it wasn’t 100% waterproof – just water-resistant. It is made out of DCF which is a waterproof fabric, but the zipper is only water-resistant. I think the angle of the zipper facing upwards might also contribute to water occasionally seeping in when it rains a lot. I found that my camera got a little wet a couple times it rained a lot on my CDT thru-hike. Additionally, it wasn’t as easy to get my camera out of the fanny pack as I had hoped, but this is probably more due to the size of my camera which just barely fit in the fanny pack – I’m sure a smaller camera would store really well in a fanny pack. My thru-hiking camera setup ( Sony A7RIII + Sony Sonnar T* FE 35mm f/2.8 ZA Lens) was a tight fit in my fanny pack, so maybe a larger fanny back would have worked better for me.
I think if you found a fanny pack that fits your camera better and is 100% waterproof, then a fanny pack might be a good option for you to carry your camera backpacking or thru-hiking. A couple of 100% waterproof fanny packs I’ve found (but haven’t tried, yet) are the Mountainsmith Dry Kick and the L.L.Bean Adventure Pro Waterproof Hip Pack. Both of these are slightly heavier options, weighing in at 8 oz and 10 oz, respectively.
Pros:
Better Protection Compared to Peak Design Capture Clip: A fanny pack offers more protection against dirt and minor weather exposure.
Versatility: Great for point-and-shoot cameras or smaller camera setups.
Compact and Lightweight: Doesn’t add much weight or bulk to your overall base weight.
Convenient Access: A fanny pack allows quick access to your camera, although it’s a little less convenient than a Capture Clip.
Aesthetic & Personal Style: Fanny packs can be so pretty and come in so many prints and patterns! I used a High Tail Designs fanny pack that had a beautiful watercolor flower print, which made carrying my camera feel more personal and fun.
Cons:
Limited Waterproofing (depends on fanny pack): The fabric of the fanny pack I used was waterproof (DCF), but the zipper wasn’t, leading to occasional water getting into my fanny pack. If the weather turns bad, your camera might get a little wet, as the zipper isn’t waterproof.
Accessibility Issues: Taking the camera in and out wasn’t as easy as I’d hoped.
Size Limitations: The fit of the fanny pack I used was tight for my full-frame camera setup. A fanny pack might be a tight squeeze for larger cameras, so they might be better suited for smaller setups or point-and-shoot cameras.
Awkward to Carry: Carrying a heavier camera (like a mirrorless or DSLR) in a fanny pack can be a bit awkward. I couldn’t wear my fanny pack around my waist and instead carried it like a cross-body bag, which caused it to bounce around sometimes when hiking.
Takeaway: A fanny pack is a great option if you want a little more protection than the Capture Clip offers, but I wish it were a little more waterproof. I think a fanny pack is a decent option for carrying smaller cameras if it’s not expected to rain a lot.
Storing Your Camera Inside Your Backpack
This is probably the most budget-friendly option way to carry your camera when thru-hiking or backpacking, but it also makes it hard to access your camera. On my thru-hike of the Arizona Trail, I just stuffed my camera into the side pocket of my backpack (Pa'lante Joey). When it rained or snowed, I would stuff my camera inside my backpack within the pack liner to keep it from getting wet.
This option is obviously nice if you’re on a budget, but I found that I took way fewer photos on the Arizona Trail than I did on other thru-hikes because I couldn’t access my camera easily. To me, this is less than ideal, but maybe it would work for you. This is probably my least favorite method for carrying my camera, but it definitely works to protect your camera.
Pros:
Good Protection: Your camera stays safe from the elements and potential damage (as long as your backpack is waterproof or has a waterproof liner).
Budget-Friendly: No need to buy anything extra since you just use your backpack and pack liner.
Cons:
Hard to Access Your Camera: It’s a hassle to pull out your camera when you’re hiking – you have to stop and take your backpack off to get your camera out.
Take Fewer Photos: Because of the difficulty of accessing your camera, you’ll probably take fewer photos on your hike.
Takeaway: If you’re on a tight budget, this camera carrying method works. But for me, I really disliked the lack of accessibility to my camera. While this method isn’t ideal for capturing photos during your backpacking trip or thru-hike, it’s the most affordable and reliable option for keeping your safe and dry. This method works when I know I won’t need to grab my camera quickly.
Which Camera Carrying Method is Right for You?
Each camera carrying method has its strengths and weaknesses, so your choice depends on your priorities:
Ease of Access: Hyperlite Mountain Gear Camera Pod or Peak Design Capture Clip
Weather Protection: Hyperlite Mountain Gear Camera Pod, a fully waterproof fanny pack, or storing your camera inside your backpack
Budget-Friendly: Storing your camera inside your backpack
For me, the Hyperlite Mountain Gear Camera Pod is the clear winner, offering the best combination of protection, accessibility, and durability.
Let’s Connect: Instagram • TikTok • YouTube • Join My Newsletter | Enjoy This Post? Ways to Support this Blog


